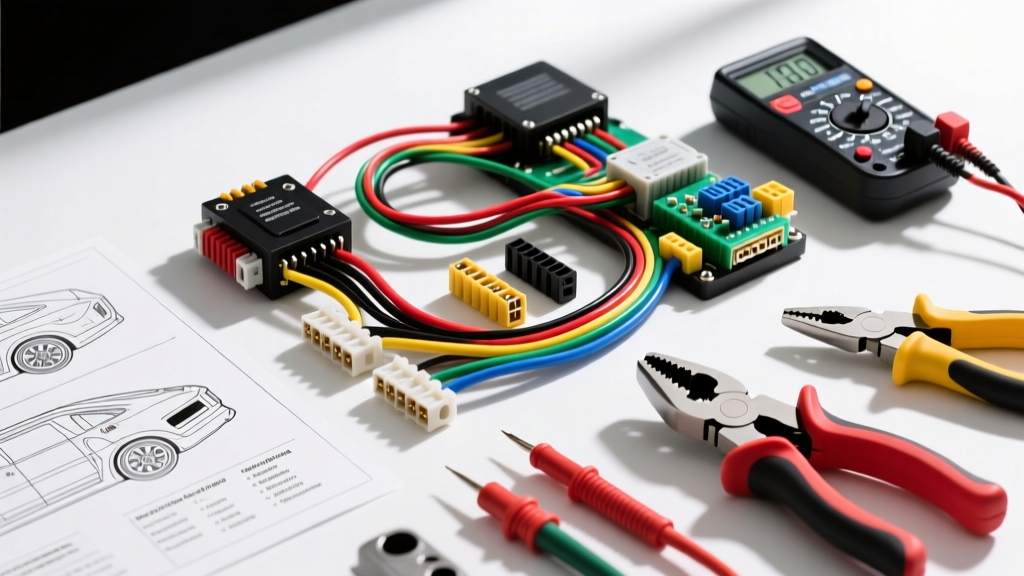
The True Cost of Decoding Car Radio Wiring Color Codes
When upgrading a factory head unit, understanding car radio wiring color codes is the difference between a flawless installation and a catastrophic electrical failure. Many DIY installers assume that wire colors are universal, leading to blown fuses, fried Body Control Modules (BCMs), or destroyed CAN-bus transceivers. From a cost and tool requirements perspective, properly identifying, testing, and terminating these wires requires a strategic investment in diagnostic equipment and interface modules. This analysis breaks down the exact tools, budget requirements, and technical specifications needed to navigate OEM and aftermarket wiring safely.
Essential Diagnostic Tools: Budget vs. Safety Analysis
Identifying constant 12V, switched ignition, ground, and data lines requires precise measurement. The tools you choose directly impact both your wallet and the vehicle's electrical integrity.
Digital Multimeters (DMM) vs. Incandescent Test Lights
A common, yet dangerous, cost-saving measure is using a $10 incandescent test light to probe radio harnesses. While a test light is sufficient for verifying high-current circuits like a 12V constant battery feed (typically Yellow in aftermarket, or Red/White in some Ford OEM harnesses), it is destructive on modern data networks.
- The Test Light Hazard: An incandescent bulb draws between 250mA and 500mA. If you probe a CAN-High or CAN-Low data line (common in 2007+ GM, Ford, and Chrysler vehicles), this current draw will instantly overload and destroy the CAN transceiver inside the BCM, resulting in a $1,200+ dealership replacement bill.
- The DMM Requirement: A Digital Multimeter with a minimum 10-Megohm input impedance draws virtually zero current, making it safe for probing low-voltage data lines, steering wheel control (SWC) resistor ladders, and amplifier turn-on signals. Budget for a reliable automotive DMM like the Fluke 88V or a mid-tier Power Probe Volt Meter ($50 to $150).
Wire Strippers, Crimpers, and Termination Costs
Proper termination prevents galvanic corrosion and voltage drop. According to SAE J1128 standards for low-tension automotive wire, connections must withstand high-vibration environments and temperature fluctuations up to 125°C.
- T-Taps and Scotchlocks (Cost: $5/box): Highly discouraged. They slice through the wire insulation and copper strands, reducing the cross-sectional area of 18 AWG speaker wire and inviting moisture-induced corrosion.
- Heat-Shrink Butt Connectors (Cost: $15/box): The industry standard for DIY. Requires a quality ratcheting crimping tool ($35) and a heat gun ($25). Total tool investment: ~$60.
- Posi-Twist / Posi-Tap Connectors (Cost: $20/pack): Superior for tapping into OEM SWC or illumination wires without cutting the main harness. Uses a set-screw mechanism that maintains structural integrity.
Standard Aftermarket vs. OEM Color Code Reference Chart
The Consumer Technology Association (CTA) maintains the CTA-2003 standard (formerly EIA-590) for aftermarket mobile electronics wiring. However, OEM manufacturers rarely follow this standard. Below is a cost-analysis reference chart comparing standard aftermarket codes with common OEM deviations and the required AWG specifications.
| Wire Function | CTA-2003 Aftermarket Color | Typical OEM Deviation (e.g., GM/Ford) | Required AWG | Tool / Adapter Needed |
|---|---|---|---|---|
| 12V Constant (Memory) | Yellow | Orange / Red-White | 16 AWG | DMM for voltage verification |
| 12V Switched (Ignition) | Red | Yellow / Brown | 16 AWG | DMM (Key ON/OFF test) |
| Ground | Black | Black / Black-White | 16 AWG | Ring terminal to chassis bolt |
| Amp Turn-On (Remote) | Blue / White Stripe | Blue-White / Pink | 18 AWG | Relay if drawing > 300mA |
| Left Front Speaker (+/-) | White / White-Black | Tan / Gray (varies) | 18 AWG | Phase tester or 9V battery pop |
| Right Front Speaker (+/-) | Gray / Gray-Black | Light Green / Dark Green | 18 AWG | Phase tester |
| Left Rear Speaker (+/-) | Green / Green-Black | Brown / Yellow | 18 AWG | Phase tester |
| Right Rear Speaker (+/-) | Purple / Purple-Black | Dark Blue / Light Blue | 18 AWG | Phase tester |
| CAN-Bus Data (High/Low) | N/A (Not on aftermarket) | Twisted Pair (often Pink/White) | 22 AWG | CAN-Bus Interface Module |
The Economics of Wiring Harness Adapters
Attempting to manually map car radio wiring color codes using a multimeter and a factory service manual is a massive drain on time and increases the risk of error. The most cost-effective approach to managing color code discrepancies is the use of vehicle-specific wiring harness adapters.
Basic Plug-and-Play Harnesses ($10 - $25)
For older vehicles (pre-2005) without complex data networks, a basic Metra or Scosche harness translates the vehicle's proprietary OEM colors directly to the CTA-2003 aftermarket standard. This allows you to crimp your aftermarket radio's pigtail to the adapter on a workbench, completely eliminating the need to probe the car's dash. The cost of the harness pays for itself in the first 20 minutes of saved labor.
CAN-Bus Data Retention Interfaces ($75 - $150)
In modern vehicles, the ignition switch does not send a physical 12V switched wire to the radio. Instead, the BCM sends a digital wake-up signal over the CAN-bus network. Furthermore, features like steering wheel controls, backup cameras, and factory amplifiers rely on data retention. Modules like the PAC RP4-CH11 or Axxess XSVI series decode these digital signals and output a standard 12V switched wire (Red) and an amp turn-on wire (Blue/White). While the upfront tool cost is higher, it prevents the need to splice into critical data lines, preserving the vehicle's warranty and electrical stability.
Cost Breakdown: Professional Shop vs. DIY Installation
Understanding the financial landscape of car audio installation helps justify the investment in proper diagnostic tools and color-code translation modules.
| Expense Category | DIY Installation (Proper Method) | DIY Installation (Improper/Cheap Method) | Professional Car Audio Shop |
|---|---|---|---|
| Digital Multimeter | $60.00 (Reused for future projects) | $0.00 (Using test light/guessing) | $0.00 (Included in labor) |
| Wiring Harness / CAN-Bus Interface | $35.00 - $120.00 | $0.00 (Splicing directly into OEM) | $80.00 - $150.00 (Retail markup) |
| Termination Supplies (Crimps, Heat Shrink) | $25.00 | $5.00 (Electrical tape / T-taps) | $0.00 (Included in labor) |
| Labor / Time Investment | 3 - 5 Hours (Your time) | 6 - 10 Hours (Troubleshooting shorts) | $150.00 - $250.00 (1-2 Hours) |
| Risk of BCM / Wiring Damage | Negligible | Extremely High ($1,000+ potential loss) | Transferred to Shop Liability |
Common Failure Modes from Improper Tool Usage
When installers ignore the technical requirements of car radio wiring color codes and opt for the cheapest tools, specific failure modes inevitably emerge:
- Voltage Drop on Power Wires: Using 18 AWG wire for the main 12V Constant and Switched power feeds instead of the required 16 AWG. Under high volume loads, the thin wire experiences resistance, causing the head unit to reboot or shut down. A DMM will reveal a voltage drop from 12.6V at the battery to 10.5V at the head unit during bass transients.
- Out-of-Phase Speakers: Failing to verify the positive and negative speaker wire stripes (e.g., confusing Solid Green for Green/Black Stripe). This results in acoustic short-circuiting where bass frequencies cancel each other out. A $30 electronic speaker phase tester is a mandatory tool to verify polarity when OEM color codes are faded or undocumented.
- Ground Loop Alternator Whine: Relying on the OEM ground wire (often 20 AWG or thinner) instead of running a dedicated 16 AWG or 14 AWG ground wire to a clean, unpainted chassis bolt. This creates a ground potential difference between the head unit and aftermarket amplifiers, introducing a high-pitched alternator whine into the audio signal path.
Final Recommendations for Budgeting Your Install
Decoding car radio wiring color codes is not a task for guesswork. Allocate a minimum of $100 to $150 for a quality Digital Multimeter, a ratcheting crimping tool, heat-shrink butt connectors, and the correct CAN-Bus or plug-and-play wiring harness adapter for your specific vehicle year, make, and model. As documented by resources like the Crutchfield Vehicle Fit Database, investing in the correct interface module from the start eliminates the need to manually probe dangerous data networks, ensuring a reliable, high-fidelity audio upgrade that protects your vehicle's sensitive electrical architecture.