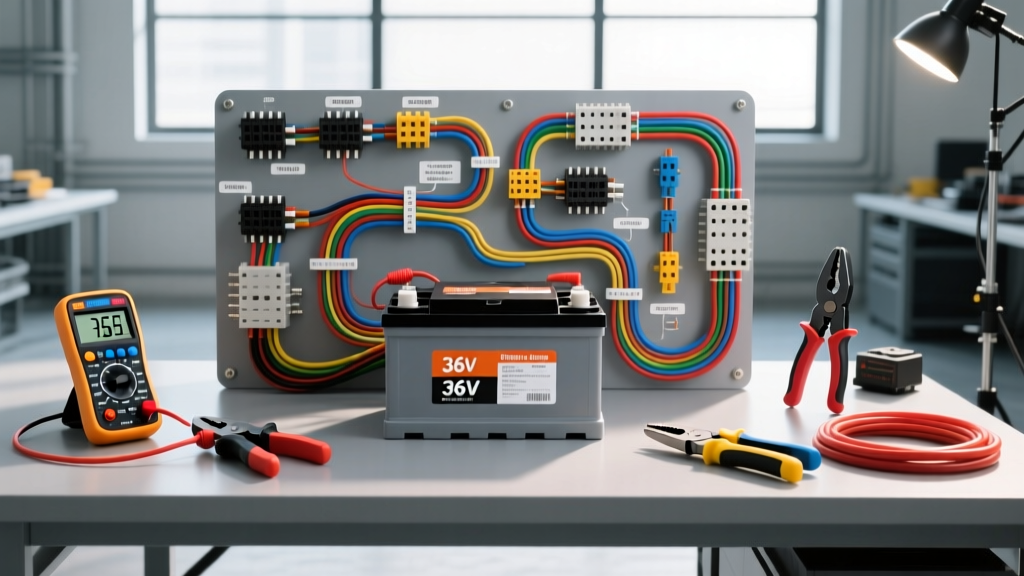
Understanding the 36 Volt Battery Wiring Diagram
Designing and executing a reliable 36V DC electrical system requires more than just connecting batteries in series. Whether you are building a power supply for a heavy-duty marine trolling motor, an off-road auxiliary winch system, or a light electric vehicle (EV) conversion, the physical execution of your 36 volt battery wiring diagram dictates the safety, efficiency, and lifespan of your setup. A 36V nominal system is typically achieved by wiring three 12V batteries (AGM, Gel, or LiFePO4) in series, yielding a fully charged voltage of roughly 38.4V to 43.8V depending on the chemistry.
This comprehensive guide approaches the 36V build from a strict Cost & Tool Requirements Analysis perspective. We will break down the exact material costs for marine-grade and automotive-grade components, outline the specialized tooling required for high-current crimping, and provide the torque specifications necessary to prevent catastrophic thermal failures at the terminals.
Series Topology and Wire Routing
In a standard 3x12V series configuration, the main negative output is taken from Battery 1's negative terminal, while the main positive output is taken from Battery 3's positive terminal. The interconnects (Battery 1 Positive to Battery 2 Negative, and Battery 2 Positive to Battery 3 Negative) carry the full system amperage. Therefore, interconnect cables must be the exact same AWG and length as the main feed cables to ensure balanced voltage drop and equalized charging/discharging across the bank.
For a 150A peak draw system, Blue Sea Systems Circuit Calculator and Wire Sizing Guide dictates a minimum of 2/0 AWG welding cable for runs under 5 feet to maintain a voltage drop below 3%. Wire color coding is critical here: use Red for the main positive, Black for the main negative, and alternate Red/Black heat shrink on the series interconnects to denote the alternating polarity relative to the chassis ground.
Material & Component Cost Analysis
Building a safe 36V system requires investment in tinned copper, proper fusing, and high-quality insulation. Below is a realistic cost breakdown for a professional-grade 36V battery bank wiring kit, capable of handling continuous loads up to 120A and peak surges of 180A.
| Component Description | Specification / Rating | Estimated Cost (USD) |
|---|---|---|
| High-Strand Battery Cable | 2/0 AWG Tinned Copper (15 ft) | $65.00 |
| Ring Terminals | 3/8' Tinned Copper, 2/0 AWG (10-pack) | $28.00 |
| Main Battery Fuse | 150A Class T Fuse & Ignition Protected Block | $45.00 |
| Heavy Duty Busbars | 250A Rated, Tin-Plated Copper with Cover | $55.00 |
| Adhesive Heat Shrink | 3M MDT Dual-Wall, Assorted 3/8' to 1/2' | $22.00 |
| Battery Terminal Protectors | Dielectric Grease & Anti-Corrosion Spray | $15.00 |
| Total Estimated Material Cost | Excludes Batteries & Mounting Hardware | $230.00 |
Note: Never substitute automotive SAE J1128 standard copper wire with Copper-Clad Aluminum (CCA) wire for high-current 36V applications. CCA wire has a higher resistance, is prone to galvanic corrosion when mated to copper lugs, and will overheat under continuous 36V DC loads.
Essential Tooling Requirements for High-Current 36V
The most common point of failure in any custom 36 volt battery wiring diagram is a high-resistance crimp. A poor crimp generates heat proportional to the square of the current ($I^2R$). At 120A continuous, a poorly crimped 2/0 AWG lug can easily exceed 200°F, melting insulation and causing a fire. To prevent this, specific tooling is mandatory.
- Ratchet Crimper or Hydraulic Press: For 2/0 AWG, a heavy-duty ratchet crimper (such as the Knipex 97 53 14 or an IWISS hydraulic crimper with hexagonal dies) is required. Hexagonal crimps provide the best surface area contact and pull-out strength for high-vibration automotive and marine environments.
- Dual-Temperature Heat Gun: Required for shrinking adhesive-lined heat shrink tubing. The adhesive lining melts and seals the wire barrel, preventing moisture ingress and subsequent copper oxidation. A standard hairdryer will not reach the 250°F+ required to activate marine-grade adhesive.
- Inch-Pound Torque Wrench: Critical for tightening terminal bolts to manufacturer specifications. Over-torquing can snap the stud on a LiFePO4 battery BMS terminal, while under-torquing leads to arcing.
- True-RMS Digital Multimeter: A high-quality meter (e.g., Fluke 87V) capable of reading DC voltage up to 100V and DC current via a clamp meter accessory to verify voltage drop under load.
- Wire Stripper / Chamfer Tool: 2/0 AWG wire must be cleanly stripped without nicking the outer copper strands. A chamfer tool is used to slightly bevel the inside of the copper wire before inserting it into the terminal barrel to prevent strand splaying.
Torque Specifications for 36V DC Terminals
According to ABYC E-11 DC Electrical Systems Standards, all mechanical connections in DC battery systems must be tightened to the specific torque rating of the hardware to maintain low contact resistance and withstand vibration. Below are the standard torque specs for stainless steel and brass hardware commonly found on battery posts and busbars.
| Hardware Size | Material | Torque Specification (Inch-Pounds) | Common Application |
|---|---|---|---|
| 5/16' (M8) | Stainless Steel / Brass | 75 - 90 in-lbs | Standard 12V AGM/LiFePO4 Posts |
| 3/8' (M10) | Stainless Steel | 120 - 140 in-lbs | Heavy Duty Busbars, Class T Fuses |
| 1/2' (M12) | Stainless Steel | 180 - 220 in-lbs | Main Inverter / Motor Controller Lugs |
Wiring Execution & Failure Mode Prevention
When executing your 36 volt battery wiring diagram, the physical routing of the cables is just as important as the electrical connections. High-current DC cables generate electromagnetic fields; routing them parallel to sensitive signal wires (like CAN bus lines or sensor data cables) can induce noise and cause ECU or motor controller faults. Always cross 36V power cables and signal cables at 90-degree angles, and maintain a minimum separation of 6 inches.
Fusing and Grounding Best Practices
In a 36V series bank, the main positive feed must be protected by a Class T fuse. Class T fuses are specifically designed for DC applications and possess a high Ampere Interrupting Capacity (AIC) of 20,000 Amps. Standard automotive ANL or AGU fuses often lack the AIC rating required to safely extinguish a 36V DC arc during a dead short, which can result in the fuse body exploding.
Place the Class T fuse as close to the final positive battery terminal as possible (within 7 inches per ABYC guidelines). For the ground side, route the main 2/0 AWG black negative cable to a dedicated, heavy-duty grounding busbar bonded directly to the chassis or engine block. Clean the chassis ground point down to bare, shiny metal, apply a layer of conductive anti-oxidant paste (like NOALOX), and torque the bolt securely. Cover the exposed metal with liquid electrical tape or a self-amalgamating silicone tape to prevent rust.
Troubleshooting Voltage Drop and Thermal Runaway
If your 36V system experiences premature battery drain or the motor controller throws low-voltage alarms under load, you likely have a high-resistance connection. To diagnose this:
- Run the system under a heavy, continuous load (e.g., 80A draw).
- Set your multimeter to DC Volts.
- Place the positive probe on the battery post and the negative probe on the corresponding cable lug. A voltage drop reading greater than 0.01V per connection indicates a failing crimp or loose bolt.
- Use a thermal imaging camera or infrared thermometer to scan the 36V wiring harness. Any terminal reading 20°F higher than ambient temperature requires immediate re-crimping and re-torquing.
Authoritative Standards & References
Building a high-current DC system requires adherence to established engineering standards to ensure safety and insurability. For further reading on high-temperature battery cable insulation ratings and DC electrical topologies, consult the following resources:
- SAE J1128 High-Temperature Battery Cable Specifications - Details the thermal and abrasion resistance requirements for automotive battery cables.
- ABYC E-11 DC Electrical Systems Standards - The gold standard for marine and off-grid DC wiring, fusing, and overcurrent protection.
- Blue Sea Systems Circuit Calculator and Wire Sizing Guide - Essential for calculating exact AWG requirements based on 36V system voltage drop tolerances.
By investing in the correct tinned copper materials, utilizing precision crimping and torque tools, and strictly following series wiring protocols, your 36V battery bank will deliver reliable, safe power for years of demanding automotive, marine, or off-road use.