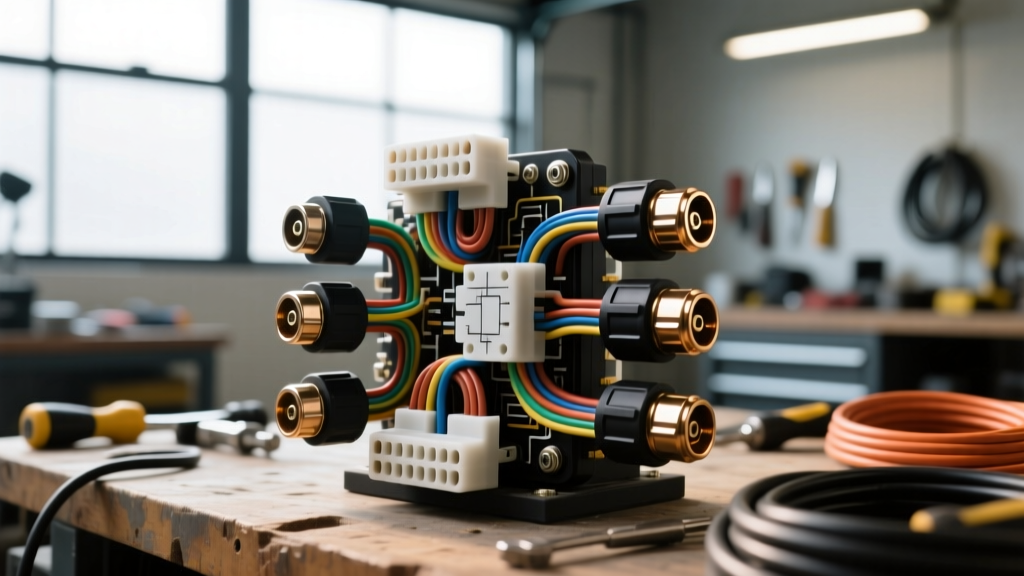
The Hockessin Climate Challenge: Why Standard Connectors Fail
When tackling car electrical repair Hockessin technicians and DIYers face a unique set of environmental variables. Located in New Castle County, Delaware, the region experiences severe freeze-thaw cycles, high summer humidity, and aggressive winter road treatments using calcium chloride and magnesium chloride brines. Standard polyvinyl chloride (PVC) insulated butt connectors and non-sealed splices routinely fail in these conditions. The primary failure modes are capillary wicking—where moisture travels down the wire strands into the crimp barrel—and galvanic corrosion accelerated by road salt penetration.
To ensure long-term reliability in automotive electrical systems, selecting the correct weatherproof connectors, heat shrink tubing, and crimping tools is non-negotiable. This guide compares the top sealing technologies and outlines exact specifications for wiring repairs in harsh Mid-Atlantic climates.
Product Comparison: Weatherproof Connector Matrix
Not all 'weatherproof' connectors offer the same level of environmental sealing. Below is a technical comparison of the most common automotive splice and terminal solutions.
| Connector Type | Insulation Material | IP Rating / Seal | Best Application | Temp Range |
|---|---|---|---|---|
| Standard PVC Butt Splice | Polyvinyl Chloride | None (Unsealed) | Interior cabin, dry areas only | -40°F to 221°F |
| Nylon Insulated Crimp | Nylon 6/6 | Splash Resistant | Engine bay (high heat, low moisture) | -40°F to 300°F |
| Adhesive-Lined Heat Shrink | Polyolefin + Hot Melt | IP67 / IP68 (Submersible) | Undercarriage, wheel wells, exterior | -67°F to 275°F |
| Deutsch DT / DTM Series | Thermoplastic + Silicone | IP68 / IP69K | Multi-pin ECU, sensor, lighting harnesses | -67°F to 257°F |
| Delphi (Aptiv) Weather-Pack | Nylon + Triple-Rib Silicone | IP67 (Weather & Chemical) | Legacy GM/Chrysler bulkhead & lighting | -40°F to 257°F |
Deep Dive: Adhesive-Lined Heat Shrink Butt Connectors
For single-wire splices (e.g., repairing a severed 14 AWG oxygen sensor heater circuit), adhesive-lined dual-wall heat shrink connectors are the absolute gold standard for car electrical repair. Hockessin's heavy winter salting will destroy a standard crimp in two seasons, but a properly installed dual-wall splice will outlast the vehicle.
How Dual-Wall Technology Works
These connectors feature an outer wall of cross-linked polyolefin and an inner wall of thermoplastic hot-melt adhesive. When heated to approximately 248°F (120°C), the inner adhesive liquefies, filling all voids between the wire strands and the crimp barrel. As the polyolefin shrinks (typically a 3:1 or 4:1 ratio), it forces the adhesive out the ends, creating a mechanical and chemical moisture seal that blocks capillary wicking entirely.
AWG Sizing and Color Codes
Using the correct connector size for your American Wire Gauge (AWG) is critical for achieving the proper crimp compression ratio.
- Red (22-18 AWG): Used for low-current sensor signals, CAN-bus lines (typically 0.50mm² to 0.80mm² metric equivalents).
- Blue (16-14 AWG): Standard for 10-15 amp circuits like fuel injectors, cooling fans, and lighting.
- Yellow (12-10 AWG): High-current feeds, ABS module power, and heavy ground circuits.
Step-by-Step Adhesive-Lined Splice Protocol
According to SAE J1560 guidelines for wire insulation and sealing, proper installation requires precise thermal and mechanical steps.
- Strip the Wire: Use precision wire strippers to remove exactly 5/16" of insulation for 18-14 AWG wire. Do not nick the copper strands; compromised strands create localized resistance and heat.
- Crimp the Barrel: Insert the wire into the bare metal barrel. Use a ratcheting crimping tool (never standard pliers). The ratchet ensures the exact mechanical deformation required for a gas-tight crimp, cold-welding the copper strands to the brass or copper barrel.
- Apply Heat: Use a heat gun set between 350°F and 400°F. Start heating in the center of the connector and slowly move outward toward the wire insulation.
- Verify the Seal: Stop heating when you see a uniform bead of adhesive extrude from both ends of the connector. If the polyolefin turns brown or blisters, you have overheated and compromised the dielectric strength.
Multi-Pin Sealed Systems: Deutsch vs. Weather-Pack
When repairing complex harnesses, such as a transmission solenoid pack or an ABS wheel speed sensor, single-wire splices are insufficient. You must use sealed multi-pin connector housings.
Deutsch DT Series (The Modern Standard)
The Deutsch DT series uses solid thermoplastic housings with integrated silicone rear grommets. The terminals are solid nickel-plated copper, offering superior corrosion resistance compared to tin-plated alternatives.
- Pin Retention: Requires a secondary wedge lock (WED) to be inserted after terminal seating. The wedge lock engages the terminal barb, providing >20 lbs of axial retention force.
- Sealing: The rear grommet seals individually around each wire's insulation. Therefore, the wire's outer diameter (OD) must perfectly match the grommet hole size. If you are using thin-walled TXL or GXL wire (per SAE J1128), you must use the appropriate sealing plugs (dummy plugs) for unused cavities to maintain IP68 integrity.
Delphi (Aptiv) Weather-Pack (The Legacy Workhorse)
Commonly found in GM and Chrysler vehicles from the 1980s through the early 2000s, Weather-Pack connectors utilize a tower and shroud design. As noted in Aptiv's connection system documentation, the triple-ribbed silicone seals provide excellent resistance to water, road salt, and engine chemicals.
- Crimp Profile: Weather-Pack terminals feature an open-barrel design with separate conductor and insulation crimp tabs. You must use an open-barrel crimping tool (often an 'M' or 'F' die profile) to properly fold the tabs over the wire strands and insulation without cutting into the copper.
- Extraction: Never pull on the wires to remove a Weather-Pack terminal. Use a dedicated 4-prong extraction tool to depress the locking tangs on the sides of the terminal.
Advanced Troubleshooting: Galvanic Corrosion in Grounds
A frequent issue encountered during car electrical repair in Hockessin is ground stud corrosion. When a copper ring terminal is bolted directly to an aluminum engine block or chassis point, the presence of road salt and moisture creates a galvanic cell. The aluminum acts as an anode and corrodes rapidly, leading to high-resistance ground faults that cause erratic sensor readings and CAN-bus communication errors (e.g., U0100 codes).
The Fix: Always use tin-plated or nickel-plated copper ring terminals for chassis grounds. Clean the mating surface down to bare metal using a brass wire brush (not steel, which leaves iron particles that rust). Apply a thin layer of dielectric grease or dedicated electrical contact compound *after* torquing the bolt to spec (typically 8-12 Nm for M6 ground studs) to seal out moisture without interfering with the metal-to-metal electrical contact.
Summary of Tooling Requirements
To execute these repairs to OEM standards, your toolkit must include: 1. A ratcheting open-barrel crimping tool (for Weather-Pack/Deutsch terminals). 2. A ratcheting closed-barrel tool (for heat shrink butt splices). 3. A precision digital heat gun with a concentrated nozzle. 4. Terminal extraction tools specific to the connector cavity size (e.g., 2.8mm, 4.8mm, 6.3mm). 5. High-quality SAE J1128 GXL cross-linked wire for replacements, which withstands under-hood temperatures up to 150°C.
By selecting the correct adhesive-lined products and adhering to strict crimping and sealing protocols, you can permanently eliminate weather-related electrical failures, regardless of how harsh the winter roads become.