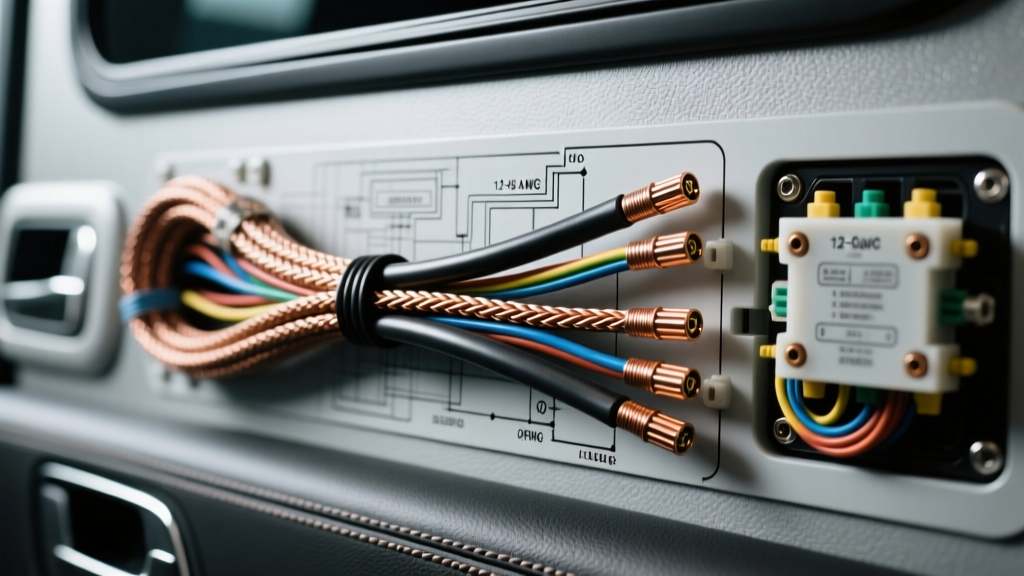
The Convergence of Custom Auto-Audio and Residential Cinema
Building a luxury motorcoach, a custom Mercedes-Benz Sprinter van conversion, or an expedition vehicle like an EarthRoamer requires blending two distinct electrical disciplines. You are essentially installing a high-fidelity residential listening room inside a rolling, vibrating, 12V/24V DC automotive chassis. When custom fabricators and RV upgraders ask, what gauge speaker wire for home theater environments is best, they are often handed standard residential charts. However, applying standard in-wall home wiring practices to a vehicle platform is a recipe for signal degradation, oxidation, and catastrophic short circuits.
At Autoflowwire, we bridge the gap between SAE automotive standards and high-end acoustic requirements. Upgrading your RV or custom vehicle with a 7.1.4 Dolby Atmos surround sound system requires meticulous attention to current draw, impedance drops over long chassis runs, and electromagnetic interference (EMI) from high-amperage automotive alternators and 120V AC inverters.
What Gauge Speaker Wire for Home Theater? The Distance & Impedance Matrix
In a large motorhome (such as a 40-foot Winnebago Forza or a custom Prevost shell), speaker wire runs from the central AV rack to the rear surround channels or outdoor patio speakers can easily exceed 30 feet. The longer the wire, the higher the resistance, which dampens the amplifier's damping factor and alters the frequency response. To determine the correct AWG (American Wire Gauge), we must calculate based on the total round-trip distance and the nominal impedance of the loudspeakers.
| Total Wire Run (Round Trip) | 8-Ohm Speakers (In-Wall/Ceiling) | 4-Ohm Speakers (Component/Auto-Grade) | 2-Ohm Loads (Subwoofers) |
|---|---|---|---|
| Under 20 Feet | 16 AWG | 14 AWG | 12 AWG |
| 20 to 40 Feet | 14 AWG | 12 AWG | 10 AWG |
| 40 to 60 Feet | 12 AWG | 10 AWG | 8 AWG |
| Over 60 Feet | 10 AWG | 8 AWG | 6 AWG |
Pro-Tip for RV Subwoofers: Most high-output 12V DC car audio subwoofers are wired to present a 1-ohm or 2-ohm load to the amplifier. Using 12 AWG or 10 AWG wire for these short but high-current runs is mandatory to prevent voltage drop and thermal melting of the insulation.
Material Science: Why Standard Residential Copper Fails in Motorhomes
If you are pulling wire through the aluminum extrusions and steel ribs of a transit van or motorcoach, you must abandon standard CCA (Copper Clad Aluminum) and untinned residential OFC (Oxygen-Free Copper). Automotive environments are subjected to extreme thermal cycling, high humidity, and constant micro-vibrations.
- CCA (Copper Clad Aluminum): While cheap and common in residential home theater kits, CCA has a higher resistance per foot than pure copper. More importantly, aluminum creeps and fractures under the constant vibration of a moving vehicle, leading to internal wire breaks that are impossible to diagnose without TDR (Time Domain Reflectometry) testing.
- Untinned OFC: Standard bare copper oxidizes rapidly in the humid, condensation-prone walls of an RV. This creates 'black wire syndrome,' where the copper turns black and increases resistance at the termination points.
- Tinned Marine-Grade OFC (ABYC E-11 Compliant): The only acceptable choice for mobile home theaters. Tinning each individual copper strand with a microscopic layer of tin prevents oxidation and acts as a sacrificial barrier against moisture. According to the American Boat and Yacht Council (ABYC) standards—which heavily dictate best practices for RV 12V wiring—tinned wire is mandatory in damp, mobile locations.
Defeating Alternator Whine and EMI in 12V DC Amplifier Racks
A unique challenge when asking what gauge speaker wire for home theater setups in vehicles is dealing with Electromagnetic Interference (EMI). In a house, your speaker wires carry amplified, high-voltage signals that easily reject noise. In an RV, your AV rack is likely powered by a massive 12V DC to 120V AC pure sine wave inverter, sitting inches away from your 12V DC audio amplifiers.
To prevent alternator whine, inverter hash, and 60Hz hum from infiltrating your audio signal:
- Twisted Pair Routing: Always twist your positive and negative speaker leads together at a rate of 4 to 6 twists per foot before routing them through the chassis. This creates a balanced magnetic field that rejects common-mode EMI.
- Orthogonal Crossing: Never run speaker wires parallel to 120V AC inverter lines or 12V DC battery cables. If they must intersect, cross them at a strict 90-degree angle to minimize inductive coupling.
- Shielded Cable for Pre-Outs: While speaker-level wires carry enough current to ignore most EMI, your low-level RCA pre-outs from the AV processor to the amplifiers must be heavily shielded. Use twisted, dual-shielded coaxial cables and ensure the shield is grounded only at the amplifier end to prevent ground loops.
Termination Standards: Surviving the 'Rolling Earthquake'
In a stationary home theater, you might strip a wire and shove it into a spring-loaded binding post. In a custom vehicle, that wire will vibrate loose within 500 miles of highway driving. Proper termination is just as critical as selecting the right AWG.
The Ferrule and Heat Shrink Method
For amplifiers utilizing set-screw terminal blocks, you must use dual-wire bootlace ferrules. Strip exactly 12mm of insulation from your 12 AWG or 14 AWG tinned wire, insert both the positive and negative strands into a single dual ferrule, and crimp using a ratcheting ferrule crimper. This creates a solid, gas-tight block of metal that cannot fray, short against the adjacent terminal, or back out due to chassis flex. Avoid standard spade terminals; the vibration of a Class A motorhome on a concrete highway will cause the set-screw to loosen, allowing the spade to pull out and arc against the 12V DC chassis ground.
For in-wall and in-ceiling speaker connections, utilize Deutsch DT series connectors or sealed Metra marine-grade quick disconnects. This allows you to remove the interior wall panels or ceiling trim for RV maintenance without having to cut and re-terminate your expensive home theater wiring.
For further reading on low-tension primary cable standards and insulation requirements in mobile environments, refer to the SAE J1128 specification. Additionally, for comprehensive acoustic calculations regarding wire resistance and frequency response, Crutchfield's Speaker Wire Guide remains an industry benchmark for matching AWG to acoustic loads.
Chassis Routing: Protecting the Loom
In a Sprinter van or transit chassis, avoid routing through the floor cross-members where road debris, salt, and water spray can compromise the wire loom. Instead, route through the upper C-pillar and roof bow cavities. Secure the wire every 18 inches using UV-resistant P-clamps and Tesa fleece harness tape. Fleece tape prevents the wire jacket from rubbing against bare aluminum or steel ribs, eliminating the 'buzz and rattle' that can ruin quiet cinematic moments while driving down the highway.
Final Wiring Checklist for Your RV Home Theater Upgrade
- Verify amplifier RMS wattage and ensure 12V DC power feeds (usually 4 AWG or 2 AWG for multi-channel home theater amps) are fused within 18 inches of the house battery bank using ANL or Class-T fuses.
- Confirm all speaker wires are Tinned OFC, avoiding big-box store CCA alternatives.
- Map your chassis routing to ensure a minimum 6-inch separation from 120V AC lines.
- Label both ends of every wire run with heat-shrink printed markers (e.g., 'FL-FRONT', 'RR-SURROUND') to save hours of troubleshooting during the AV receiver calibration phase.