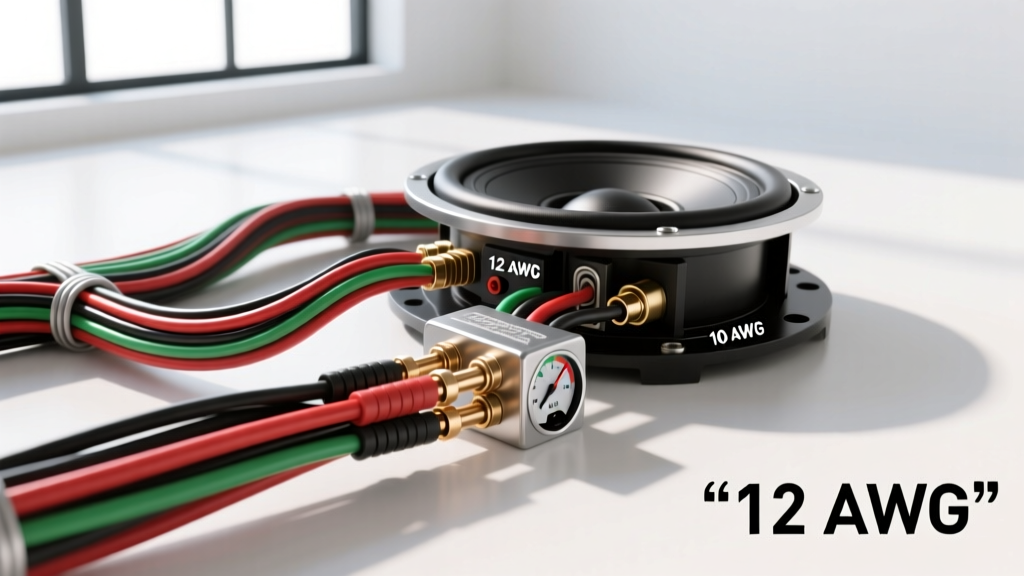
The Physics of Subwoofer Current Draw and Wire Sizing
Upgrading a factory audio system to a high-output aftermarket subwoofer requires more than just mounting a new enclosure and running power cables. One of the most critical, yet frequently overlooked, variables in a high-current audio modification is determining what gauge speaker wire for subwoofer applications will reliably transfer power without inducing clipping, thermal throttling, or signal degradation. While mid-range drivers and tweeters operate efficiently on 18 or 16 AWG wire, subwoofers demand significantly higher current due to their low impedance and high RMS wattage requirements.
To understand why speaker wire gauge matters, we must look at the relationship between power, impedance, and current. According to Joule's Law, current (I) is equal to the square root of power (P) divided by resistance/impedance (R). If you are running a 1,000-watt RMS amplifier into a 1-ohm stable subwoofer load, the amplifier is pushing approximately 31.6 amps of continuous alternating current directly through the speaker terminals. If the wire gauge is too thin, it acts as a series resistor. This not only wastes power as heat but also severely degrades the amplifier's damping factor, resulting in 'flabby' or uncontrolled bass response.
What Gauge Speaker Wire for Subwoofer Setups? (Sizing Chart)
When planning your upgrade project, the correct AWG (American Wire Gauge) size depends on three variables: the RMS wattage of the amplifier, the nominal impedance of the subwoofer at the terminal, and the total length of the wire run. The chart below provides the definitive baseline for automotive subwoofer installations, adhering to the SAE J1128 standards for low-tension primary cable conductivity and thermal limits.
| RMS Wattage | Subwoofer Impedance | Max Run Length (0-8 ft) | Max Run Length (8-16 ft) | Recommended AWG |
|---|---|---|---|---|
| Up to 250W | 4 Ohms | 16 AWG | 14 AWG | 14 - 16 AWG |
| 250W - 500W | 2 Ohms | 14 AWG | 12 AWG | 12 - 14 AWG |
| 500W - 1000W | 2 Ohms | 12 AWG | 10 AWG | 10 - 12 AWG |
| 1000W - 1500W | 1 Ohm | 10 AWG | 8 AWG | 8 - 10 AWG |
| 1500W+ | 1 Ohm or Less | 8 AWG | 6 AWG | 6 - 8 AWG |
Note: Always calculate wire length as the total round-trip distance (positive + negative runs) if you are measuring from the amplifier to the enclosure and back to the chassis ground, though in most car audio setups, the speaker wire runs directly from the amp terminal to the subwoofer terminal.
Material Science: Oxygen-Free Copper (OFC) vs. Copper-Clad Aluminum (CCA)
When shopping for speaker wire, you will inevitably encounter two primary materials: OFC (Oxygen-Free Copper) and CCA (Copper-Clad Aluminum). For high-current subwoofer applications, understanding the metallurgical differences is vital for long-term reliability.
The Conductivity Deficit of CCA
CCA wire consists of an aluminum core with a thin copper electroplating. While it looks identical to pure copper when stripped, aluminum possesses only about 61% of the conductivity of copper. Consequently, a 10 AWG CCA wire has roughly the same electrical resistance as a 12 or 14 AWG OFC wire. In a high-current, low-impedance subwoofer circuit, this excess resistance generates significant heat. Over time, the aluminum core can oxidize beneath the copper cladding if the wire is nicked or exposed to moisture, leading to a catastrophic increase in resistance and eventual amplifier thermal shutdown.
Identifying True OFC Wire
Reputable car audio manufacturers adhere to the guidelines set forth by resources like the Crutchfield Car Audio Learning Center, which heavily advocate for OFC in high-power builds. To verify your wire is true OFC, perform a scrape test on the cross-section of the conductor. If the center reveals a silvery-white color, it is CCA. True OFC will be uniformly copper-colored all the way through. For any subwoofer pulling over 500W RMS, strictly mandate 100% OFC wiring to maintain a high damping factor and prevent voltage drop at the voice coil.
Termination Protocols and Hardware Integration
Determining what gauge speaker wire for subwoofer installs is only half the battle; proper termination is where most modification projects fail. Shoving bare, stranded 10 AWG wire directly into an amplifier's set-screw terminal is a recipe for disaster. As the amplifier vibrates and the wire undergoes thermal expansion and contraction, the set screw will loosen, increasing contact resistance and eventually melting the terminal block.
Step-by-Step Professional Termination
- Strip and Inspect: Strip exactly 3/8-inch of insulation using a precision wire stripper. Do not nick the outer strands, as this reduces the effective cross-sectional area and creates a weak point for shearing.
- Apply Ferrules or Spade Lugs: For amplifier set-screw terminals, use closed-end copper pin ferrules. For subwoofer binding posts or ring-terminal inputs, use heavy-duty spade lugs or ring terminals.
- Crimp, Don't Solder: Soldering speaker wire creates a rigid point that can snap under the high-vibration environment of a vehicle trunk or hatchback. Use a ratcheting hex-crimp tool to ensure a gas-tight mechanical bond.
- Seal with Adhesive Heat Shrink: Slide a piece of dual-wall, adhesive-lined marine heat shrink over the termination before crimping. Heat it until the adhesive oozes out the ends. This prevents oxygen and moisture from wicking into the copper strands via capillary action, which causes green copper oxide buildup.
- Torque Specifications: When tightening amplifier set screws, use a calibrated torque screwdriver set to approximately 1.5 Nm to 2.0 Nm (13 to 18 inch-pounds). Over-tightening will shear the copper strands; under-tightening will cause micro-arcing.
Routing Through the Vehicle Chassis
Subwoofer wire routing requires careful planning to avoid Electromagnetic Interference (EMI). Never run your speaker wires parallel to the vehicle's main power harness, alternator output cables, or ignition coil wires. If you must cross a high-current power wire, do so at a strict 90-degree angle to minimize inductive coupling, which manifests as alternator whine or high-frequency data noise (common in modern CAN-bus vehicles) bleeding into your audio signal.
When passing wire through the rear deck or folding rear seats, always use a rubber firewall grommet or a plastic loom to protect the wire jacket from abrasion against sheet metal. A compromised speaker wire jacket touching the vehicle chassis won't necessarily blow a fuse (since speaker outputs are bridged and floating relative to the chassis ground), but it can cause the amplifier's protection circuitry to detect a ground fault and shut down intermittently during hard cornering or heavy bass transients.
Troubleshooting Subwoofer Wire Voltage Drop
If your subwoofer upgrade project is experiencing issues, the speaker wire gauge or termination is often the hidden culprit. Use this diagnostic tree to identify real-world failure modes:
- Symptom: Amplifier enters 'Protect' or 'Thermal' mode only during heavy bass hits, but the power and ground wires are cool to the touch.
Cause: The speaker wire gauge is too thin for the 1-ohm or 2-ohm load, causing the amplifier to work harder and generate excess internal heat due to reflected impedance anomalies.
Fix: Upgrade to a lower AWG OFC wire and verify the subwoofer's voice coil DCR (DC Resistance) with a multimeter to ensure it matches the amplifier's stable range. - Symptom: Bass sounds 'muddy' or lacks punch, and the subwoofer cone continues to oscillate slightly after the track stops.
Cause: Poor damping factor caused by high resistance in CCA speaker wire or oxidized, loose set-screw terminations.
Fix: Re-terminate all connections using adhesive-lined heat shrink and ferrules. Replace any CCA wire with pure OFC. - Symptom: One side of a dual voice coil (DVC) subwoofer is hotter than the other after extended play.
Cause: Unequal wire lengths or a damaged strand in one of the speaker wire runs, causing an impedance mismatch between the two coils.
Fix: Measure the DCR at the end of the speaker wires. If one reads significantly higher than the other, replace the wire run. Always cut positive and negative speaker wires to the exact same length to maintain symmetrical inductance and resistance.
By treating your speaker wire with the same level of scrutiny as your main 1/0 AWG battery cables, you ensure that every watt generated by your amplifier is efficiently translated into mechanical acoustic energy, resulting in a tight, reliable, and competition-grade subwoofer installation.