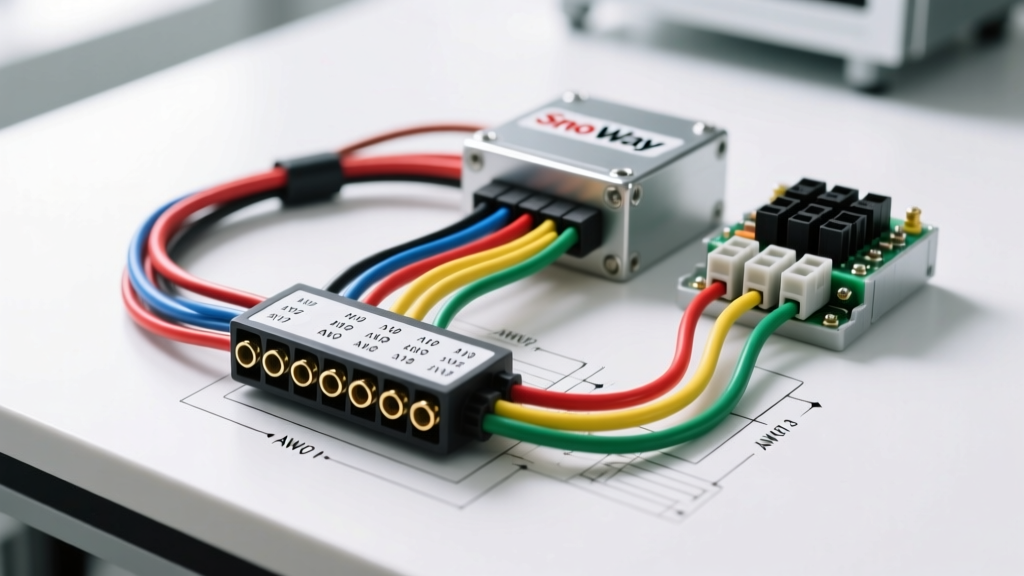
Decoding the Sno Way Plow Wiring Diagram: Cost vs. DIY Value
When a snow removal contractor or homeowner faces a dead Sno-Way plow system, the immediate reaction is often to order a complete OEM replacement harness. However, by carefully analyzing a Sno Way plow wiring diagram, you can isolate the exact failure point and execute a targeted repair. This approach shifts the financial burden from expensive dealership labor to a highly controlled, cost-effective DIY material build. Whether you are dealing with a legacy relay-based system or a newer Multiplex Technology (MT) setup, understanding the cost-to-tool ratio is critical for a reliable repair. This guide breaks down the exact tooling requirements, material costs, and technical specifications needed to repair or fabricate a Sno-Way harness from scratch, ensuring your plow operates flawlessly in sub-zero, high-vibration environments.
Essential Tooling for Sno-Way Harness Installation & Repair
Automotive electrical failures on snow plows are rarely caused by the wire itself snapping; they are almost universally caused by improper crimping, terminal corrosion, or voltage drop due to undersized conductors. To properly execute a repair based on a Sno Way plow wiring diagram, you must invest in specialized crimping and diagnostic tools. Standard household pliers will deform Metri-Pack and Weather-Pack terminals, leading to high-resistance connections that will melt under the heavy inrush current of a plow hydraulic motor.
Tool Cost Breakdown & Specifications
| Tool Category | Specification / Requirement | Est. Cost | Why It Matters for Plow Wiring |
|---|---|---|---|
| Ratcheting Crimper | Delphi Weather-Pack & Metri-Pack 10-16 AWG | $45 - $85 | Ensures gas-tight crimps on solenoid control wires, preventing moisture ingress and salt corrosion. |
| Heavy-Duty Crimper | 8 AWG to 4 AWG Open Barrel / Ring Terminal | $60 - $120 | Required for the main motor power and ground feeds to handle 150+ amp inrush currents. |
| Wire Strippers | Precision 8-16 AWG with stop guard | $30 - $50 | Prevents nicking the copper strands, which reduces ampacity and creates fatigue failure points on the A-frame. |
| Digital Multimeter (DMM) | True RMS with MIN/MAX hold & Auto-ranging | $75 - $250 | MIN/MAX is mandatory for capturing voltage drop during the split-second the hydraulic pump motor engages. |
| Heat Gun & Adhesive Shrink | Dual-wall heat shrink with marine sealant | $40 - $60 | Seals the back of the 13-pin connector against calcium chloride and magnesium chloride road salts. |
Total Initial Tool Investment: $250 - $565. While this seems steep, a single OEM Sno-Way harness replacement at a dealer typically costs $350 for the part plus $250 in labor, making the tools essentially free on your first major repair.
Material Costs: OEM Harnesses vs. Custom Bulk Wire Builds
The most significant cost-saving revelation when studying a Sno Way plow wiring diagram is the realization that the wires themselves are standard automotive-grade conductors. You are not forced to buy a proprietary $400 loom. By sourcing bulk wire that meets SAE J1128 standards, you can fabricate a custom harness for a fraction of the cost.
For under-hood plow routing, never use standard PVC-insulated THHN wire. The heat from the engine bay combined with the extreme cold of a snowstorm will cause PVC to crack and flake. Instead, you must use GXL or SXL cross-linked polyethylene (XLPE) insulated wire. GXL offers a thinner wall thickness, making it easier to route through the firewall and tight A-frame hinges, while still handling high temperatures up to 125°C. You can source these specialized wires from dedicated automotive bulk wire suppliers for roughly $0.40 to $0.90 per foot, depending on the AWG.
Sno-Way 13-Pin Connector Pinout & Wire Gauge Requirements
Below is a standard representation of a Sno-Way 13-pin vehicle-to-plow harness configuration. Always verify against your specific model year's schematic, as MT (Multiplex) systems may repurpose data pins.
| Pin | Function | Wire Color | AWG Size | Max Load / Notes |
|---|---|---|---|---|
| 1 | Main Motor Power (+) | Red | 8 AWG | 150A Inrush / Requires 175A Mega Fuse at battery |
| 2 | Main Motor Ground (-) | Black | 8 AWG | Must terminate to clean, bare chassis or engine block |
| 3 | Raise Solenoid Coil | Blue | 14 AWG | Triggers hydraulic valve for lift circuit |
| 4 | Lower Solenoid Coil | White | 14 AWG | Triggers hydraulic valve for drop circuit |
| 5 | Angle Left Solenoid | Green | 14 AWG | Left wing articulation |
| 6 | Angle Right Solenoid | Yellow | 14 AWG | Right wing articulation |
| 7 | Plow Lights (Ground) | Brown | 16 AWG | Shared ground for all plow-mounted lighting |
| 8 | Plow Running Lights (+) | Orange | 16 AWG | Fed from truck's park light circuit |
| 9 | Plow High Beam (+) | Red/White | 16 AWG | Headlight high beam pass-through |
| 10 | Plow Low Beam (+) | Red/Black | 16 AWG | Headlight low beam pass-through |
| 11 | Controller Data / MT | Purple | 18 AWG | Multiplex data line (shielded in newer models) |
| 12 | Ignition / Switched 12V | Pink | 14 AWG | Powers controller logic and relays |
| 13 | Auxiliary / Spare | Gray | 14 AWG | Reserved for future accessories or salt spreaders |
Hidden Costs: Diagnostic Equipment & Common Failure Modes
When budgeting for a wiring repair, many DIYers forget the cost of diagnostics. If your Sno-Way plow angles right when you command it to lift, you likely have a short between Pin 3 and Pin 6 inside the protective loom. Finding this without the right tools can result in you replacing the entire harness unnecessarily.
A Time Domain Reflectometer (TDR) or a high-quality automotive circuit tracer (costing $80 - $150) can save you hours of peeling back split-loom tubing. Furthermore, understanding voltage drop is crucial. According to Sno-Way technical support guidelines and general automotive electrical best practices, a voltage drop of more than 0.5V across the 8 AWG power and ground circuits under load indicates severe corrosion or an undersized wire. If your DMM reads 10.5V at the motor terminals while the battery reads 12.6V, the hydraulic pump will stall, overheat, and eventually burn out—a $600 mistake caused by ignoring a $2 wiring fault.
Real-World Failure Modes on the A-Frame
- The Hinge Point Fatigue Break: The 14 AWG solenoid wires (Pins 3-6) flex every time the plow is turned or lifted. Over 3-5 seasons, copper work-hardens and snaps inside the insulation. Cost Fix: Splice in a 12-inch loop of high-strand-count (flexible) marine-grade wire at the hinge point using adhesive-lined heat shrink ($15 repair).
- 13-Pin Plug Corrosion: Road salt wicks into the connector via capillary action. The pins turn green (copper oxide), creating a high-resistance bottleneck. The controller senses the voltage drop and throws a "Low Voltage" error code. Cost Fix: Depin the connector, clean with electrical contact cleaner, apply dielectric grease, and replace only the damaged Metri-Pack terminals ($12 repair vs $350 harness).
- Solenoid Flyback Diode Failure: If the wiring diagram indicates external flyback diodes across the solenoid coils and they are missing or blown, the inductive kickback will fry your in-cab controller. Cost Fix: Solder 1N5408 diodes across the 14 AWG coil wires at the valve body ($5 repair vs $200 controller).
Expert Tips for Minimizing Wiring Expenses
1. Use Deutsch DT Connectors for Valve Bodies: If your Sno-Way diagram shows spade terminals connecting directly to the hydraulic manifold coils, upgrade them to 2-pin Deutsch DT connectors. They cost about $4 per pair but offer a secondary IP68 waterproof lock that spade terminals simply cannot achieve in a wet, salty plow environment.
2. Bypass the Firewall Grommet Safely: Drilling a new hole in the firewall to route the 13-pin plug is common, but failing to use a proper rubber firewall grommet and RTV silicone will lead to interior water damage and CAB module corrosion. A $6 grommet protects a $1,500 truck computer.
3. Label Before You Cut: When dissecting an OEM harness to reverse-engineer the diagram, use masking tape and a fine-tip marker on every wire. Sno-Way occasionally changes wire colors between production runs; relying solely on a generic internet diagram without verifying your specific truck's pinout can result in sending 12V down an 18 AWG data line, instantly destroying the MT control module.
By treating the Sno Way plow wiring diagram not just as a map, but as a bill of materials and diagnostic flowchart, you transition from a passive consumer of expensive OEM parts to an active master of your equipment. The upfront cost of proper crimpers, SAE J1128 GXL wire, and a True RMS multimeter pays for itself the very first time you successfully repair a severed solenoid wire in the middle of a February blizzard, keeping your truck on the road and generating revenue.