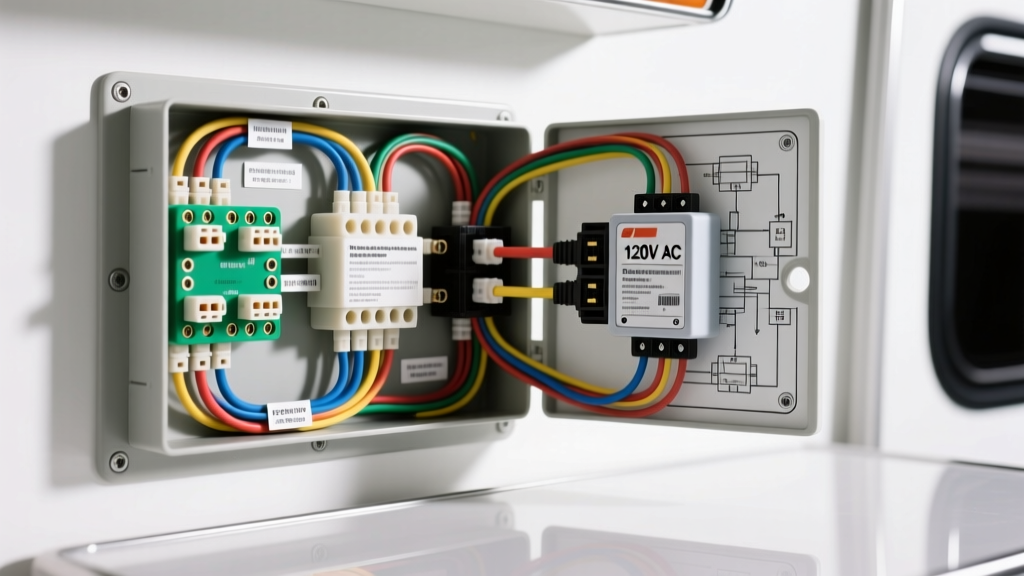
Bridging the Gap: Residential Schematics vs. Automotive Reality
When skoolie converters, Class A motorhome technicians, and heavy-duty truck sleeper builders search for a 120 volt baseboard heater wiring diagram pdf, they are almost always met with residential NEC (National Electrical Code) schematics designed for stationary homes. While these PDFs provide a basic understanding of how a 120V AC resistive heating element connects to a thermostat and breaker panel, they completely ignore the harsh realities of automotive and recreational vehicle environments. Vehicles experience constant vibration, extreme thermal cycling, and rely on limited DC battery banks that must be inverted to AC power.
This beginner-friendly fundamentals guide will translate standard residential baseboard heater diagrams into actionable, automotive-grade wiring protocols. We will cover the critical DC-to-AC power calculations, SAE-compliant wire selection, and the exact integration steps required to run a 1500W 120V baseboard heater off an RV or truck inverter system safely.
Why Standard Residential PDFs Fail in Vehicles
A typical residential wiring diagram will specify 14 AWG or 12 AWG solid copper wire (Romex/NM-B). Using solid core wire in a motorhome, conversion van, or heavy truck is a severe safety hazard. Automotive and RV applications require stranded copper wire. The constant vibration and chassis flexing of a moving vehicle will cause solid wire to fatigue, snap, and create high-resistance arcing faults behind your interior walls.
Furthermore, residential diagrams assume an unlimited power grid. In a vehicle, your 120V baseboard heater is likely drawing from a battery bank via a Pure Sine Wave Inverter. Understanding the DC amperage draw is the most critical fundamental concept for any auto-electrician or DIY builder tackling this project.
Beginner Fundamentals: Calculating the DC Amperage Draw
Before running any wire, you must understand the relationship between AC wattage and DC amperage. A standard 4-foot electric baseboard heater is rated at 1500 Watts at 120 Volts AC. Let us break down the math to determine what your DC battery cables and inverter must handle.
- AC Amperage: Watts ÷ Volts = Amps (1500W ÷ 120V = 12.5 Amps AC).
- Inverter Efficiency: Inverters are not 100% efficient. A high-quality pure sine wave inverter operates at roughly 90% efficiency under load.
- DC Wattage Required: 1500W ÷ 0.90 = 1666 Watts drawn from the battery.
- DC Amperage (at 12V): 1666W ÷ 12.5V (nominal battery voltage under load) = 133.2 Amps DC.
While the AC side of the baseboard heater only requires a standard 15-amp breaker and 14 AWG stranded wire, the DC side of your inverter is pulling over 130 amps continuously. This requires heavy-duty automotive battery cables and precise overcurrent protection.
Step-by-Step Automotive & RV Wiring Architecture
To properly wire this system, we divide the architecture into two distinct zones: the High-Current DC Zone and the 120V AC Distribution Zone.
Zone 1: The DC Battery to Inverter Connection
For a continuous 133A draw, the SAE J378 standard for marine and RV battery cables dictates that you must use a minimum of 1/0 AWG (One-Aught) stranded copper cable for runs up to 10 feet. If your battery bank is located further than 10 feet from the inverter, you must step up to 2/0 AWG to prevent voltage drop, which causes the inverter to shut down prematurely on low-voltage alarms.
- Fuse Placement: Install a 150A ANL fuse on the positive (red) 1/0 AWG cable within 18 inches of the battery bank positive terminal. This protects the cable from catching fire in the event of a dead short.
- Inverter Terminals: Torque the inverter DC lugs to the manufacturer's specification (typically 15 Nm or 11 ft-lbs for Victron and Magnum Energy units). Loose DC terminals cause massive heat buildup due to the high amperage.
Zone 2: The AC Inverter Output to Baseboard Heater
Now we address the AC side, which mirrors the 120 volt baseboard heater wiring diagram pdf you originally sought, but adapted for vehicle safety standards.
- Wire Selection: Use 12 AWG or 14 AWG stranded THHN/THWN-2 wire pulled through flexible split-loom or flexible metallic conduit. Never use solid Romex.
- AC Breaker Panel: Wire the inverter's AC output to a dedicated 20-Amp single-pole AC breaker in your RV's sub-panel.
- Thermostat Integration: Line-voltage baseboard heaters require a line-voltage thermostat (rated for 120V/22A). Wire the Black (Hot) from the breaker to the thermostat Line (L1). Wire the thermostat Load (T1) to the Black (Hot) wire of the baseboard heater.
- Neutral & Ground: Connect the White (Neutral) wire directly from the breaker panel to the heater's White wire using a stranded wire nut or Wago 221 lever connector. Connect the Green (Ground) wire to the heater's chassis ground screw and ensure it terminates at the RV's AC Ground Bus bar.
Component & Wire Gauge Specification Chart
| Circuit Segment | Wire Gauge (AWG) | Wire Type Standard | Overcurrent Protection | Terminal Torque Spec |
|---|---|---|---|---|
| Battery to DC Fuse | 1/0 AWG | SAE J378 (Class K Stranding) | 150A ANL Fuse | 15 Nm (11 ft-lbs) |
| DC Fuse to Inverter | 1/0 AWG | SAE J378 (Class K Stranding) | N/A (Protected upstream) | 15 Nm (11 ft-lbs) |
| Inverter AC Out to Panel | 10 AWG | Stranded THHN/THWN-2 | 30A AC Breaker (Panel Main) | 2.0 Nm (18 in-lbs) |
| Panel to Baseboard Heater | 14 AWG | Stranded THHN/THWN-2 | 20A Single-Pole AC Breaker | 1.5 Nm (13 in-lbs) |
Crucial Safety: Grounding Protocols in Vehicles
The most common mistake beginners make when following a residential PDF is confusing the DC chassis ground with the AC safety ground. In a house, the ground rod and neutral are bonded at the main panel. In an RV or truck, the rules are strictly governed by organizations like the American Boat & Yacht Council (ABYC) and the RVIA (Recreational Vehicle Industry Association).
The Rule: The AC Neutral and AC Ground must never be bonded at the inverter or sub-panel. They are only bonded at the shore-power transfer switch or inside the main shore-power panel. The AC Ground (Green wire) from your baseboard heater must run all the way back to the AC Ground Bus bar, which is then tied to the vehicle's metallic chassis via a minimum 8 AWG green bonding wire. This ensures that if the baseboard heater's internal element shorts to its metal casing, the fault current has a dedicated, low-resistance path back to the inverter to trip the breaker instantly, rather than electrifying the vehicle's chassis.
Troubleshooting Inverter Overloads & Voltage Drop
Baseboard heaters are purely resistive loads. They do not have the massive startup surge (inrush current) that an AC compressor or microwave transformer has. However, they draw continuous, unrelenting amperage. If your inverter shuts down after 10 minutes of the heater running, diagnose the following:
- Voltage Drop on DC Cables: Use a digital multimeter to measure the voltage directly at the battery terminals, and then at the inverter DC terminals while the heater is running. If the battery reads 12.4V but the inverter reads 10.8V, your 1/0 AWG cables are either too long, poorly crimped, or undersized. The inverter's low-voltage cutoff is triggering to save the battery.
- Thermal Throttling: Inverters generate significant heat when pushing 1500W continuously. Ensure the inverter is mounted in a ventilated bay with a minimum 6-inch clearance for intake and exhaust fans. If the internal heatsink exceeds 60°C (140°F), the unit will derate or shut down.
- Battery BMS Cutoff: If using a Lithium Iron Phosphate (LiFePO4) battery bank, check the Battery Management System (BMS) rating. Many budget 100Ah lithium batteries feature a 100A BMS limit. Drawing 133A DC will trip the BMS instantly. You must parallel two batteries to achieve a 200A BMS discharge limit for a 1500W baseboard heater.
Summary
While a standard 120 volt baseboard heater wiring diagram pdf provides the basic AC topology (Breaker -> Thermostat -> Heater), successfully integrating this system into a motorhome, skoolie, or heavy truck requires a deep understanding of DC-to-AC power conversion. By utilizing SAE J378 stranded battery cables, properly sizing your DC overcurrent protection, and maintaining strict separation between AC and DC grounding systems, you can enjoy safe, silent, and efficient electric heat on the road without relying on noisy diesel parking heaters or propane furnaces.
For further reading on complex inverter-charger transfer switch wiring and multi-point grounding in mobile applications, refer to the Victron Energy Wiring Unlimited Guide, which remains the gold standard for mobile electrical architects.