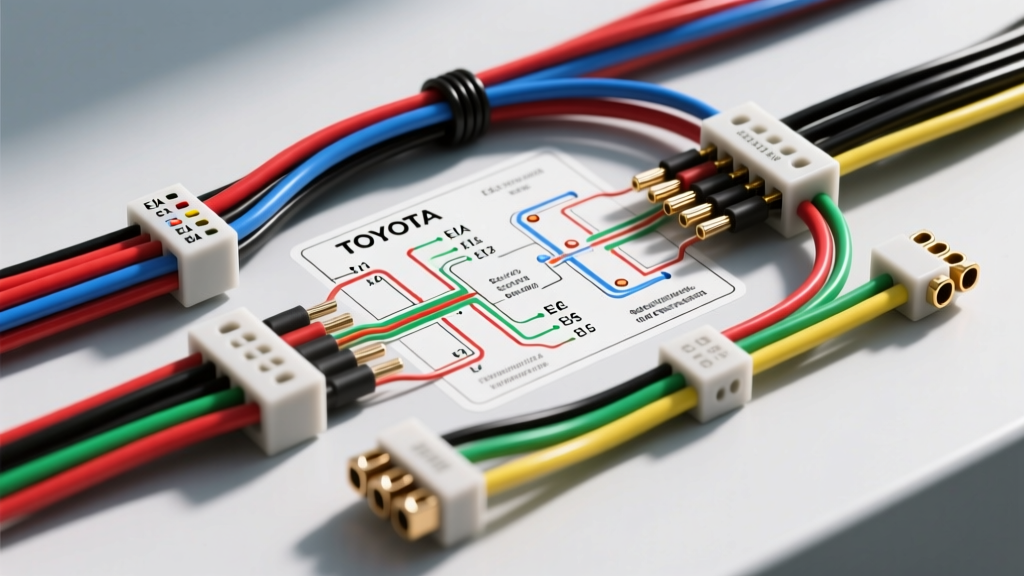
Introduction to Toyota Head Unit Harness Standards
When replacing, upgrading, or diagnosing the audio system in a Toyota vehicle, understanding the factory harness architecture is critical. Unlike some European manufacturers that rely entirely on proprietary digital bus networks for basic audio signals, Toyota largely adopted the Electronic Industries Alliance (EIA) standard for aftermarket head unit wiring colours. This standardization simplifies the integration of aftermarket receivers. However, the physical OEM connectors and the presence of factory-amplified systems (such as JBL Synthesis or Entune premium audio) introduce significant variables. This technical reference provides a comprehensive diagram of Toyota stereo wiring colours, OEM connector pinouts, and critical specifications required for a flawless installation or bench test.
Standard Toyota Stereo Wiring Colours Diagram
Most aftermarket wiring harness adapters translate the Toyota proprietary plug into the universal EIA colour code. When utilizing a standard bypass harness on a non-amplified Toyota base model, the wire colours will strictly adhere to the following EIA RS-770 specifications. Note that these colours represent the aftermarket harness side that plugs into your new stereo, which mate to the vehicle's OEM wiring.
Power, Ground, and Accessory Wires
| Wire Colour | Function | Technical Description | Fuse Rating |
|---|---|---|---|
| Yellow | BATT / Constant 12V | Direct battery feed for memory and standby power. Draws 5-15mA in sleep mode. | 15A (DOME) |
| Red | ACC / Switched 12V | Ignition-controlled power. Wakes the head unit from sleep state. | 10A (CIG/RADIO) |
| Black | Chassis Ground | Must be tied to a clean, unpainted chassis point. Do not rely on cigarette lighter grounds. | N/A |
| Orange/White | Illumination / Dimmer | Receives a PWM (Pulse Width Modulated) signal or variable voltage from the headlight switch. | 15A (TAIL) |
| Blue/White | Amp Turn-On / P. Cont | Outputs +12V (max 300mA) to trigger external amplifiers or OEM JBL logic boards. | N/A |
Speaker Output Wires (EIA Standard)
Toyota base audio systems utilize standard unbalanced, bridge-tied load (BTL) Class-D or Class-AB internal amplification. The wiring colours for the speaker outputs are universally standardized.
| Speaker Location | Positive (+) Wire | Negative (-) Wire |
|---|---|---|
| Front Left | White | White with Black Stripe |
| Front Right | Gray | Gray with Black Stripe |
| Rear Left | Green | Green with Black Stripe |
| Rear Right | Purple | Purple with Black Stripe |
OEM Connector Types and Pin Configurations
While the EIA colours dictate the aftermarket side, the vehicle side utilizes specific Toyota OEM connectors. Identifying these is the first step in selecting the correct Metra, Scosche, or Axxess integration module.
Base Audio 10-Pin + 16-Pin Connector (2000-2018 Models)
Found in vehicles like the 3rd Gen Tacoma, Camry, and Corolla without premium audio. The 10-pin connector handles power, ground, and illumination, while the 16-pin connector handles the 8 speaker channels. Pin 1 on the 10-pin block is typically the Constant 12V (White/Red OEM wire), and Pin 2 is Switched 12V (Gray OEM wire).
28-Pin ECU Connector (Entune & JBL Systems)
Newer platforms (e.g., TNGA architecture vehicles like the 4th Gen Tacoma, RAV4, and newer Camrys) consolidate power, CAN-bus, and speaker outputs into a single 28-pin ECU connector. In JBL-equipped models, the speaker outputs on this 28-pin plug are not standard low-level pre-outs. They are high-level, differential balanced signals designed specifically to drive the factory JBL amplifier's input stage. Tapping these wires with a standard line output converter (LOC) without summing and centering the signal will result in severe audio clipping and head unit protection faults.
Wire Gauge (AWG) and Current Capacity Specifications
When extending wires or building custom harnesses for large Toyota SUVs and trucks (e.g., Sequoia or Tundra), voltage drop over long cable runs becomes a critical factor. The following AWG specifications must be adhered to for safe and efficient power delivery.
| Circuit Type | Recommended AWG | Max Current | Application Notes |
|---|---|---|---|
| Head Unit Constant/Switched | 18 AWG | 10 Amps | OEM harness usually uses 20 AWG; upgrade to 18 AWG for high-draw Android units. |
| Head Unit Ground | 18 AWG | 10 Amps | Keep ground runs under 18 inches to prevent alternator whine. |
| Speaker Outputs (Internal Amp) | 16 AWG | 5 Amps | Standard 18 AWG is acceptable, but 16 AWG reduces damping factor loss. |
| External Amplifier Power | 8 AWG to 4 AWG | 60-100 Amps | Required for aftermarket subwoofers; run directly to the battery via an inline ANL fuse. |
Navigating JBL Amplified Systems and CAN-Bus Integration
The most complex aspect of the Toyota stereo wiring colours diagram involves bypassing the factory JBL amplifier. In Toyota's JBL architecture, the head unit does not send a traditional +12V remote turn-on signal via a dedicated blue wire. Instead, the head unit sends a wake-up command over the vehicle's CAN-bus network (specifically the AV-C LAN or MS-Bus).
If you are bypassing the JBL amplifier to install an aftermarket unit and aftermarket amplifiers, you cannot simply use a standard wire harness. You must use a data-driven integration module (such as the Axxess TYTO-01 or a PAC Audio interface). These modules intercept the CAN-bus data lines (typically Pink and Purple wires in the 28-pin connector), decode the volume and power commands, and generate both the +12V remote turn-on signal and the RCA pre-outs required for your new equipment.
Troubleshooting Common Harness Issues
Even with the correct wiring diagram, real-world installations present unique electrical faults. Use this diagnostic tree for common Toyota audio issues:
- Symptom: Head unit loses memory (radio presets reset) every time the ignition is turned off.
Cause: Yellow (Constant 12V) and Red (Switched 12V) wires are reversed at the crimp barrel or T-tap.
Fix: Verify the Yellow wire has 12V with the key completely removed from the ignition. Swap the connections if necessary. - Symptom: Blowing the 15A TAIL or PANEL fuse immediately upon turning on the headlights.
Cause: The Orange/White illumination wire is shorted to the chassis ground, or the aftermarket stereo's internal dimmer circuit is incompatible with Toyota's PWM dimming signal.
Fix: Isolate the Orange/White wire with heat shrink. If dimming is required, install a 12V-to-0V PWM step-down resistor module to prevent backfeeding the BCM (Body Control Module). - Symptom: Severe alternator whine that pitches up and down with engine RPM.
Cause: Ground loop caused by utilizing the cigarette lighter socket for the ground wire, or running RCA cables parallel to the factory wiring harness down the driver's side kick panel.
Fix: Secure the head unit ground to a verified bare metal bolt behind the dash. Re-route RCA cables down the opposite side of the vehicle's transmission tunnel.
Authoritative References
For advanced diagnostics, always consult the vehicle-specific wiring schematics. The data in this guide is cross-referenced with the following authoritative automotive electrical resources:
- Metra Electronics Vehicle Application Guide - For OEM connector footprints and aftermarket harness mating part numbers.
- SAE International (J1113) - For electromagnetic compatibility and wire gauge standards in automotive environments.
- Toyota Technical Information System (TIS) - Subscription-based OEM service manuals for exact pinout matrices and CAN-bus topology diagrams.