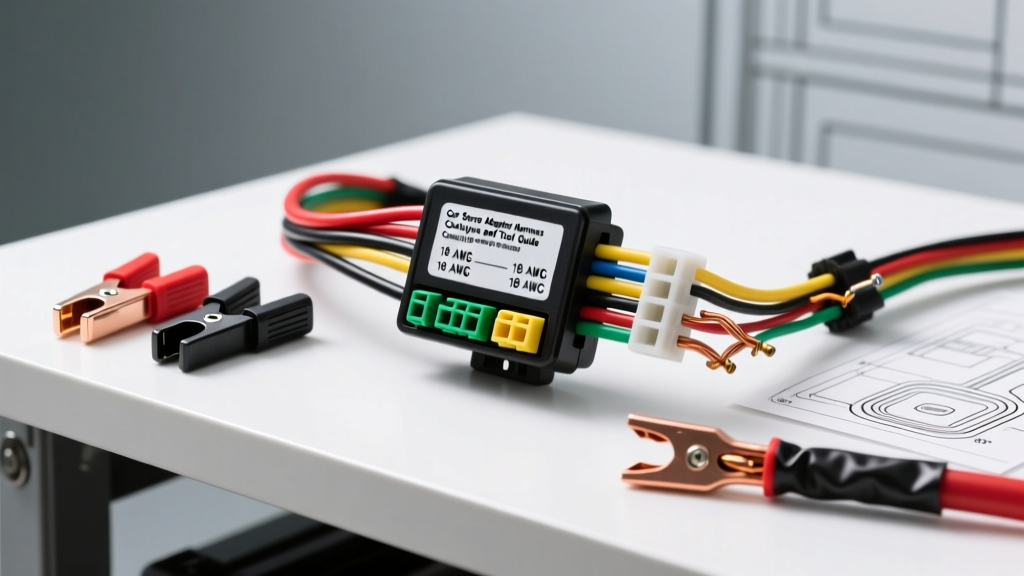
The True Cost of OEM-to-Aftermarket Integration
When upgrading a factory head unit, the car stereo adapter harness is the critical bridge between the vehicle's OEM chassis wiring and the aftermarket CTA-2002 standard. However, DIY installers and novice technicians frequently miscalculate the total financial investment required for a reliable integration. The cost of the harness itself is only a fraction of the equation; specialized termination tools, wire gauge upgrades, and data retention modules drastically alter the final budget. This analysis breaks down the exact costs, tooling requirements, and technical specifications necessary to execute a professional-grade car stereo adapter harness installation without compromising the vehicle's multiplexed CANbus networks.
Standard Wiring Harnesses vs. CANbus Data Modules
The price of a car stereo adapter harness scales exponentially with the complexity of the vehicle's data network. A basic 16-pin analog harness for a 1998-2004 Honda Civic merely translates constant 12V, switched 12V, ground, and four speaker channels. Conversely, modern vehicles (2015+ FCA, GM, and Ford platforms) utilize multiplexed CANbus (Controller Area Network) lines for steering wheel controls, amplifier turn-on signals, and chime retention. Below is a cost and application matrix detailing the financial tiers of adapter harnesses.
| Harness Tier | Example Part Number | Average Cost | Application & Technical Scope |
|---|---|---|---|
| Tier 1: Basic Analog | Metra 70-1761 | $8.00 - $15.00 | Pre-2005 vehicles. Standard 16-pin CTA-2002 to OEM plug. No data lines. |
| Tier 2: SWC & Amp Integration | PAC RP4-CH11 | $65.00 - $95.00 | 2011-2018 Chrysler/Dodge. Retains steering wheel controls (SWC) and factory amplified 2-ohm speaker loads via line-level conversion. |
| Tier 3: Advanced Data/Video | iDatalink Maestro RR2 | $150.00 - $299.00 | 2015+ GM/Ford/Toyota. Translates MS-CAN/HS-CAN data for OBD2 telemetry, climate controls, and factory backup camera video switching. |
Tool Requirements for Professional Harness Termination
The most common failure mode in car stereo adapter harness installations is a poor electrical termination. Relying on twist-and-tape methods or cheap, nylon-insulated butt connectors leads to increased resistance, voltage drops, and eventual thermal failure. According to the SAE J1128 Standard for low-tension primary cables, automotive wiring is subject to severe vibration and thermal cycling, requiring gas-tight crimps to prevent oxidation.
Essential Tool Checklist and Budget Allocation
To properly mate an 18 AWG or 16 AWG adapter harness to an aftermarket head unit pigtail, you must invest in precision termination tools. Budget approximately $85 to $150 for a professional DIY tool kit.
- Precision Wire Strippers ($25 - $40): Standard automatic strippers often nick the copper strands of 18 AWG stranded wire, reducing the cross-sectional area and current-carrying capacity. Use a dedicated 20-30 AWG micro-stripper (e.g., Klein Tools 11063W) to preserve the copper integrity.
- Open Barrel Terminal Crimper ($35 - $55): If your harness requires adding pins to a blank Molex or Delphi connector housing, you need a ratcheting SN-28B or IWISS SN-01BM crimper. These apply a precise 'B' or 'F' crimp profile, ensuring a gas-tight seal that meets automotive vibration standards.
- Adhesive-Lined Heat Shrink ($15 - $25): Standard PVC heat shrink is unacceptable under a dashboard exposed to HVAC heat cycles. You must use 3:1 ratio, dual-wall polyolefin heat shrink with an inner melamine adhesive lining. When heated to 125°C, the inner adhesive melts and seals the wire strands, preventing moisture ingress and capillary corrosion.
- Digital Multimeter ($40 - $120): A Fluke 115 or equivalent auto-ranging DMM is mandatory. You must verify the OEM switched 12V (ACC) line before connecting the red harness wire to prevent parasitic battery drain.
Wire Gauge, Pin Configurations, and Current Loads
The Consumer Technology Association (CTA-2002) standard dictates the color codes and pinouts for aftermarket mobile electronics. However, a critical cost and safety oversight involves the wire gauge used in budget car stereo adapter harnesses. Most Tier 1 harnesses utilize 18 AWG wire for all circuits. While 18 AWG is rated for roughly 16 amps in free air, modern high-power head units (like the Pioneer DMH-W2770NEX or Kenwood eXcelon XR400) can draw up to 15 amps continuously, and up to 25 amps during peak transient bass loads when utilizing internal Class-D amplifiers.
The 18 AWG Voltage Drop Problem
Running 15 amps through 10 feet of 18 AWG copper wire (5 feet positive, 5 feet negative) results in a voltage drop of approximately 1.2 volts. If your vehicle's alternator is outputting 13.8V, the head unit will only see 12.6V. During heavy bass transients, this voltage drop can cause the head unit's internal microprocessor to brown out and reboot, corrupting the EEPROM memory. Expert Fix: For head units rated above 22W x 4 RMS, cut the Yellow (B+) and Black (Ground) wires on the adapter harness and splice them using 16 AWG or 14 AWG primary wire directly to the battery and chassis, bypassing the OEM dashboard harness limitations.
| CTA-2002 Wire Color | Function | Typical AWG | Pinout / Technical Note |
|---|---|---|---|
| Yellow | +12V Constant (Memory) | 18 AWG (Upgrade to 14 AWG) | Powers KEEPS-ALIVE memory. Must be fused within 18 inches of the battery if run direct. |
| Red | +12V Switched (ACC) | 18 AWG | Triggers head unit wake-up. Do NOT connect to CANbus data lines. |
| Black | Chassis Ground | 18 AWG (Upgrade to 14 AWG) | Must terminate to bare, unpainted metal. Torque ring terminal to 8-10 Nm. |
| Blue / White Stripe | Amplifier Turn-On | 18 AWG | Outputs +12V (max 300mA). Do NOT confuse with solid Blue (Power Antenna). |
| Orange / White Stripe | Illumination / Dimmer | 20 AWG | Warning: Many modern vehicles use PWM (Pulse Width Modulation) for dimming. Requires a PAC LPUB-1 interface to prevent head unit damage. |
ROI Analysis: Harness Integration vs. Direct Splicing
Why spend $150+ on a Tier 3 CANbus car stereo adapter harness when you could simply cut the OEM plug and splice into the factory wires for the cost of a few butt connectors? The Return on Investment (ROI) for a proper adapter harness is rooted in risk mitigation and vehicle resale value.
Hidden Costs of Cutting the OEM Pigtail
- BCM Destruction Risk: In vehicles like the 2015+ Ram 1500 or Jeep Grand Cherokee, the factory radio plug shares a housing with MS-CAN (Medium Speed Controller Area Network) and LIN (Local Interconnect Network) bus wires. These data lines operate at low voltages (typically 2.5V for CAN-H and 2.5V for CAN-L in the recessive state). If a technician accidentally splices a 12V switched wire into a CAN-H line, it will instantly backfeed the Body Control Module (BCM), frying the internal transceivers. A replacement BCM costs between $800 and $1,400, plus dealer programming fees.
- Depreciation and Lease Penalties: Cutting the OEM harness permanently alters the vehicle's electrical architecture. If you plan to sell the vehicle or return it at the end of a lease, the dealership will flag the modified wiring. Replacing a factory radio pigtail requires tracing wires back through the dashboard bulkhead, often requiring 4+ hours of labor at $150/hour. A plug-and-play car stereo adapter harness preserves the OEM wiring intact, allowing you to reinstall the factory unit in 15 minutes.
- Troubleshooting Nightmares: Spliced wires hidden behind a DIN sleeve are prone to intermittent shorts against the metal dashboard chassis. This manifests as random blown fuses, parasitic battery drains, or U-code (Network Communication) DTCs that are incredibly difficult to trace without an oscilloscope.
Conclusion: Budgeting for a Flawless Installation
A successful car stereo adapter harness installation requires viewing the project through an electrical engineering lens rather than a simple plug-and-play consumer mindset. Budget $15 to $250 for the correct harness tier based on your vehicle's data network complexity. Allocate an additional $100 for precision crimping tools, adhesive-lined heat shrink, and a reliable multimeter. Finally, factor in the cost of 16 AWG or 14 AWG primary wire to upgrade the power and ground circuits for modern, high-current head units. By investing in the proper tools and respecting the iDatalink Maestro Documentation and CTA-2002 standards, you ensure a deployment that is electrically robust, thermally stable, and completely reversible.