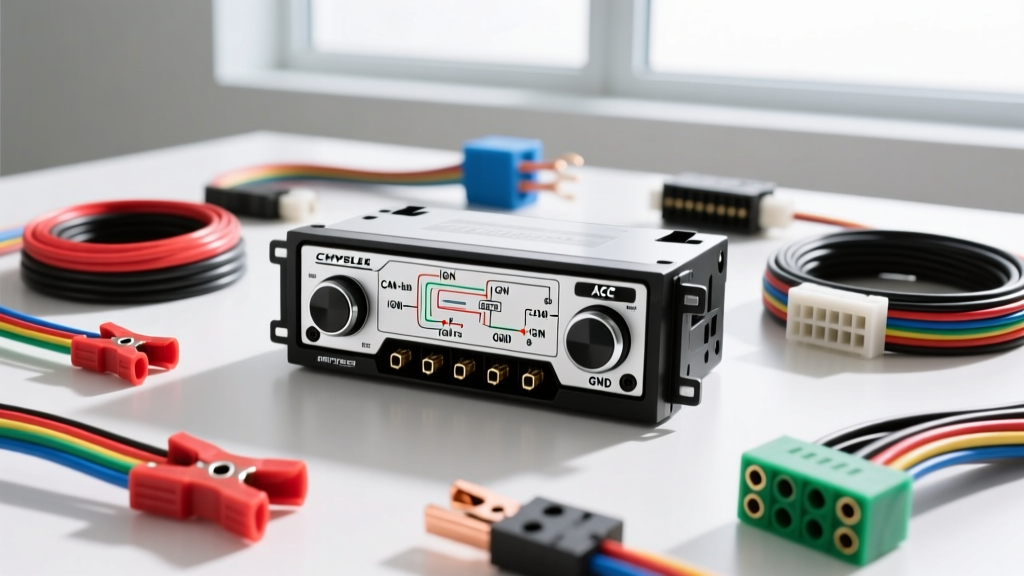
Decoding Stereo Chrysler Radio Wiring Diagrams for Harness Selection
Upgrading the factory head unit in a Chrysler, Dodge, or Jeep vehicle requires more than just matching speaker wires. Since the mid-2000s, Chrysler has heavily integrated its infotainment systems into the vehicle's Controller Area Network (CAN-bus). When consulting stereo Chrysler radio wiring diagrams, installers quickly realize that traditional 12V ignition and accessory wires are often entirely absent. Instead, the radio relies on digital wake-up signals via the CAN-C bus to power on, communicate with the Totally Integrated Power Module (TIPM), and retain steering wheel controls (SWC).
This guide compares the two primary installation methodologies—hardwiring via factory diagrams versus using plug-and-play CAN-bus data interface modules—and provides a comprehensive selection guide for the best harness adapters on the market. Whether you are working on a 2008 Dodge Ram or a 2015 Chrysler 300, understanding the underlying multiplexed electrical architecture is critical to avoiding parasitic battery draws and U-code communication faults.
Hardwiring vs. Plug-and-Play: Comparing Installation Methods
When approaching a Chrysler stereo installation, you must decide whether to splice directly into the factory harness using raw wiring diagrams or to utilize a smart data interface harness. Each method carries distinct advantages, risks, and tool requirements.
Method 1: Direct Splicing via Factory Diagrams
Hardwiring involves cutting the factory plug and soldering or crimping directly to the vehicle's wiring based on OEM stereo Chrysler radio wiring diagrams.
- Pros: Eliminates the bulk of plastic adapter housings behind the dash; ideal for custom fabrication or competition audio builds where every millimeter of depth matters.
- Cons: High risk of disrupting the CAN-bus network. Cutting the twisted-pair data lines without maintaining the 120-ohm termination resistance can trigger a cascade of dashboard warning lights and throw U-codes (e.g., U0187 - Lost Communication with Digital Media Player).
- Required Tools: Posi-Tap connectors (never use 3M scotch locks, which sever the stranded 18 AWG copper strands), digital multimeter, and soldering iron.
Method 2: CAN-Bus Data Interface Modules
Modern smart harnesses read the vehicle's CAN-H and CAN-L data lines and translate those digital signals into traditional analog 12V accessory, illumination, and SWC resistance signals that aftermarket radios (Alpine, Pioneer, Kenwood) can understand.
- Pros: Plug-and-play installation; preserves factory chimes, steering wheel controls, and backup camera triggers; non-destructive to the OEM harness.
- Cons: Added cost ($80-$150+); the interface module adds physical depth to the dash cavity, sometimes requiring relocation to the glovebox or under the HVAC unit.
Chrysler C21 & C22 Connector Pinout Reference
To effectively compare harnesses or verify a data module's operation, you must understand the standard 22-pin C21 (Power/Data) and C22 (Speaker) connectors used in most 2006-2015 Chrysler/Dodge/Jeep applications. Below is a reference table derived from OEM service manuals and SAE J1939 CAN-bus standards.
| Connector / Pin | Wire Color | Function | AWG / Spec |
|---|---|---|---|
| C21 / Pin 1 | Pink / White | Fused B+ (Constant 12V) | 16 AWG |
| C21 / Pin 11 | Black / Light Green | Chassis Ground | 16 AWG |
| C21 / Pin 12 | Dark Green / Light Green | CAN-L (Data Bus -) | 20 AWG (Twisted) |
| C21 / Pin 13 | Dark Green / White | CAN-H (Data Bus +) | 20 AWG (Twisted) |
| C22 / Pin 1 | Dark Green | Front Left Speaker (+) | 18 AWG |
| C22 / Pin 2 | Brown / Red | Front Left Speaker (-) | 18 AWG |
| C22 / Pin 9 | White / Light Green | Right Rear Speaker (+) | 18 AWG |
| C22 / Pin 10 | White / Dark Green | Right Rear Speaker (-) | 18 AWG |
Expert Note: Notice the absence of a traditional Red (Ignition/Accessory) wire. The radio receives its 'wake-up' command digitally via Pins 12 and 13. If you are hardwiring, you must use a CAN-bus translator to generate a 12V accessory lead for your aftermarket stereo.
Top Wiring Harness Adapters Compared for Chrysler Applications
Based on field testing, retention of OEM features, and wiring stability, here is how the top three data interface harnesses compare for Chrysler CAN-bus systems.
| Feature | Metra XSVI-6502-NAV | Axxess XSVI-6503-NAV | iDatalink Maestro RR |
|---|---|---|---|
| Ignition Translation | Yes (Analog 12V) | Yes (Analog 12V) | Yes (Digital + Analog) |
| SWC Retention | Requires ASWC-1 | Built-in | Native (via Maestro) |
| Factory Amp Bypass | No (Low-level only) | No (Low-level only) | Yes (Selectable) |
| Uconnect Chimes | Retained | Retained | Retained + Visual |
| Installation Depth | 3.5 inches | 2.8 inches | 1.5 inches |
Dealing with Factory Amplified Systems (Infinity / Alpine / Kicker)
If your stereo Chrysler radio wiring diagram indicates a factory amplifier (common in Dodge Charger SRT8 or Jeep Grand Cherokee Overland models), the speaker wires at the head unit are low-level (pre-amp) signals, typically under 2 volts. Standard aftermarket harnesses will output these weak signals to the factory amp, resulting in severe clipping and distortion. You must select a harness specifically designed with RCA low-level outputs (like the Metra 70-6504) or bypass the factory amplifier entirely and run new 14 AWG speaker wire from an aftermarket amplifier directly to the door panels.
Common Wiring Failures and Troubleshooting
Even with the correct harness and wiring diagrams, Chrysler's sensitive multiplexed networks are prone to specific installation-related failures. Use this decision tree to diagnose issues.
Symptom: Aftermarket Radio Will Not Power On
- Cause 1: Missing CAN-bus wake-up signal. The data module is not reading the CAN-H/CAN-L lines correctly.
Fix: Use a multimeter to verify CAN-H sits at roughly 2.6V and CAN-L at 2.4V with the key on. Ensure the data module's CAN wires are spliced in parallel, not in series. - Cause 2: Blown TIPM fuse. Chrysler TIPMs are highly sensitive to voltage spikes during soldering or crimping.
Fix: Check the M15 (20A) and M7 (15A) fuses in the under-hood fuse block.
Symptom: Parasitic Battery Draw (Vehicle Won't Start in Morning)
- Cause: The aftermarket radio or interface module is 'talking' back onto the CAN-bus, preventing the TIPM from entering 'sleep' mode 45 seconds after the door closes.
Fix: According to Metra Automotive technical bulletins, ensure the interface module's firmware is updated. Some older modules fail to drop the CAN-bus termination resistor when the vehicle sleeps, keeping the network awake and draining 400mA+ continuously.
Symptom: Loss of Steering Wheel Controls (SWC)
- Cause: Chrysler uses a resistance-ladder network for SWC. If the ground wire for the steering wheel clock spring is compromised, or if the ASWC-1 module is mapped to the wrong resistance threshold, buttons will cross-function (e.g., pressing 'Volume Up' triggers 'Seek Down').
Fix: Manually program the SWC interface using the exact button sequence outlined in the module's manual, bypassing the auto-detect feature which often misreads Chrysler's specific resistance values.
Expert Verdict: Which Path Should You Choose?
For 95% of installers, utilizing a smart CAN-bus data interface harness (such as the iDatalink Maestro or Axxess XSVI series) is the only logical choice. The complexity of stereo Chrysler radio wiring diagrams—specifically the integration of the TIPM, Uconnect data, and CAN-C wake signals—makes hardwiring an unnecessary risk. The cost of a data module is easily justified by the retention of factory chimes, door-ajar warnings, and steering wheel controls. Always verify your exact RPO (Regular Production Option) codes or trim level to confirm whether your vehicle features a factory amplified system before ordering your harness, as this dictates whether you need high-level speaker wire outputs or low-level RCA bypass cables.