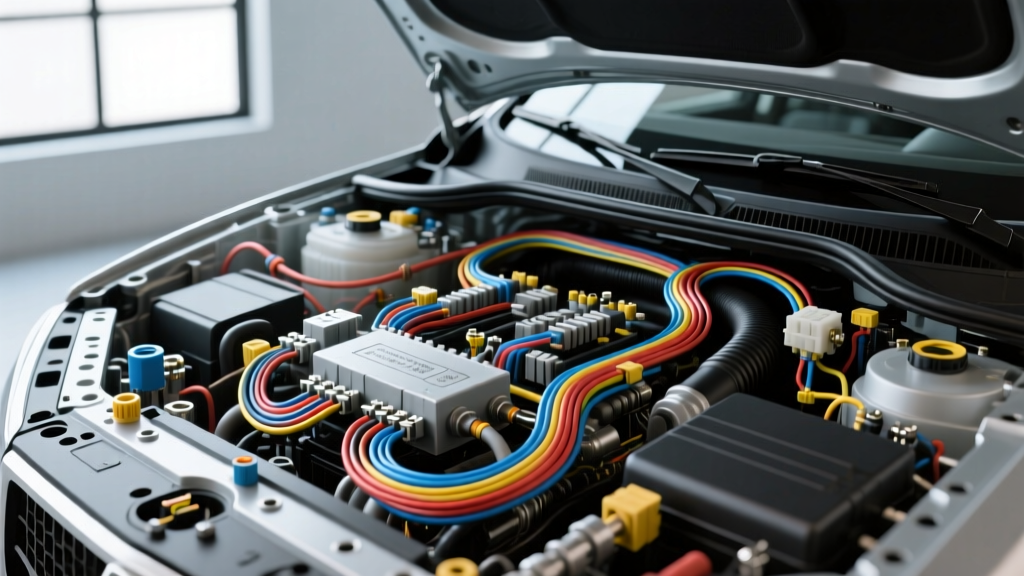
The Regional Challenge: Coastal and Outback Auto Electrics
When evaluating the landscape of regional vehicle modifications, the environment dictates the engineering. Esperance, Western Australia, represents a unique intersection of harsh coastal salt spray and abrasive outback dust. For overlanding enthusiasts and regional workers, an Esperance auto electric service must adhere to rigorous standards far beyond standard metropolitan commuter vehicles. The combination of high-vibration corrugated roads and severe corrosion risks means that standard PVC-insulated wire and basic butt connectors will fail prematurely. This comprehensive cost and tool requirements analysis breaks down the financial realities of hiring a professional regional auto electrician versus the precise tooling and material specifications required to execute high-reliability DIY 4WD electrical upgrades.
Cost Analysis: Professional Auto Electrician vs. DIY Investment
Regional auto electrical labor rates reflect the high overhead of remote supply chains and specialized expertise. In hubs like Esperance, hourly workshop rates typically range from $130 to $165 AUD. Below is a comparative cost analysis for common 4WD electrical upgrades, contrasting professional installation with a high-standard DIY approach using premium components.
| Electrical Upgrade | Professional Cost (Parts + Labor) | DIY Premium Parts Cost | Est. DIY Labor Time |
|---|---|---|---|
| Dual Battery System (DC-DC) | $1,800 - $2,400 | $750 - $950 | 6 - 8 Hours |
| 12,000lb Winch Wiring & Solenoid | $450 - $650 | $180 - $250 | 3 - 4 Hours |
| Smart Alternator Bypass & ECU Tuning | $300 - $450 | $80 - $120 | 1 - 2 Hours |
| Roof Rack LED Light Bar (IP67) | $350 - $500 | $150 - $220 | 2 - 3 Hours |
While the DIY route offers significant capital savings, it demands a substantial upfront investment in specialized termination and diagnostic tools. A failed crimp on a 120A DC-DC circuit can result in a thermal event (fire), making professional-grade tooling non-negotiable.
Essential Tool Requirements for High-Reliability Wiring
To match the reliability of a certified Esperance auto electrician, your workbench must be equipped with tools designed for high-strand-count, high-current automotive cables. Standard hardware store crimpers will deform Anderson Powerpole contacts and compromise Deutsch connector seals.
Diagnostic and Measurement Equipment
- Multimeter: Fluke 87V True RMS Industrial Multimeter. Essential for accurately reading PWM (Pulse Width Modulation) signals from modern smart alternators and diagnosing parasitic draws down to the milliamp level.
- Clamp Meter: Fluke 375 FC True RMS AC/DC Clamp Meter. Required for verifying actual current draw on high-amperage circuits like winches and inverters without breaking the circuit.
- Thermal Imaging Camera: FLIR C5 or similar. Critical for post-installation load testing to identify high-resistance connections (hot spots) at fuse blocks and busbars before they cause voltage drops or fires.
Specialized Crimping and Termination Tools
- Anderson SB50 Crimper: Knipex 97 53 14 or TEMCo HD Crimper. These feature a precise hex-indent die that perfectly matches the Anderson Powerpole contact barrel without crushing the wire strands.
- Deutsch DT Series Crimper: IWISS IWS-1424A or equivalent ratcheting crimper. Must accommodate 16-20 AWG solid and stranded contacts while ensuring the wire grip crimp and insulation grip crimp are formed simultaneously.
- Heat Shrink Application: Milwaukee M18 Cordless Heat Gun with a reflector nozzle. Required for evenly shrinking dual-wall polyolefin adhesive heat shrink without scorching the wire insulation.
Technical Specifications: Wire Sizing for Remote 4WD Setups
Wire sizing in automotive applications is frequently misunderstood. Many DIYers size wire based solely on ampacity (the maximum current a wire can carry before melting). However, in low-voltage (12V/24V) DC systems, voltage drop is the limiting factor. According to the SAE J1128 Low Tension Cable Standard, wire insulation must also withstand under-hood temperatures up to 125°C (Type SXL). Furthermore, for coastal environments like Esperance, standard bare copper will succumb to galvanic corrosion; MIL-DTL-24643 tinned marine wire is highly recommended, as detailed in the ABYC E-11 AC and DC Electrical Systems guidelines.
| AWG Size | Metric (mm²) | Max Amps (Engine Bay 125°C) | Recommended Application | Overcurrent Protection |
|---|---|---|---|---|
| 2/0 AWG | 67.4 mm² | 330A | Main Battery Links, High-Draw Winch | 250A - 300A ANL |
| 2 AWG | 33.6 mm² | 210A | Standard Winch, Heavy Duty Inverter | 175A - 200A ANL |
| 6 AWG | 13.3 mm² | 100A | 40A-50A DC-DC Charger B+ Feed | 60A MIDI/AME Fuse |
| 10 AWG | 5.26 mm² | 55A | Solar Input, Fridge Circuits, Lighting | 30A - 40A ATC/MIDI |
| 14 AWG | 2.08 mm² | 32A | Relay Coils, Smart Alternator Triggers | 10A - 15A ATO |
Step-by-Step: Wiring a 40A DC-DC Charger for Smart Alternators
Modern vehicles (typically 2015 and newer) utilize ECU-controlled smart alternators that drop system voltage to 12.4V or lower during cruising to reduce engine load. A standard VSR (Voltage Sensitive Relay) will fail to charge a secondary battery under these conditions. Referencing the Redarc Wiring Diagrams and Technical Guides, here is the precise methodology for wiring a 40A DC-DC charger (e.g., BCDC1240D) in a smart alternator vehicle.
- Calculate Voltage Drop and Run B+ Cable: Measure the total cable run from the start battery positive terminal to the DC-DC charger. For a 5-meter total loop (positive and negative) carrying 40A, using 6 AWG (13.3mm²) wire yields a voltage drop of approximately 0.27V, well within the acceptable 3% limit. Route the red SXL-insulated 6 AWG wire through the firewall using a rubber grommet, keeping it at least 150mm away from exhaust headers.
- Install Main Overcurrent Protection: Install a 60A MIDI fuse within 150mm of the start battery positive terminal. This protects the entire 6 AWG cable run from short-circuit thermal events.
- Terminate with Anderson SB50: Strip 12mm of insulation from the 6 AWG wire. Insert the strands fully into the Anderson SB50 50A contact barrel. Using the dedicated hex-crimper, crimp the barrel. Soldering is strictly prohibited here, as solder wicks into the wire strands under vibration, creating a rigid point that will eventually snap.
- Wire the Smart Alternator Trigger: Locate the ignition-switched fuse or the specific smart alternator trigger wire in the engine bay fuse box. Using a 14 AWG orange wire, connect it to a fuse tap (Add-A-Circuit) rated for 10A. Route this trigger wire to the DC-DC charger's ignition input pin. This signals the charger's internal microprocessor to activate only when the alternator is actively generating power.
- Establish a Common Ground Point: Do not ground the DC-DC charger directly to the auxiliary battery negative terminal if the run is excessively long, as this creates a ground loop. Instead, run a 6 AWG black wire from the charger's negative terminal to a dedicated, paint-scraped chassis ground point or a heavy-duty negative busbar bolted directly to the engine block or start battery negative.
Environmental Protection: Combating Salt and Dust
The defining factor of an Esperance auto electric installation is environmental sealing. Standard PVC electrical tape degrades under UV exposure and unwinds in high under-hood temperatures. All connections in the engine bay and undercarriage must be sealed using dual-wall adhesive-lined heat shrink (3M FP-301 or equivalent). When heated, the inner polyolefin layer melts and flows into the wire strands, creating a 100% waterproof, airtight seal that prevents capillary action from drawing saltwater into the copper. For external connections, such as trailer plugs, roof rack lighting, and external Anderson plugs, IP67-rated Deutsch DT connectors are mandatory. These connectors utilize a silicone rear grommet that seals around the wire insulation and a hard plastic wedge lock that prevents the contact pins from backing out under heavy corrugated-road vibration. By adhering to these stringent material and tooling requirements, DIY enthusiasts can achieve workshop-level reliability, ensuring their electrical systems survive the brutal transition from the Southern Ocean coast to the deep red dirt of the interior.