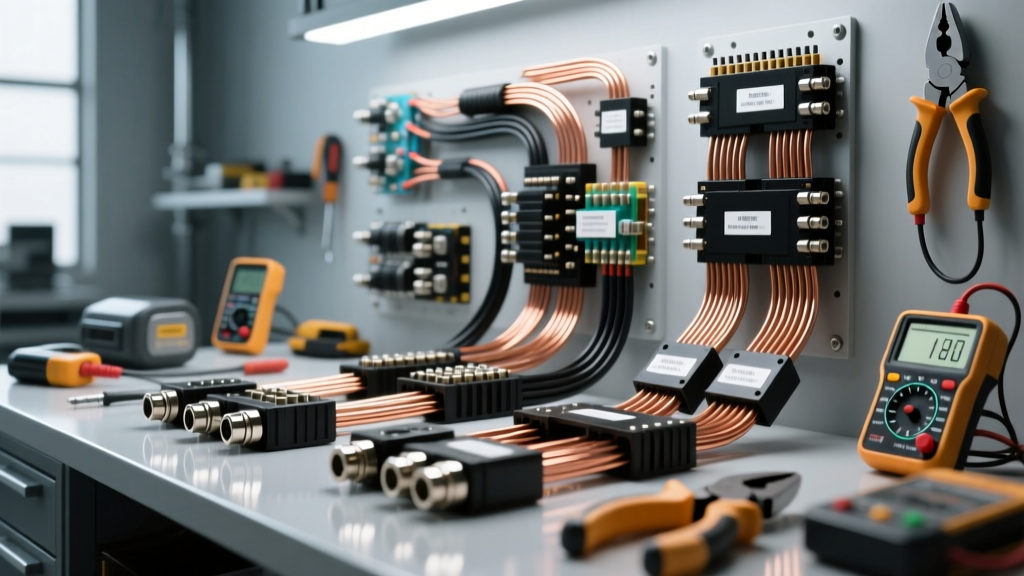
The Benchmark: Hernandez Auto Electric and Repair Service Scope
When modern vehicles present complex electrical faults—from intermittent parasitic draws to high-speed communication network failures—general mechanics often hit a diagnostic wall. Specialist facilities like Hernandez Auto Electric and Repair operate at the apex of automotive electrical troubleshooting. For DIY enthusiasts and independent shop owners looking to elevate their diagnostic capabilities, understanding the tooling, wiring supplies, and financial investment required to match this professional standard is critical. This cost and tool requirements analysis breaks down the exact equipment needed to perform advanced alternator ripple testing, CAN bus parsing, and OEM-grade circuit repairs.
Professional Diagnostic Tool Requirements & Costs
The cornerstone of any advanced auto electric shop is the ability to visualize electrical signals over time. A standard digital multimeter (DMM) samples voltage a few times per second, completely missing microsecond voltage drops or high-frequency noise. To diagnose a failing alternator diode trio or a corrupted sensor signal, an automotive oscilloscope is mandatory.
Oscilloscope and Scan Tool Matrix
| Equipment Type | Industry Standard Model | Key Specifications | Estimated Cost |
|---|---|---|---|
| Automotive Oscilloscope | PicoScope 4425A | 20MHz Bandwidth, 200 MS/s, 4-Channel | $1,295 |
| Bi-Directional Scan Tool | Autel MaxiSYS Ultra | 5-in-1 VCMI, Oscilloscope integration, Topology Mapping | $3,999 |
| Current Clamp (Low Amp) | Pico TA018 | 0-10A DC/AC, 1mV resolution per 10mA | $185 |
| Thermal Imaging Camera | FLIR TG267 | 160x120 Resolution, -13°F to 716°F range | $399 |
According to the Pico Technology Waveform Library, capturing an alternator ripple test requires an oscilloscope capable of AC coupling. By connecting the probe to the alternator B+ terminal and setting the scale to 50mV/div, a technician can identify diode failures. A healthy alternator exhibits less than 50mV of AC ripple. If the waveform spikes above 100mV AC, the diode trio is leaking AC voltage into the vehicle's DC architecture, which can cause severe CAN bus communication errors and premature battery failure.
Wiring & Terminal Tooling: The Hidden Shop Costs
A defining characteristic of Hernandez Auto Electric and Repair is the commitment to OEM-grade wiring repairs. Soldering and heat-shrink butt connectors are strictly forbidden in modern high-vibration, high-temperature engine bays. Instead, professional electricians utilize open-barrel crimping systems and sealed connector housings.
Terminal Crimping & Wire Inventory
- Open-Barrel Crimpers: Tools like the Rennsteig or equivalent TE Connectivity crimpers ($250-$350) are required to properly form the 'W' or 'B' shape crimp on non-insulated terminals without damaging the wire strands.
- Sealed Connectors: Inventory must include Molex MX150 and TE Superseal 1.5 series kits. These connectors handle 14 to 18 AWG wire and feature integrated silicone seals to prevent capillary action water intrusion.
- Wire Specifications: Shops must stock cross-linked polyethylene (XLPE) insulated wire in 14, 16, and 18 AWG. XLPE wire withstands temperatures up to 150°C, compared to standard PVC wire which degrades at 105°C.
For detailed terminal specifications and mating forces, technicians frequently reference the Molex MX150 Connector System Documentation to ensure the correct crimp die height is selected for specific wire gauges, preventing terminal pull-out or high-resistance connections.
High-Current Circuit Analysis: Starter and Alternator Architecture
Specialist electrical shops spend a massive portion of their time diagnosing no-crank and under-charging conditions. A professional voltage drop test on the starter circuit requires analyzing both the power and ground sides under load. According to standard automotive electrical engineering principles, the maximum allowable voltage drop on any high-current 12V circuit is typically 0.2V per connection or cable. For the main battery positive cable (typically 4 AWG to 1/0 AWG depending on the vehicle's cold cranking amp requirements), a drop of 0.5V indicates severe internal corrosion or loose terminal torque.
Terminal torque specifications are critical. For example, a standard M8 alternator B+ terminal nut requires a torque of 10-12 Nm. Over-torquing can crack the internal diode bridge solder joints, while under-torquing leads to micro-arcing, melting the plastic alternator casing. Furthermore, when testing the alternator's main output, technicians must verify the voltage at the battery posts, not just the alternator casing, to account for the voltage drop across the main fusible link and the positive battery cable.
Advanced Troubleshooting: Parasitic Draw & CAN Bus Architecture
Diagnosing a parasitic battery drain or a network topology failure requires a systematic approach governed by SAE International standards for vehicle networks. Here is how a specialist shop tackles these issues without pulling every fuse and waking up the vehicle's modules.
The Voltage Drop Parasitic Draw Method
Instead of breaking the circuit with an ammeter, which can trigger module wake-up events, professionals measure the voltage drop across the blade fuses in the interior and under-hood fuse boxes. Using a DMM with millivolt resolution, the technician measures the micro-voltage drop across the fuse test points. Using Ohm's law and the specific resistance of the fuse element, they calculate the current flow.
| Fuse Rating | Voltage Drop (mV) | Approximate Current Draw |
|---|---|---|
| 10A (Mini) | 1.0 mV | ~15 mA |
| 15A (Mini) | 0.7 mV | ~15 mA |
| 20A (Mini) | 0.5 mV | ~15 mA |
A normal sleeping vehicle should draw less than 50mA. If a 10A fuse shows a 3.5mV drop, that specific circuit is drawing over 50mA alone, immediately isolating the faulty module or shorted wiring harness.
CAN Bus Termination Resistance Testing
When a scan tool fails to communicate with multiple modules, the High-Speed CAN bus is likely compromised. The OBD-II DLC (Data Link Connector) provides direct access to this network. Pin 6 is CAN-High and Pin 14 is CAN-Low. With the vehicle battery disconnected to prevent back-feeding, a DMM is used to measure resistance between these two pins. The network relies on two 120-ohm termination resistors located at the ends of the bus. Wired in parallel, the total circuit resistance must read exactly 60 ohms. A reading of 120 ohms indicates one missing resistor (often a disconnected module), while a reading near 0 ohms indicates a dead short between the CAN-H and CAN-L twisted pair wires.
OEM Wire Color Standards for CAN Bus Networks
Understanding manufacturer-specific wire color codes is essential for rapid diagnostics. While the SAE J1939 standard dictates the architecture, the physical wire colors vary by OEM. For instance, General Motors typically utilizes Dark Green (D-GN) for CAN-High and Dark Blue (D-BU) for CAN-Low on their high-speed GMLAN networks. Ford often employs White/Blue (WH/BU) for CAN-H and White/Violet (WH/VT) for CAN-L. Chrysler (Stellantis) frequently uses Dark Green/Orange (DG/OR) and Dark Green/Brown (DG/BR). Recognizing these twisted pair colors in a damaged harness allows the technician to quickly identify which network is compromised without needing to trace the circuit back to the ECU.
Precision Pin Extraction Tooling
Repairing a single damaged wire in a 40-pin ECU connector requires specialized extraction tools. Shops like Hernandez Auto Electric and Repair invest heavily in terminal removal kits (such as those from OTC or Lisle), which cost between $150 and $300. These kits include dual-prong and single-prong extractors designed to collapse the terminal's locking tangs without damaging the fragile plastic housing. Attempting to use improvised tools like paperclips or dental picks often shatters the connector's internal locking mechanism, necessitating a complete harness replacement that can cost upwards of $1,500.
DIY vs. Pro Shop Investment Analysis
Replicating the full diagnostic capability of Hernandez Auto Electric and Repair requires a significant capital investment. A basic DIY setup (DMM, basic code reader, soldering iron) costs under $200 but is incapable of diagnosing multiplexed network faults or intermittent sensor dropouts. A professional-grade setup, including a 4-channel oscilloscope, bi-directional scanner, OEM crimping dies, and thermal imaging, easily exceeds $7,500. However, for independent shops, this investment pays for itself by eliminating the 'parts cannon' approach, reducing diagnostic time from hours to minutes, and ensuring long-term reliability of wiring repairs in harsh automotive environments.