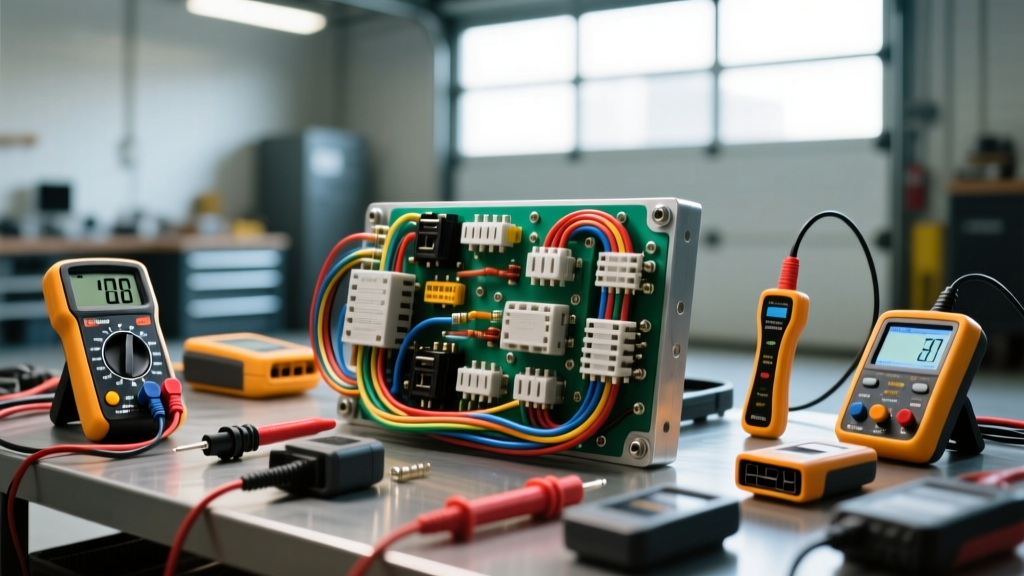
Benchmarking Professional Auto Electrical Standards
When vehicle owners face catastrophic electrical failures—ranging from fried PCM drivers to intermittent CAN bus dropouts—the benchmark for repair quality often points to established specialists. Shops operating at the level of Holguin's Auto Electric represent the pinnacle of regional automotive electrical diagnostics, specializing in complex harness reconstruction, high-amperage charging system overhauls, and multiplex network troubleshooting. For DIY mechanics and independent shop owners looking to elevate their capabilities, understanding the tool requirements, overhead costs, and technical standards of a top-tier auto electric specialist is crucial. This analysis breaks down the exact infrastructure required to diagnose, repair, and validate modern vehicle electrical architectures, moving beyond basic multimeter testing into professional-grade circuit validation.
The Diagnostic Arsenal: Oscilloscopes and Load Testers
The foundation of any professional auto electric shop is the ability to visualize electrical signals over time. While a digital multimeter (DMM) can measure static voltage, it cannot capture a 2-millisecond voltage drop on a starter solenoid trigger wire or decode a PWM (Pulse Width Modulated) alternator control signal. To match the diagnostic standards of elite shops, the following tools are mandatory:
Automotive Oscilloscopes
The industry standard is the PicoScope 4425A. This 4-channel oscilloscope allows technicians to perform relative compression tests using a 60A DC current clamp, capturing the exact amperage draw of each cylinder's compression stroke via the starter motor circuit. Furthermore, it is essential for analyzing CAN bus waveforms. A healthy CAN High signal should peak at approximately 3.5V and rest at 2.5V, while CAN Low should drop to 1.5V and rest at 2.5V. Any deviation in these voltage thresholds, or a shift in the 60-ohm parallel resistance of the terminating resistors, requires immediate oscilloscope validation to pinpoint the short or open circuit.
Conductance-Based Battery and Starting Testers
Professional shops utilize conductance testers like the Midtronics PSC-550 or CPX-900. Unlike older carbon-pile load testers that merely apply a resistive load, conductance testers measure the AC conductance of the battery plates to determine true State of Health (SOH) and Cold Cranking Amps (CCA) capacity without fully depleting the battery. This is critical when diagnosing AGM (Absorbent Glass Mat) and EFB (Enhanced Flooded Battery) systems found in modern start-stop vehicles, which require specific charging profiles and sensor recalibrations.
Wiring, Terminals, and Crimping Infrastructure
A defining characteristic of a premier auto electric shop is the absolute rejection of twist-and-tape or basic heat-shrink butt connectors for critical circuits. Professional harness repair requires factory-style terminations that resist vibration, moisture intrusion, and thermal cycling.
Wire Specifications and Insulation Types
Shops must stock automotive-grade primary wire conforming to SAE J1128 specifications. The most common insulation types include:
- GXL (General Cross-Linked): Standard for most under-hood and interior wiring, rated up to 125°C.
- SXL (Special Cross-Linked): Thicker insulation for high-heat areas near exhaust manifolds or turbochargers, rated up to 150°C.
- TXL (Thin-wall Cross-Linked): Used for tight-radius routing inside dashboards and ECU enclosures.
Open-Barrel Crimping and Sealed Connectors
For ECU and sensor pigtails, professionals use open-barrel crimp terminals (such as Molex MX150 or TE Connectivity AMPSEAL series). This requires specialized ratcheting crimp tools, like the Rennsteig open-barrel crimpers, which feature interchangeable die sets to match the exact AWG (typically 18 AWG to 22 AWG for sensor circuits). For high-amperage under-hood sensors and lighting, the Deutsch DT series is the standard. These utilize solid cylindrical pins and silicone rear seals to achieve IP67/IP6K9K waterproof ratings, requiring specific insertion/extraction tools and a wire barrel crimp tool calibrated to pull-test standards (e.g., 15 lbs of pull force for 16 AWG wire).
Cost Breakdown: Professional Shop vs. DIY Garage
Establishing an auto electrical department capable of handling complex diagnostics requires significant capital. Below is a cost analysis comparing a basic DIY setup to a professional-grade infrastructure modeled after top-tier specialists.
| Equipment Category | DIY / Hobbyist Setup | Professional Shop Standard | Estimated Cost Delta |
|---|---|---|---|
| Circuit Testing | Basic DMM & Test Light ($45) | PicoScope 4425A & 60A Clamp ($1,400) | +$1,355 |
| Battery/Charge Analysis | Carbon Pile Load Tester ($60) | Midtronics PSC-550 Conductance Tester ($850) | +$790 |
| Crimping & Terminals | Ratcheting Butt Crimper ($30) | Rennsteig Open-Barrel & Deutsch Kits ($750) | +$720 |
| Power & Ground Probes | Jumper Wires ($20) | Power Probe IV & Hook Master ($600) | +$580 |
| Thermal Diagnostics | Infrared Thermometer ($40) | FLIR TG267 Thermal Camera ($350) | +$310 |
| Total Estimated Investment | $195 | $3,950+ | $3,755+ |
Technical Application: High-Amperage Alternator Circuit Rebuild
To illustrate the technical depth required in professional auto electrical work, consider the diagnosis and rebuild of a modern high-output charging system, such as the Denso SC14 alternator commonly found in heavy-duty Toyota and Lexus applications. When a customer complains of dimming lights or a battery warning lamp, amateur diagnostics often stop at measuring battery voltage at the terminals. A professional shop performs a comprehensive voltage drop test across the entire B+ and ground architecture.
Denso SC14 Pinout and Circuit Validation
The Denso SC14 utilizes a specific multi-pin connector for PCM regulation. Proper diagnosis requires verifying the following circuits with a high-impedance DMM or oscilloscope:
- B+ Terminal: Main output. Requires a heavy-gauge cable (typically 8 AWG or 6 AWG for 130A+ alternators) routed to the main fuse block or battery positive. Torque specification for the 8mm retaining nut is strictly 12 Nm. Voltage drop from the alternator B+ post to the battery positive post must not exceed 0.2V under a 60A load.
- IG Terminal (Ignition): Typically a 16 AWG or 18 AWG Black/White wire. This provides the initial excitation voltage to the regulator when the ignition is in the 'ON' position.
- L Terminal (Lamp): Usually an 18 AWG Yellow/Red wire. This circuit completes the ground path for the dashboard battery warning lamp and signals the PCM of alternator status.
- M Terminal (Monitor): Typically an 18 AWG White wire. This provides a feedback signal to the ECM regarding the alternator's actual load and output, allowing the ECM to adjust idle speed to compensate for high electrical loads (e.g., cooling fans and rear defroster engaging simultaneously).
If the M-terminal signal is lost due to a corroded splice, the ECM may not raise the idle speed, causing the alternator to under-charge at low RPMs despite the alternator itself being mechanically sound.
Real-World Troubleshooting: Parasitic Draw and Sleep Modes
Modern vehicles feature complex CAN bus networks that do not power down immediately when the ignition is turned off. Modules like the Telematics Control Unit (TCU) and Body Control Module (BCM) can take up to 45 minutes to enter 'sleep mode.' A professional shop utilizes a 60A DC current clamp connected to an oscilloscope to monitor the parasitic draw over time without waking the modules by opening doors or disconnecting the battery negative terminal. The target sleep current for most modern architectures is between 20mA and 50mA. If the draw remains above 300mA, the technician will perform a voltage drop test across individual fuses in the smart junction box, using a standardized chart to correlate millivolt drops to specific amperage draws, thereby isolating the offending module without pulling fuses and resetting the network.
Conclusion
Replicating the diagnostic success rate and repair longevity of top-tier specialists like Holguin's Auto Electric requires more than just experience; it demands a significant investment in specialized tooling, adherence to SAE wiring standards, and a deep understanding of multiplexed network architectures. By upgrading from basic multimeters to oscilloscopes, utilizing proper open-barrel crimping techniques, and following strict voltage drop testing protocols, independent mechanics and dedicated DIYers can achieve professional-grade results and eliminate the 'trial-and-error' approach that plagues modern automotive electrical repair.
References:
1. Pico Technology: Automotive Oscilloscope Diagnostics
2. SAE International: SAE J1128 Low Tension Primary Cable Standard
3. Midtronics: Conductance Battery Testing Methodologies