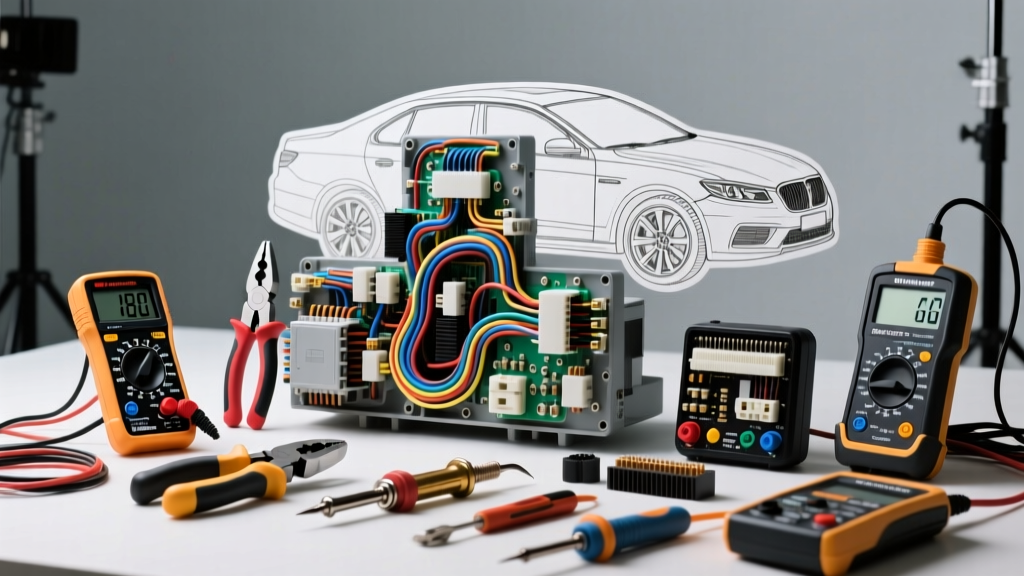
The Financial Reality of Automotive Electrical Diagnostics
Modern vehicle electrical architectures have evolved far beyond simple 12-volt DC circuits and mechanical relays. Today's platforms rely on high-speed multiplexed networks (CAN, LIN, FlexRay) and pulse-width modulated (PWM) power distribution modules. When vehicle owners face complex electrical gremlins—such as parasitic draws, intermittent alternator communication faults, or module sleep-state failures—they often seek out established regional specialists. Search queries for trusted local experts, such as Ken's Auto Electric in Franklin, Indiana, reflect a growing consumer awareness that modern electrical diagnosis requires specialized, shop-grade tooling rather than guesswork.
The 'parts cannon' approach—replacing alternators, batteries, and powertrain control modules (PCMs) based on generic OBD2 codes—often costs DIY enthusiasts hundreds of dollars in unnecessary parts and core charges. Conversely, professional auto electric shops invest heavily in oscilloscopes, thermal imaging, and proprietary manufacturer scan tools to pinpoint a single corroded 18 AWG sense wire or a failing CAN-bus transceiver. This analysis breaks down the true cost and tool requirements of professional versus DIY auto electrical repair, providing a benchmark for what separates a dealership-level diagnosis from a driveway guess.
Shop-Grade Tooling vs. DIY Kits: A Cost Breakdown
To accurately diagnose modern electrical faults, technicians must measure microsecond voltage drops, decode serial data streams, and trace high-resistance faults in tightly bundled harnesses. The financial barrier to entry for this level of diagnostics is significant.
1. Digital Multimeters (DMM) vs. Automotive Oscilloscopes
A standard DIY multimeter samples voltage a few times per second. This is entirely inadequate for diagnosing PWM alternator field circuits or CAN-bus network faults, which operate in the kilohertz and megahertz ranges. Professional shops utilize automotive-specific oscilloscopes, such as the PicoScope 4425A, which can capture rapid voltage anomalies and decode serial data in real-time.
- DIY DMM Cost: $30 - $80 (Adequate for basic continuity and static battery voltage).
- Pro Oscilloscope Cost: $1,500 - $3,000+ (Required for viewing alternator ripple, injector dead-times, and CAN-H/CAN-L differential signaling).
2. Thermal Imaging for Short-Circuit Detection
When a 16 AWG wire inside a dashboard harness shorts to ground, it generates heat before the fuse blows or the insulation melts. Professional electrical diagnostic centers use FLIR thermal cameras to scan under-dash harnesses and fuse panels, instantly locating the heat signature of a shorted circuit without stripping back meters of loom tape. A professional-grade FLIR automotive camera costs between $800 and $2,500, a tool rarely found in a home garage.
3. Proprietary Network Access and EEPROM Programming
Many modern electrical faults require module re-flashing or configuration via J2534 pass-through devices. Tools like the GM GDS2, Ford FDRS, or Chrysler wiTECH require expensive annual subscriptions and specialized hardware, representing a recurring overhead cost that justifies professional shop diagnostic fees.
Technical Case Study: The GM CS130D Alternator Circuit
To understand why professional diagnostic tools are necessary, consider the widely used General Motors CS130D alternator. A common DIY mistake is replacing an alternator that is overcharging or undercharging, when the actual fault lies in the 4-pin harness connector. The PCM controls the alternator's output via a PWM signal on the Field (F) terminal, while monitoring the internal regulator via the Lamp (L) terminal.
According to Fluke Automotive Diagnostics guidelines, testing the sense circuit requires measuring voltage drop under load, not just checking for continuity. If the Sense (S) wire has high resistance, the alternator will artificially raise system voltage to compensate, boiling the battery.
GM CS130D 4-Pin Connector Specifications
| Pin | Function | Typical Wire Color | AWG Size | Diagnostic Benchmark |
|---|---|---|---|---|
| A (L) | Lamp / Ignition Feed | Brown or Gray | 18 AWG | Should read battery voltage (12.6V) with Key On Engine Off (KOEO). |
| B (F) | Field / PCM PWM Control | Gray/Black | 18 AWG | PWM duty cycle varies from 10% to 90% depending on electrical load. |
| C (P) | Phase / Stator Signal | Not always populated | N/A | Used internally or for tachometer signals on older marine/industrial apps. |
| D (S) | Voltage Sense | Red or Orange | 10 - 12 AWG | Must be within 0.1V of battery post voltage under heavy load. Max voltage drop: 0.2V. |
Technical Note: The alternator B+ terminal nut (typically M8 thread) must be torqued to exactly 15 Nm (133 lb-in). Over-torquing can crack the internal rectifier bridge diode housing, leading to catastrophic stator failure.
Parasitic Draw Testing: The Professional Voltage Drop Method
One of the most misunderstood procedures in auto electrical repair is the parasitic draw test. Modern vehicles feature dozens of modules that can take up to 40 minutes to enter 'sleep' mode. The amateur method involves pulling fuses one by one with an ammeter in series. This method is fundamentally flawed: every time a fuse is pulled and reinserted, or a door latch is manipulated, it wakes up the Body Control Module (BCM), resetting the sleep timer and yielding false high readings.
The Shop-Standard Voltage Drop Procedure
Established electrical specialists follow SAE J1113 electromagnetic and network testing principles, utilizing the non-intrusive voltage drop method across the fuse panel.
- Preparation: Connect a high-precision millivolt DMM across the top test points of a standard mini/ATO fuse.
- Induce Sleep: Close all doors, remove the key, and wait 30-45 minutes for the CAN-bus to go dormant. (A shop will often use a scan tool to monitor module sleep states in real-time).
- Measurement: Read the millivolt (mV) drop across the fuse.
- Calculation: Using a standardized fuse resistance chart (e.g., a 10A mini fuse typically has a resistance of 0.0075 ohms), apply Ohm's Law (I = V/R). If the meter reads 0.37mV (0.00037V) across a 10A fuse: 0.00037 / 0.0075 = 0.049 Amps (49mA).
An acceptable sleep-state draw for most modern vehicles is under 50mA. If a specific circuit shows a 400mA draw, the technician has isolated the fault to that exact module without ever waking the network.
Wiring Repair Standards: Beyond Twist and Tape
A major differentiator between a professional auto electric shop and a DIY repair is the methodology used to fix broken wires. The days of twisting wires together and wrapping them in black electrical tape are over. Tape degrades, traps moisture, and causes galvanic corrosion, especially in engine bays where ambient temperatures exceed 120°C.
Metri-Pack and Weather-Pack Crimping Standards
Professional shops use ratcheting crimpers calibrated for specific terminal families. When repairing a GM Metri-Pack 280 series connector, the following standards apply:
- Wire Stripping: Must be precisely flush. Nicking the copper strands reduces the cross-sectional area, increasing resistance and creating a localized hot spot.
- Crimp Profile: The terminal features two distinct crimp zones: the conductor crimp (which bites into the bare copper) and the insulation crimp (which grips the wire jacket for strain relief).
- Cavity Plugs & TPA: If a cavity in the connector is left empty, it must be filled with a nylon cavity plug to prevent moisture ingress. Furthermore, the Terminal Position Assurance (TPA) lock must be fully seated. A missing TPA will allow the terminal to back out when the connector is mated, causing an intermittent open circuit that is nearly impossible to diagnose without a scope.
- Sealing: All under-hood splices must be sealed using dual-wall, adhesive-lined polyolefin heat shrink. The inner meltable adhesive layer flows into the wire strands, creating a watertight, corrosion-proof barrier.
When to Call the Professionals
While DIY enthusiasts can successfully handle basic 12-volt accessory installations, upgrading battery cables (using proper 2/0 AWG welding cable with heavy-duty lugs), or replacing standard relays, modern network diagnostics require a different tier of expertise. When faced with BCM water intrusion, U-codes (network communication faults), or PWM alternator regulation failures, the cost of a professional diagnostic hour is vastly inferior to the cost of replacing a $1,200 PCM or a $400 alternator that was never actually broken.
Benchmarking against the rigorous standards maintained by regional experts like Ken's Auto Electric in Franklin, Indiana reveals that proper auto electrical repair is an investment in precision tooling, continuous OEM training, and strict adherence to wiring standards. By understanding the tools and methodologies required to properly diagnose a modern vehicle, consumers can make informed decisions, avoid the 'parts cannon' trap, and ensure their vehicle's electrical architecture remains reliable for the long haul.