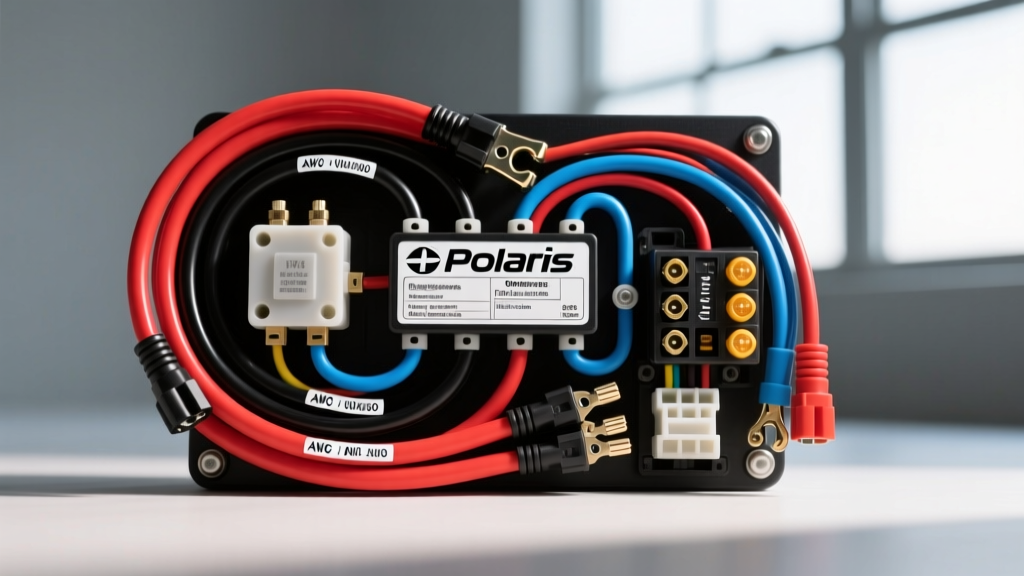
Decoding the Polaris Sportsman 500 Wiring Diagram: What Are You Fixing?
When your quad starts misfiring, loses spark, or blows fuses under load, pulling up a factory Polaris Sportsman 500 wiring diagram is only the first step in the diagnostic process. The true challenge lies in executing the repair. The Sportsman 500 (particularly the 1996–2005 carbureted and early EFI generations) features a main harness that is notoriously prone to chafing near the steering post, stator pigtail melt-downs, and corroded bus bar connections.
Before you order a $500 OEM replacement harness or hand your keys to a dealership, you need a precise cost and tool requirements analysis. Understanding the specific AWG ratings, sealed connector types, and pin configurations dictated by the wiring diagram will save you hundreds of dollars in misdiagnosed parts and unnecessary labor fees.
Essential Tool Loadout for Polaris Electrical Diagnostics
You cannot reliably repair an off-road vehicle harness with standard hardware store butt-splices and a cheap crimping tool. The Sportsman 500 operates in high-vibration, high-moisture environments. According to SAE J1128 standards for low-tension primary cables, automotive wire must withstand severe thermal and mechanical stress. To meet these requirements, your tool loadout must be specialized.
Diagnostic & Testing Equipment
- Digital Multimeter (DMM): A high-impedance DMM (like a Fluke 87V) is mandatory for testing the stator's AC voltage output and checking for parasitic draws on the 12V DC system without frying the CDI/ECM.
- Power Probe / Circuit Tester: Essential for tracing the Red/White (switched 12V) and Black (Ground) circuits through the 14-pin CDI connector without piercing wire insulation.
- Wire Brush & Contact Cleaner: For restoring oxidized bus bar terminals and ground studs on the chassis.
Crimping & Termination Tools
The most common failure mode in DIY ATV wiring is a poorly crimped sealed terminal that wicks moisture via capillary action, leading to internal copper corrosion. Polaris uses TE Connectivity Superseal and proprietary Molex-style connectors for the main harness, and Deutsch DT series for aftermarket accessories.
- Ratcheting Sealed Terminal Crimper: You must use a crimper specifically calibrated for 16-20 AWG insulated sealed terminals. Standard automotive crimpers will crush the silicone weather seal, destroying the waterproof integrity.
- Dual-Wall Heat Shrink & Heat Gun: Use 3:1 shrink ratio polyolefin tubing with an inner polyamide adhesive liner. When heated, the adhesive melts and seals the wire strands against moisture intrusion.
- Dielectric Grease: Nyogel 760G or equivalent lithium-based dielectric grease must be applied to every multi-pin connector to prevent galvanic corrosion.
Material Cost Breakdown: OEM vs. Aftermarket Wiring Components
When consulting the Polaris Sportsman 500 wiring diagram, you will quickly realize that replacing the entire main harness is rarely necessary. Most electrical faults are isolated to specific pigtails or connectors. Below is a cost comparison of OEM harness replacement versus targeted DIY repair materials.
| Component / Service | Specification / Detail | Est. Cost (USD) |
|---|---|---|
| OEM Main Wiring Harness | Complete assembly (Part # varies by exact year) | $450.00 - $650.00 |
| Stator Pigtail Repair Kit | 3-Pin sealed connector, 12 AWG high-temp wire | $18.00 - $25.00 |
| CDI/ECM Connector Pigtail | 14-Pin or 34-Pin sealed housing with terminals | $35.00 - $55.00 |
| Ratcheting Sealed Crimper | Calibrated for TE Superseal / Weather-Pack | $45.00 - $75.00 |
| Adhesive Heat Shrink Kit | Assorted 3:1 ratio, dual-wall polyolefin | $15.00 - $20.00 |
| Dealership Labor (Harness Swap) | 3.5 to 5.0 hours @ $140/hr average | $490.00 - $700.00 |
Step-by-Step Cost Analysis: Common Sportsman 500 Wiring Failures
Let us break down the actual financial and technical impact of the two most common wiring failures found on the Sportsman 500, using the factory diagram as our roadmap.
Scenario A: Stator to CDI Harness Chafing & Pigtail Melt
The Failure: The stator outputs three phases of AC voltage via three Yellow wires (typically 12 AWG). These wires route from the engine case up to the CDI box. Due to engine vibration and heat, the 3-pin connector often suffers from micro-arcing. This increases electrical resistance, which generates enough heat to melt the plastic connector housing, causing a dead short or total loss of spark.
The Diagram Fix: The wiring diagram shows these three Yellow wires bypassing the voltage regulator and going directly to the CDI.
The Cost & Execution: Do not buy a new stator ($180) or a new CDI ($250) until you have tested the stator output (should read 20-30V AC per phase at idle, rising with RPM). If the stator tests good, the fix is cutting out the melted 3-pin connector. Splice in 12 AWG high-temperature silicone wire using solder-seal heat shrink connectors. Total DIY Cost: $12. A dealership will often condemn the stator and harness, resulting in a $600+ bill.
Scenario B: Winch Solenoid & Bus Bar Integration
The Failure: Owners frequently install aftermarket winches by splicing directly into the main harness or using inadequate wire gauges, leading to voltage drops that fry the CDI or melt the main fuse block.
The Diagram Fix: The wiring diagram illustrates a dedicated heavy-gauge bus bar near the battery for high-amperage accessories. The winch solenoid must be triggered by a switched 12V source (Red/White wire, 18 AWG) via a relay, not wired directly to the handlebar switch.
The Cost & Execution: You will need 8 AWG primary wire for the solenoid to battery connection, a 4-pin heavy-duty relay, and a 50A inline circuit breaker. Sourcing OEM-grade bus bar hardware ensures the terminal rings won't snap under vibration. Total DIY Cost: $65. This prevents the $300 cost of replacing a melted main harness and a blown ECU.
DIY vs. Dealership: The True Financial Impact
When a Polaris dealership diagnoses a short in the main harness, their standard procedure is rarely to trace the wire with a multimeter and repair the single chafed circuit. Because of the labor involved in stripping the ATV down to the frame to route a new harness securely, they will quote you for a complete OEM harness replacement.
Removing the steering pod, fuel tank, and fenders to snake a new harness through the frame gussets takes an experienced technician roughly 4 hours. At standard powersports labor rates, you are looking at $1,000 to $1,200 out the door.
By utilizing the Polaris Sportsman 500 wiring diagram to isolate the exact circuit (e.g., Pin 5 on the CDI connector for the trigger coil), you can perform a targeted harness repair. You only need to carefully slice open the factory loom tape, repair the specific 18 AWG wire using a sealed solder-sleeve, and re-wrap the harness with high-temp friction tape. This targeted approach costs under $30 in materials and takes roughly 90 minutes of your time.
Authoritative References & Industry Standards
When modifying or repairing your ATV's electrical system, always adhere to established automotive electrical standards. For deep-dive specifications on sealed connector housings and terminal retention forces, refer to the TE Connectivity Automotive Connector Catalog. Furthermore, ensure any replacement wire you purchase meets or exceeds SAE J1128 specifications for low-tension primary cable, guaranteeing the copper stranding and PVC/XLPE insulation can survive the harsh, high-vibration environment of an off-road vehicle.
Investing in the correct crimping tools and understanding the schematic will not only save you hundreds of dollars on a Sportsman 500, but it will also give you the confidence to trail-fix electrical gremlins miles away from the nearest dealership.