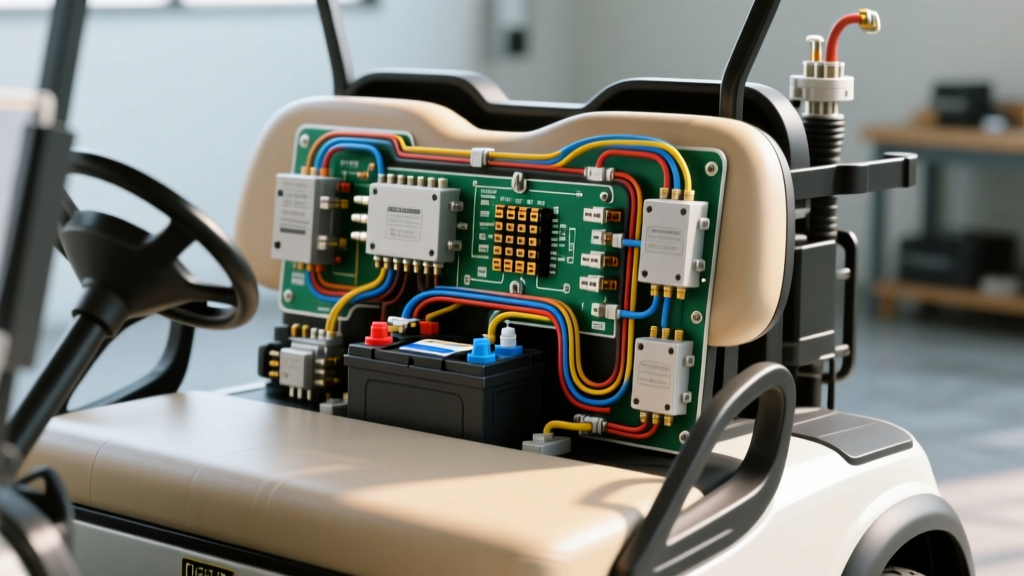
When servicing the electrical drivetrain of a 48-volt Precedent or a classic 36-volt DS, understanding the precise configuration of Club Car electric golf cart batteries is the difference between a reliable ride and a catastrophic electrical fire. The high-amperage environment of golf cart motor speed controllers (MSCs) leaves zero margin for error. A single reversed polarity connection, an undersized interconnect cable, or improper terminal torque can instantly destroy a Curtis 1268 controller, weld the contacts of an Albright SW80 solenoid, or trigger a thermal runaway event.
This guide details the most common wiring mistakes and critical safety warnings you must heed when replacing, upgrading, or troubleshooting the battery bank in your Club Car electric vehicle.
Critical Safety Warnings Before You Touch a Wrench
Flooded lead-acid (FLA) batteries, which are standard in most Club Car fleets, emit highly explosive hydrogen gas during the charging cycle. According to OSHA guidelines on lead-acid battery safety, a spark from a dropped wrench or a loose, arcing battery cable can ignite this gas, causing the battery casing to shatter and spray sulfuric acid.
Mandatory PPE and Prep
- Eye and Face Protection: Always wear ANSI Z87.1-rated splash goggles and a face shield.
- Insulated Tools: Use only VDE-certified insulated wrenches (rated to 1000V) to prevent short circuits if the tool bridges the positive terminal and the steel battery tray.
- Remove Jewelry: Rings and watches can cause severe arc-flash burns if they contact the 36V or 48V main bus.
- Ventilation: Ensure the cart is parked outdoors or in a highly ventilated area before breaking the circuit.
The 5 Most Common Wiring Mistakes
Mistake 1: Incorrect Series vs. Parallel Configurations
A standard 36V Club Car DS utilizes six 6-volt batteries (like the Trojan T-105) wired in series. A common and devastating mistake among beginners is attempting to wire batteries in parallel or creating a mixed series-parallel bank that alters the output voltage. If you wire two 6V batteries in parallel, you maintain 6V but double the amperage. If you accidentally feed 12V into a 6V coil circuit, or feed 72V into a 48V Curtis controller by miscounting your series jumps, the controller's internal capacitors will violently vent. Always follow the exact series daisy-chain: Positive of Battery 1 to Negative of Battery 2, continuing until the final pack voltage reads exactly 36V or 48V across the main terminals.
Mistake 2: Undersized Interconnect Cables (AWG Errors)
Club Car electric golf cart batteries experience massive current draws under load. A 48V Precedent pulling up a steep incline can draw upwards of 300 to 400 amps from the battery bank. Using 4 AWG or 6 AWG cables for battery interconnects is a severe fire hazard. Per SAE J1128 standards for battery cables, high-current EV applications require low-resistance pathways to prevent voltage drop and excessive heat generation.
The Fix: Never use anything smaller than 2 AWG stranded copper for battery-to-battery interconnects. For the main positive and negative leads running from the battery bank to the controller and solenoid, you must upgrade to 2/0 AWG (00 AWG) to handle the peak amperage without melting the insulation.
Mistake 3: Reversing the Main Positive and Negative Leads
The layout of the Club Car Precedent battery tray can be confusing, especially when upgrading from six 8V batteries to four 12V lithium packs. If the main negative cable (usually black) is connected to the positive bus, and the main positive (red) is connected to the negative bus, the moment the key switch engages the solenoid, reverse polarity will be sent directly into the controller's B+ and B- terminals. This will instantly blow the main reverse-polarity diode and destroy the MOSFETs inside the motor speed controller. Always use a digital multimeter to verify that the main cable heading to the solenoid reads positive relative to the cart's chassis ground before tightening.
Mistake 4: Ignoring the Charge Receptacle Pinout
When rewiring the battery pack, technicians often miswire the Club Car Powerwise 3-pin charge receptacle. The pinout is highly specific:
Pin 1 (Left): Main Positive (Connected to Battery 1 Positive)
Pin 2 (Right): Main Negative (Connected to Battery 6 Negative)
Pin 3 (Bottom): Temperature Sensor / Interlock (Connected to the Onboard Computer or battery temp probe).
If you swap Pin 1 and Pin 2, the charger will push current backward through the battery bank, potentially damaging the charger's internal relays and causing the batteries to overheat and vent. Furthermore, bypassing Pin 3 on older models equipped with the Onboard Computer (OBC) will prevent the OBC from monitoring the charge cycle, leading to chronic undercharging and sulfation.
Mistake 5: Poor Terminal Torque and Oxidation
Hand-tightening battery terminal nuts is a guaranteed way to experience voltage drop and heat buildup. A loose connection increases electrical resistance. At 300 amps, even a 0.05-ohm loose connection will generate immense heat, melting the lead post and potentially igniting nearby debris. Conversely, over-torquing will strip the soft lead threads of the battery post, ruining the battery. Furthermore, failing to apply a dielectric grease or anti-corrosion spray allows sulfuric acid vapors to create a conductive copper sulfate crust, which slowly drains the battery bank via parasitic surface currents.
Club Car Battery Cable Specifications & Torque Chart
Reference this chart to ensure your Club Car electric golf cart batteries are wired to factory and SAE safety specifications.
| Cable Application | Minimum AWG Size | Terminal Type | Torque Specification | Expected Voltage Drop (at 200A) |
|---|---|---|---|---|
| Battery Interconnects (Series Links) | 2 AWG | 3/8" Ring Terminal (Crimped) | 110 in-lbs (9.2 ft-lbs) | < 0.02V per cable |
| Main Pos/Neg to Controller/Solenoid | 2/0 AWG | 3/8" or 5/16" Ring Terminal | 110 in-lbs (9.2 ft-lbs) | < 0.05V total |
| Charge Receptacle Harness | 6 AWG | 1/4" Ring Terminal | 75 in-lbs (6.25 ft-lbs) | N/A (Charging current only) |
| Voltage Sense / Regulator Wires | 16 AWG | Spade / Ring | 35 in-lbs (3 ft-lbs) | N/A (Signal only) |
Note: Always use a calibrated inch-pound torque wrench. Never guess terminal tightness. For more on battery terminal maintenance, refer to the Battery Council International (BCI) safety guidelines.
Troubleshooting Voltage Drop Across the Pack
If your Club Car is experiencing sluggish acceleration, solenoid clicking, or premature low-voltage lockout, perform this systematic voltage drop test to identify faulty wiring or bad battery cells.
- Prep the Cart: Jack up the rear wheels safely so the motor can spin freely. Chock the front wheels.
- Set the Multimeter: Set your digital multimeter to DC Volts. Connect the black probe to the main negative battery post.
- Test Static Voltage: Measure the voltage across each individual battery. A fully charged 6V battery should read 6.35V. A fully charged 8V battery should read 8.45V.
- Test Under Load (The Critical Step): Have an assistant press the accelerator pedal to the floor while the cart is in forward gear.
- Monitor the voltage drop across each individual interconnect cable. A healthy 2 AWG cable should show a voltage drop of less than 0.05V under load.
- If you read 0.2V or higher across a specific cable, that cable is failing, corroded, or undersized.
- If one specific battery drops below 4.5V (on a 6V system) while the others stay above 5.5V under load, that battery has a dead cell and is dragging down the entire series circuit.
- Inspect the Solenoid Drop: Measure the voltage drop across the large terminals of the main solenoid while the pedal is pressed. A drop greater than 0.2V indicates pitted internal contacts in the solenoid, requiring immediate replacement.
Final Thoughts on Lithium Conversions
If you are upgrading your Club Car electric golf cart batteries from flooded lead-acid to a 48V Lithium Iron Phosphate (LiFePO4) drop-in pack, the wiring rules change slightly. You must bypass or remove the factory Onboard Computer (OBC), as the OBC's charging algorithms are strictly designed for lead-acid voltage curves. Additionally, ensure your voltage reducer (used to step down 48V to 12V for lights and radios) is wired directly to the main battery pack terminals with an inline 15A fuse, rather than tapping into a single 12V section of an old lead-acid bank, which no longer exists in a monolithic lithium setup.
Respecting the immense electrical potential stored in these systems ensures your Club Car remains safe, efficient, and ready for the course.