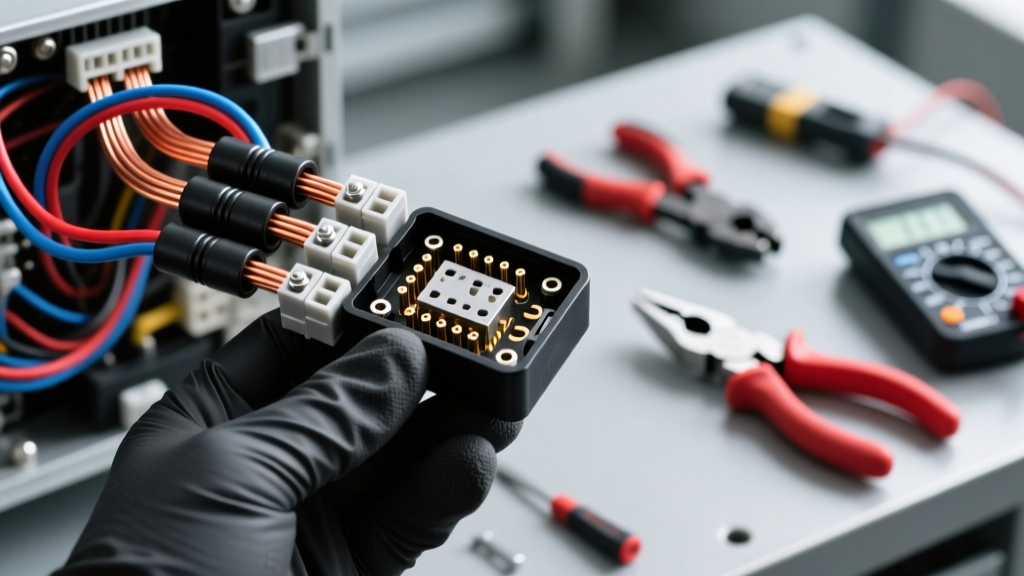
The Dealership "Replace the Harness" Trap
When a sensor fails or a headlight connector melts, dealership service departments operate on a strict flat-rate labor model that rarely includes manual wire splicing. Instead, the standard operating procedure is to order an entirely new OEM wiring harness. This approach drastically inflates car electrical repair costs, turning a $12 connector issue into a $900+ invoice. By understanding automotive terminal crimping, wire gauge requirements, and adhesive heat-shrink splicing, you can bypass the dealership markup and execute OEM-equivalent repairs in your own garage.
Essential Toolkit for Cost-Effective Wiring Repair
To ensure your DIY repairs meet factory safety standards and prevent future voltage drops, you must abandon cheap, stamped-steel crimpers and electrical tape. Invest in the following professional-grade tools:
- Ratcheting Crimper: A tool like the IWISS IWS-3220M is essential for open-barrel terminals (like Metri-Pack and Weather-Pack) to ensure a gas-tight crimp that passes pull-tests.
- Precision Wire Strippers: Automatic strippers calibrated for 22-10 AWG to prevent nicking the copper strands, which reduces ampacity and creates fatigue points.
- Adhesive-Lined Heat Shrink: Standard polyolefin shrinks but does not seal. You must use dual-wall, adhesive-lined heat shrink (3M or Delphi) that melts an inner layer of hot-melt adhesive to waterproof the splice against road salt and moisture.
- Automotive-Grade Wire: Always use GXL or TXL cross-linked polyethylene wire, never standard PVC building wire, due to its superior resistance to under-hood temperatures and chemical exposure.
Step-by-Step: Replacing a Melted H11 Headlight Pigtail
H11 low-beam bulbs draw approximately 55 watts (4.58 amps at 12V). While 16 AWG wire is technically sufficient for this load, factory connectors often suffer from micro-arcing and terminal oxidation over time. This increases electrical resistance, generating enough heat to melt the standard plastic H11 pigtail.
Installation Procedure
- Cut the Damage: Cut the factory wiring harness at least 2 inches behind the melted plastic connector to reach clean, unoxidized copper.
- Strip and Prep: Strip exactly 1/4 inch of insulation from the factory 16 AWG wires and the new 14 AWG ceramic pigtail wires. Upgrading to 14 AWG reduces resistance and prevents future melting.
- Crimp the Splice: Insert the wires into a 16-14 AWG uninsulated copper butt splice. Use your ratcheting crimper on the appropriate die. The ratchet must fully cycle to ensure a gas-tight mechanical bond.
- Seal the Connection: Slide a piece of 1/8-inch dual-wall adhesive heat shrink over the splice. Apply heat evenly with a heat gun until the shrink conforms tightly and a small bead of adhesive extrudes from both ends.
- Secure the Harness: Use a high-temperature Tesa tape or corrugated split loom to protect the new splice from vibration and exhaust heat.
Step-by-Step: Splicing an Oxygen Sensor Harness
Oxygen sensors are located directly on the exhaust manifold or catalytic converter. The intense radiant heat frequently degrades the sensor's pigtail. Dealerships will often quote massive car electrical repair costs by insisting the entire engine-side harness must be replaced. In reality, splicing a new pigtail is a straightforward repair if you respect the delicate signal circuits.
Below is the standard General Motors 4-pin heated O2 sensor pinout configuration:
| Pin | Wire Color (Typical GM) | Function | Required AWG |
|---|---|---|---|
| A | Purple | High Signal (O2 Output) | 20 or 18 AWG |
| B | Black | Signal Low / Ground | 20 or 18 AWG |
| C | Pink | Heater Circuit 12V+ | 18 AWG |
| D | Orange | Heater Circuit Ground | 18 AWG |
Critical Splicing Rules for O2 Sensors
The signal wires (Pins A and B) operate on millivolt scales (typically 0.1V to 0.9V). Any additional resistance introduced by a poor crimp or corrosion will skew the air/fuel ratio, triggering a P0131 or P0137 diagnostic trouble code. You must use 22-18 AWG uninsulated crimps and meticulously seal them with 3/32-inch adhesive heat shrink. Never use solder on O2 sensor signal wires; solder wicks up the stranded wire under capillary action, making the wire rigid and prone to snapping from engine vibration.
Step-by-Step: Restoring a Corroded Chassis Ground
Over 40% of automotive electrical gremlins—ranging from flickering dash lights to erratic fuel pump behavior—are caused by poor chassis grounds. Factory ring terminals often suffer from galvanic corrosion where the copper terminal meets the aluminum or steel chassis.
- Remove and Clean: Unbolt the 10 AWG or 12 AWG ground wire. Use a wire wheel or sandpaper to remove all paint, rust, and corrosion from the chassis mounting point down to bare, shiny metal.
- Cut and Crimp: Cut off the corroded ring terminal. Strip 3/8 inch of the 10 AWG wire. Crimp a new 10 AWG, 3/8-inch non-insulated ring terminal using the yellow die on your crimper.
- Seal and Reattach: Slide adhesive heat shrink over the crimp barrel. Reattach the terminal to the chassis using a factory-style star washer between the terminal and the bare metal. The star washer bites into the metal to ensure a permanent, vibration-proof electrical path.
- Corrosion Prevention: Coat the entire terminal and bolt head with dielectric grease or battery terminal protector spray to block moisture and oxygen.
Car Electrical Repair Costs: Dealer vs. DIY Breakdown
Understanding the financial impact of DIY wiring repairs highlights why mastering these skills is essential for older vehicles. The table below compares average dealership flat-rate invoices against the actual cost of professional-grade DIY materials.
| Repair Scenario | Dealership Approach & Cost | DIY Approach & Cost | Total Savings |
|---|---|---|---|
| Melted H11 Headlight Pigtail | Replace Harness ($285) + 1.5 hrs Labor ($225) | Ceramic Pigtail & Heat Shrink ($14) | $496 |
| Melted O2 Sensor Connector | Replace Engine Harness ($650) + 3.0 hrs Labor ($450) | O2 Pigtail & Splicing Kit ($22) | $1,078 |
| Corroded Fuel Pump Ground | Diagnose & Replace Harness ($350) + 2.0 hrs Labor ($300) | Ring Terminal, Star Washer, GXL Wire ($8) | $642 |
SAE Standards and Best Practices for Splicing
To ensure your repairs are safe and durable, they must align with established automotive engineering standards. According to the SAE J1128 standard for low-tension primary automotive cable, GXL and TXL wire types are mandated for under-hood applications due to their cross-linked insulation, which withstands continuous temperatures up to 125°C (257°F). Standard PVC wire will become brittle and melt under these conditions.
Furthermore, crimp quality should ideally reflect the guidelines set forth in the IPC/WHMA-A-620 standard for cable and wire harness assemblies. This standard dictates that a proper crimp must exhibit visible wire strands at the front of the terminal bellmouth, and the insulation grip must securely hold the wire jacket without cutting into the copper strands. A gas-tight crimp prevents oxygen from reaching the copper, thereby eliminating the primary cause of internal wire corrosion. For deeper insights into terminal selection and Weather-Pack assembly, referencing MAD Electrical's technical guides provides excellent visual benchmarks for proper open-barrel crimping profiles.
Common Mistakes That Inflate Repair Bills
Even well-intentioned DIYers can create new problems if they cut corners. Avoid these critical errors:
- Using Electrical Tape: Vinyl electrical tape unravels in high heat and traps moisture against the copper, accelerating corrosion. Always use adhesive-lined heat shrink.
- Mismatching Wire Gauges: Splicing a 14 AWG wire into a circuit designed for 18 AWG without adjusting the fuse size can mask a short circuit, potentially leading to a wiring harness fire.
- Twisting and Soldering: While soldering is common in household electronics, the rigid joint it creates in a high-vibration automotive environment acts as a stress riser, eventually snapping the wire strand exactly where the solder ends.
By investing in the correct crimping tools, utilizing SAE-approved GXL wiring, and executing gas-tight, waterproof splices, you can permanently resolve electrical faults while keeping your car electrical repair costs to an absolute minimum.