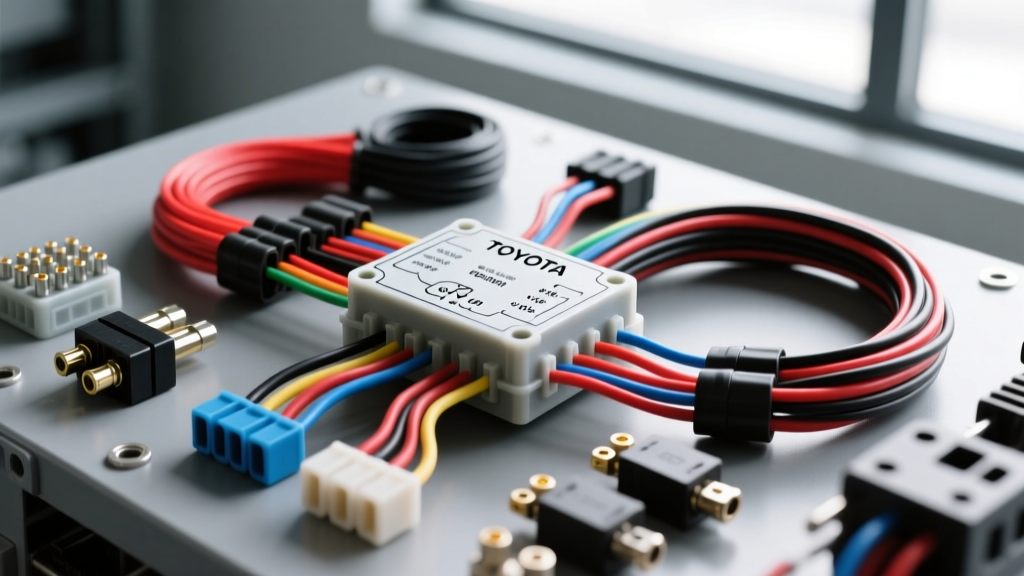
Why Your Toyota Tacoma Needs a Switching Relay
In the off-road and overlanding community, the Toyota Tacoma is affectionately known as the 'Taco.' Whether you own a 2nd Gen (2005-2015) or a 3rd Gen (2016-2023) model, adding auxiliary lighting like ditch lights, fog pods, or a 50-inch LED light bar is practically a rite of passage. However, a common and potentially dangerous beginner mistake is wiring these high-draw lights directly to a factory dashboard switch or a cheap aftermarket toggle switch. Factory wiring and standard toggles are typically rated for only 5 to 10 amps. Running a 15-amp LED light bar through them will melt the switch housing, cause severe voltage drop, and create a severe fire hazard.
This is where a taco switching relay wiring diagram becomes essential. A relay acts as a heavy-duty, electrically operated switch. It allows you to use a low-current circuit (like your Tacoma's factory upfitter switches or an Add-A-Fuse tap) to safely trigger a high-current circuit directly from the battery to your lights. Below, we break down the fundamentals of automotive relay wiring, tailored specifically for Tacoma owners looking for a safe, reliable, and beginner-friendly installation.
Anatomy of a Standard 12V ISO Mini Relay
Before cutting any wire, you must understand the component doing the heavy lifting. Most automotive lighting kits use a standard ISO 7588 'Mini Relay' (often a 4-pin or 5-pin Bosch-style cube). For auxiliary lighting, a standard 4-pin SPST (Single Pole, Single Throw) Normally Open (NO) relay is all you need. According to Mad Electrical's definitive relay guide, understanding the DIN/ISO pin numbers is critical to avoiding dead shorts.
| Pin Number | Terminal Name | Circuit Function | Wire Color (Typical) |
|---|---|---|---|
| 30 | Common (COM) | Main 12V+ Power Input from Battery | Red (14 AWG) |
| 87 | Normally Open (NO) | 12V+ Output to Load (Light Bar/Pods) | Red (14 AWG) |
| 86 | Coil Positive | Trigger Signal from Switch (12V+) | Yellow/White (18 AWG) |
| 85 | Coil Negative | Ground for Relay Coil | Black (18 AWG) |
The Taco Switching Relay Wiring Diagram Explained
A proper automotive lighting circuit is actually composed of two completely separate circuits that interact only via the relay's internal magnetic coil: the Control Circuit and the Load Circuit. Let us map out the exact routing for a Toyota Tacoma engine bay.
Step 1: The Load Circuit (Pins 30 and 87)
The load circuit carries the heavy amperage required to illuminate your LEDs. Pin 30 (Battery Power): Run a wire directly from the positive terminal of your Tacoma's battery to Pin 30. Critical Safety Step: You must install an inline ATC/ATO blade fuse holder within 6 to 8 inches of the battery terminal. If a wire chafes against the engine bay sheet metal, this fuse will blow before the wire catches fire. Pin 87 (To the Lights): Run a wire from Pin 87 out to the auxiliary lights. Always use a weather-sealed connector, such as a Deutsch DT plug or Weather-Pack connector, to prevent moisture ingress and corrosion at the light bar.
Step 2: The Control Circuit (Pins 86 and 85)
The control circuit only draws about 150 to 250 milliamps (0.15A - 0.25A) to energize the relay's internal electromagnet. Pin 86 (Trigger): This connects to your switch. If you have a 3rd Gen Tacoma equipped with the factory TRD Off-Road Upfitter Switches, you will tap into the designated auxiliary 12V+ wire located under the driver-side dashboard or behind the kick panel. If your Taco lacks upfitter switches, use an 'Add-A-Fuse' tap on an ignition-switched fuse in the engine bay fuse box (e.g., the Horn or CIG fuse). Note: 3rd Gen Tacos typically use Micro2 fuses in the engine bay, while 2nd Gens use standard Mini fuses. Pin 85 (Ground): This must be grounded to the vehicle chassis. Find an unpainted metal bolt in the engine bay, preferably one that already secures a factory ground wire. Use a star washer to bite through any surface oxidation and ensure a solid electrical bond.
Step 3: Wire Sizing and Material Selection
Do not use standard household THHN wire or cheap PVC-wrapped wire from a hardware store. The Tacoma engine bay regularly exceeds 200°F (93°C) near the firewall and radiator. You must use TXL (Cross-linked polyethylene) or GXL automotive wire, which is rated for high heat and chemical resistance. Furthermore, avoid soldering your connections. Solder creates a rigid, brittle joint that will eventually snap under the constant vibration of an off-road truck. Instead, use open-barrel or closed-barrel crimp connectors sealed with marine-grade, adhesive-lined heat shrink.
AWG Sizing and Fusing Chart for Tacoma Aux Lights
Sizing your wire correctly prevents voltage drop (which dims your lights) and thermal runaway. The following chart assumes a standard 12V-14.4V alternator output and a wire run of under 15 feet. For deeper technical standards on automotive lighting draws, refer to the SAE J554 Standard for Electric Fog Lamps.
| Total Light Wattage | Amps (at 14.4V) | Minimum Wire Gauge (TXL) | Inline Fuse Size (ATC) |
|---|---|---|---|
| Up to 60W | 4.2A | 18 AWG | 5 Amp |
| 60W - 150W | 4.3A - 10.4A | 14 AWG | 15 Amp |
| 150W - 240W | 10.5A - 16.6A | 12 AWG | 20 Amp |
| 240W - 360W | 16.7A - 25.0A | 10 AWG | 30 Amp |
Routing Through the Tacoma Firewall
If you are mounting your switch inside the cabin and need to route the trigger wire (Pin 86) through the firewall, never pierce the factory rubber grommets with a screwdriver. This compromises the weather seal and allows water and carbon monoxide to enter the cabin. On the 3rd Gen Tacoma, locate the main harness pass-through on the driver's side firewall. Gently pull the rubber boot back, use a stiff piece of mechanics wire (or a wire coat hanger) taped to your 18 AWG trigger wire, and fish it through alongside the factory harness. Reseal the boot using dielectric grease and a zip-tie.
Common Tacoma Relay Wiring Mistakes & Troubleshooting
Even with a perfect taco switching relay wiring diagram, beginners often run into physical installation errors. Use this decision tree to diagnose issues before tearing your dashboard apart.
| Symptom | Probable Cause | Expert Fix |
|---|---|---|
| Relay clicks, but lights do not turn on. | Blown main fuse on Pin 30, or poor ground at the light bar itself. | Test Pin 30 for 12V+ with a multimeter. Check the light bar chassis ground for paint/corrosion. |
| Lights turn on, but are dim or flicker. | Voltage drop due to undersized wire, or loose crimp connection at Pin 87. | Verify AWG size against the chart. Cut and re-crimp the Pin 87 terminal using a proper ratcheting crimper. |
| Relay gets extremely hot to the touch. | Using a cheap relay with an undersized internal coil, or exceeding the relay's 30A/40A rating. | Upgrade to a high-quality brand like Hella or Bosch. Ensure total light draw is under 25A continuous. |
| Lights stay on after the Taco is turned off and keyed out. | Trigger wire (Pin 86) tapped to a constant 12V+ battery fuse instead of an ignition-switched fuse. | Move the Add-A-Fuse tap to a circuit that only powers on in 'ACC' or 'ON' positions, like the wiper or radio fuse. |
Final Thoughts on Tacoma Electrical Upgrades
Building a reliable auxiliary lighting setup on your Toyota Tacoma requires patience and respect for automotive electrical standards. By utilizing a proper switching relay, selecting TXL high-temperature wire, and adhering to strict fusing protocols, you ensure that your lighting system will survive the harshest trails without compromising your truck's factory wiring harness. For comprehensive wiring schematics and factory grounding point locations specific to your exact model year, always consult the Toyota Technical Information System (TIS) or your vehicle's official upfitter documentation.