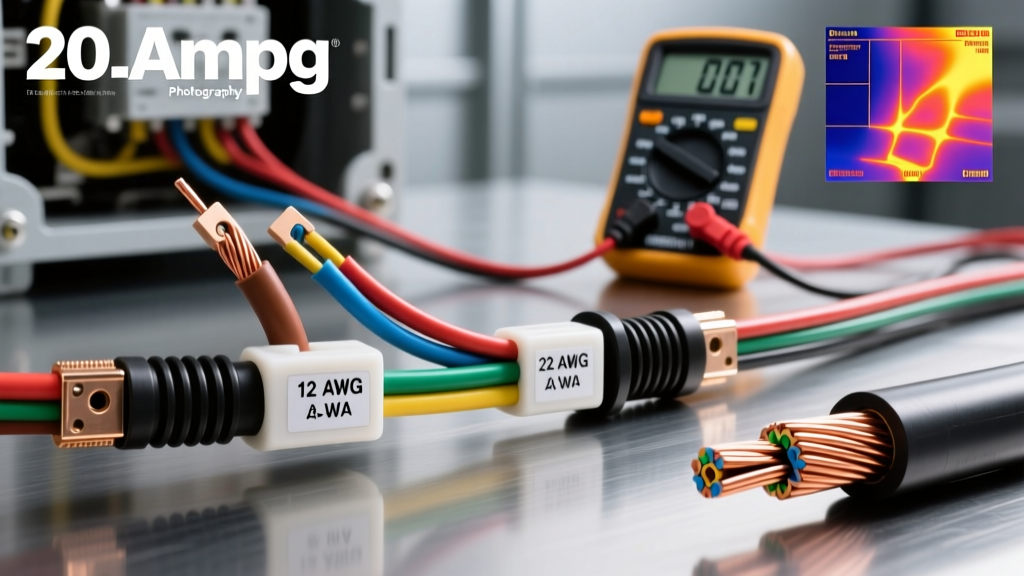
The Hidden Dangers of 20-Amp Automotive Circuits
Wiring a 20-amp circuit in a vehicle—whether for an auxiliary LED light bar, a high-flow EFI fuel pump, or a power winch solenoid—leaves zero margin for error. A 20 amp wire gauge miscalculation doesn't just result in a blown fuse; it melts harnesses, destroys expensive electronic control units (ECUs), and starts engine bay fires. Despite the abundance of online wiring charts, DIYers and even seasoned mechanics frequently fall into dangerous traps when sizing wire for 20A continuous loads.
This guide dissects the most critical safety mistakes made when selecting and terminating a 20 amp wire gauge, providing the exact SAE specifications, voltage drop calculations, and termination protocols required to keep your vehicle's electrical system safe and functional.
Mistake #1: The 14 AWG Trap (Confusing SAE with NEC Standards)
The most dangerous mistake in automotive wiring is relying on National Electrical Code (NEC) ampacity charts, which are designed for copper building wire in climate-controlled homes. Many generic online charts state that 14 AWG wire is rated for 20 amps. In an automotive environment, this is a fire hazard.
The SAE J1128 Reality
Automotive wire is manufactured to SAE J1128 standards. A 14 AWG SAE wire has a smaller cross-sectional copper area and fewer strands than 14 AWG NEC wire. Furthermore, engine bays regularly exceed ambient temperatures. While 14 AWG SAE wire might handle 20A in a 20°C (68°F) room, its ampacity derates severely in a 105°C (221°F) engine bay or when bundled tightly inside a corrugated split-loom where heat cannot dissipate.
- The Fix: For any continuous 20A automotive load, you must step up to 12 AWG SAE GXL or TXL wire. GXL (General Cross-Linked) features XLPE insulation rated for 125°C, providing the necessary thermal headroom to prevent the insulation from melting and shorting against the chassis.
Mistake #2: Ignoring Voltage Drop on Long Harness Runs
Selecting a 20 amp wire gauge isn't just about preventing thermal fires; it is about delivering actual voltage to the component. High-draw components like aftermarket fuel pumps (e.g., AEM 340lph or Walbro 450lph) experience drastic flow-rate reductions if voltage drops below 13.0V at the pump terminals.
Voltage drop is calculated using the total circuit length (positive and ground runs combined). If your fuel pump is 10 feet from the battery, your total circuit length is 20 feet. Using the standard copper resistance of 1.588 ohms per 1,000 feet for 12 AWG wire, a 20A draw over a 20-foot total run results in a 0.63V drop. While acceptable, longer runs to the trunk of a sedan or the bed of a truck will push this drop into dangerous territory.
Voltage Drop Chart: 20A Load at 14.0V Source
| Wire Gauge (SAE) | One-Way Run Length | Total Circuit Length | Voltage Drop | Voltage at Load | Safety Verdict |
|---|---|---|---|---|---|
| 14 AWG | 10 ft | 20 ft | 1.01V | 12.99V | FAIL (Thermal Hazard) |
| 12 AWG | 10 ft | 20 ft | 0.63V | 13.37V | PASS (Safe for Engine Bay) |
| 12 AWG | 20 ft | 40 ft | 1.27V | 12.73V | MARGINAL (Upgrade to 10 AWG) |
| 10 AWG | 20 ft | 40 ft | 0.80V | 13.20V | PASS (Required for Trunk Runs) |
Source reference: Calculations align with the Waytek Wire Voltage Drop Guide for stranded copper conductors.
Mistake #3: Mismatching Fuse Ratings and Wire Ampacity
A fundamental rule of automotive electrical safety is that the fuse protects the wire, not the component. If your component draws 18 amps under peak load, you might be tempted to install a 25A or 30A ATC fuse to prevent nuisance blows during startup spikes. If you do this on 12 AWG wire, you have created a bomb.
12 AWG SAE GXL wire is safely rated for roughly 25A in free air, but when bundled in a harness, its safe continuous limit drops to 20A. If a dead short occurs and you have a 30A fuse installed, the wire will draw 30+ amps, turning the copper into a glowing heating element and igniting the harness loom long before the 30A fuse element melts.
- The Fix: Always size the fuse to the wire's bundled ampacity limit, not the component's peak draw. For a 12 AWG wire harness, use a 20A Yellow ATC/ATO blade fuse. If your component requires a higher startup spike, use a Maxi fuse or a circuit breaker with a time-delay curve, but never exceed the 20A threshold for 12 AWG wire.
Mistake #4: Soldering in High-Vibration Zones
Many well-meaning DIYers believe that soldering a 20 amp wire gauge connection is superior to crimping. In a static residential environment, this is true. In a vibrating vehicle chassis, soldering is a critical failure point.
Solder wicks into the strands of automotive wire via capillary action. This creates a rigid, brittle section of wire right at the edge of the heat shrink tubing. Over thousands of miles of engine vibration and chassis flex, this stiff section acts as a fulcrum, causing the copper strands to fatigue, snap, and create high-resistance micro-arcs inside the insulation.
Proper Termination Protocol for 20A Circuits
- Use Ratcheting Crimpers: Never use pliers. Use a ratcheting crimper (like the IWISS IWS-10B or Titan 11904) calibrated for the specific terminal size. A ratcheting tool ensures the exact compression ratio required for a gas-tight, cold-weld connection.
- Select the Right Connectors: For a 20A weather-sealed connection, use TE Connectivity AMP Superseal 1.5 series or Deutsch DTM connectors. Standard Weather-Pack terminals max out at 20A and can overheat if the contact tension degrades; Superseal and Deutsch pins provide superior retention and lower millivolt drops.
- Adhesive-Lined Heat Shrink: Always finish the crimp with dual-wall, polyolefin heat shrink tubing containing an inner meltable adhesive layer. This seals out moisture and prevents the crimp barrel from vibrating loose.
Ultimate 20-Amp Circuit Specification Checklist
Before powering up your auxiliary lighting, fuel system, or winch relay, verify your build against this safety checklist based on Littelfuse automotive circuit protection guidelines and SAE standards.
| Component / Spec | Required Standard for 20A Continuous Load | Common Mistake to Avoid |
|---|---|---|
| Wire Gauge | 12 AWG (or 10 AWG for runs over 15 ft) | Using 14 AWG based on household NEC charts |
| Wire Insulation | GXL or TXL (Cross-Linked, 125°C+ rated) | Using cheap PVC wire (melts at 80°C) |
| Circuit Protection | 20A ATC/ATO or 20A Maxi Fuse | Using 25A/30A fuse to prevent 'nuisance' blows |
| Relay Rating | 30A or 40A Bosch-style ISO Mini Relay | Using a 20A relay (contacts will weld shut) |
| Termination | Ratcheting crimp + Adhesive Heat Shrink | Soldering or using non-ratcheting pliers |
| Grounding | Ring terminal to bare, sanded chassis metal | Grounding to painted sheet metal or seat bolts |
Final Safety Warning
When routing your 12 AWG 20-amp harness, always keep it away from exhaust manifolds, sharp firewall edges, and steering shafts. Use nylon braided loom or Tesa tape to protect the XLPE insulation from abrasion. Remember that the 20 amp wire gauge you select is the final physical barrier between your vehicle's electrical energy and a catastrophic thermal event. Never compromise on wire diameter, insulation chemistry, or termination quality.