Determining the Correct Wire Gauge for 30 Amp Automotive Loads
When designing or upgrading high-draw automotive electrical systems, selecting the proper wire gauge for 30 amp circuits is a critical safety and performance baseline. Typical 30-amp loads in vehicles include dual electric cooling fans, heavy-duty air compressors, off-road LED light bars, and winch solenoid controls. While the immediate technical answer is generally 10 AWG (American Wire Gauge) for standard chassis wiring, professional installers must also consider the total cost of ownership, material quality, and the specialized tooling required to terminate heavier cables reliably.
This guide analyzes the true cost and tool requirements for executing a 30-amp automotive circuit. We move beyond basic ampacity charts to evaluate the financial and practical differences between bare copper and CCA (Copper Clad Aluminum), the necessity of ratcheting crimpers, and the hidden costs of voltage drop in high-temperature engine bay environments.
Core Specifications: 10 AWG vs. 8 AWG for 30 Amps
According to Madsen Wire Ampacity Charts and standard automotive electrical practices, 10 AWG copper wire is rated for up to 30 amps in a single conductor within an engine compartment. However, automotive environments are harsh. Ambient temperatures under the hood frequently exceed 100°C, which severely degrades the current-carrying capacity of standard PVC-insulated wire.
For this reason, automotive professionals use GXL, TXL, or SXL cross-linked polyethylene (XLPE) insulated wire. If your 30-amp circuit involves a run longer than 15 feet, or passes through a high-heat zone (like near exhaust headers), upsizing to 8 AWG is highly recommended to mitigate voltage drop.
| Wire Gauge (AWG) | Max Amps (Chassis 100°C) | Resistance (Ohms/1000ft) | Est. Cost per Foot (GXL Copper) | Best Application |
|---|---|---|---|---|
| 12 AWG | 20 Amps | 1.588 | $0.45 | Undersized (Fire Hazard for 30A) |
| 10 AWG | 30 Amps | 0.998 | $0.85 | Standard 30A runs under 15ft |
| 8 AWG | 45 Amps | 0.628 | $1.35 | Long runs, high-heat engine bays |
Material Cost Breakdown: Copper vs. CCA and Insulation Types
One of the most common mistakes in budget automotive wiring is purchasing CCA (Copper Clad Aluminum) wire from discount online marketplaces. CCA wire has an aluminum core with a thin copper coating. Aluminum has roughly 60% higher electrical resistance than pure copper. A 10 AWG CCA wire will perform closer to a 12 AWG pure copper wire, leading to severe voltage drop and potential melting when subjected to a continuous 30-amp load.
The True Cost of Pure Copper GXL Wire
High-quality, pure copper GXL (General Cross-Linked) wire costs approximately $0.80 to $1.20 per foot for 10 AWG. For a standard off-road light bar installation requiring 20 feet of wire (10 feet positive, 10 feet negative), the raw wire cost is roughly $20.00. While this is 40% more expensive than CCA alternatives, the ROI is realized in the prevention of melted harnesses and relay failures.
Furthermore, adhering to SAE J1128 standards ensures the wire insulation can withstand the chemical exposure (oil, coolant, battery acid) and abrasion inherent in vehicle routing. Standard THHN building wire is cheaper but lacks the flexibility and fluid resistance required for automotive chassis wiring.
Tooling Requirements and Capital Investment
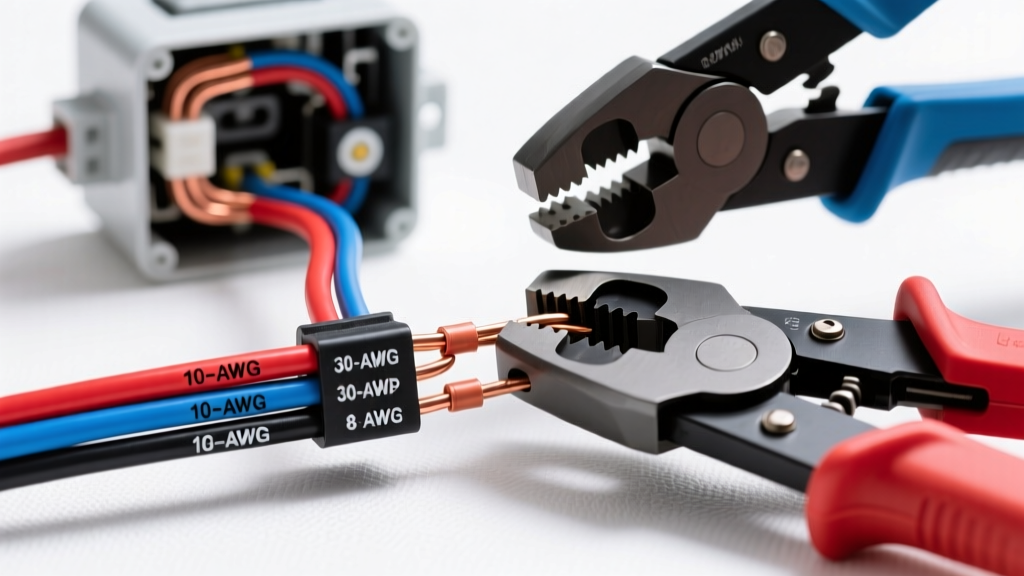
You cannot reliably terminate 10 AWG or 8 AWG wire using cheap, stamped-steel pliers or solder-only methods. Soldering heavy-gauge automotive wire creates a rigid joint that is prone to fatigue cracking from vehicle vibration. The Littelfuse engineering guidelines strongly advocate for gas-tight mechanical crimps using heat-shrink terminals.
To achieve a factory-grade, weatherproof connection on a 30-amp circuit, you must invest in specific tooling. Below is the required tooling profile and estimated cost for a professional-grade 10 AWG termination setup.
| Tool / Material | Specification Requirement | Est. Cost | Purpose in 30A Circuit |
|---|---|---|---|
| Ratcheting Crimper | 10-8 AWG capacity, 4-way indent die | $45.00 - $85.00 | Ensures uniform, gas-tight compression on heavy ring terminals. |
| Wire Strippers | Self-adjusting or precision notch for 10-8 AWG | $25.00 | Prevents nicking the copper strands, which reduces ampacity. |
| Heat Gun | Dual temp, with concentrator nozzle | $35.00 | Activates the adhesive-lined heat shrink to seal out moisture. |
| Terminals | 10-8 AWG Adhesive-Lined Heat Shrink Ring (Yellow) | $1.50 / ea | Provides strain relief and environmental sealing at the crimp barrel. |
Tooling ROI Analysis: The initial tooling investment is approximately $110. However, a poor crimp on a 30-amp circuit creates a high-resistance joint. Under a 30-amp load, a loose crimp will generate immense heat (I²R losses), melting the terminal insulation, causing relay chatter, or starting an electrical fire. The cost of replacing a melted fuse block or repairing a burned vehicle harness easily exceeds $500, making the $110 tooling investment mandatory for any serious automotive electrician.
Real-World Application: Wiring a 30A Relay for Dual Cooling Fans
To contextualize the cost and tool requirements, let us examine a standard 30-amp application: wiring an aftermarket dual electric radiator fan setup using a heavy-duty Bosch-style ISO mini relay.
Relay Pinout and Wire Color Strategy
Using standardized wire colors prevents future diagnostic nightmares. For a 30-amp fan circuit, utilize the following color codes and gauge sizing:
- Pin 30 (Constant 12V+ Input): 10 AWG Red Wire. Routed directly from the battery positive terminal, passing through a 30A Maxi fuse located within 18 inches of the battery.
- Pin 87 (Switched 12V+ Output): 10 AWG Red Wire. Routed to the dual fan motor positive terminals.
- Pin 86 (Trigger 12V+ Input): 18 AWG Blue Wire. Connected to the ignition switch or thermostat sender switch. (Low draw, approx 0.2A).
- Pin 85 (Ground): 18 AWG Black Wire. Secured to a clean, bare-metal chassis ground point using a star washer.
- Fan Motor Ground: 10 AWG Black Wire. Routed from the fan motor negative terminal to the chassis or battery negative.
Crimping and Routing Execution
Because the fans draw a combined 28 amps on startup (inrush current can spike to 35 amps momentarily), the 10 AWG wire on Pins 30 and 87 must be terminated with 10-8 AWG yellow heat-shrink ring terminals. Using the ratcheting crimper, strip exactly 5/16ths of an inch of insulation. Insert the wire into the terminal barrel until the copper strands are flush with the inspection window. Squeeze the crimper until the ratchet releases. Finally, apply heat from the center of the barrel outward to ensure the internal adhesive melts and seals the wire entry point, preventing battery acid vapor from wicking into the copper strands.
The Hidden Costs of Undersizing and Poor Tooling
Attempting to save money by using 12 AWG wire for a 30-amp load results in a voltage drop that starves the accessory. For example, a dual fan motor receiving only 10.5 volts due to wire resistance will draw more amperage to compensate for the lack of wattage, creating a thermal runaway effect. The PVC or inferior insulation will soften, shorting against the radiator support.
Similarly, skipping the adhesive-lined heat shrink and using standard vinyl-insulated terminals saves about $0.80 per connection. However, in an engine bay, vibration causes the vinyl to crack, allowing water and road salt to corrode the copper inside the barrel. This corrosion increases resistance, generating heat that eventually melts the terminal and destroys the relay socket.
Conclusion: Budgeting for a 30-Amp Circuit
When planning a project requiring the correct wire gauge for 30 amp draws, allocate your budget toward pure copper GXL wire, adhesive-lined terminals, and a quality ratcheting crimper. The material cost for a premium 10 AWG setup is roughly $35 to $50 per circuit, compared to $15 for a budget CCA setup. The marginal upfront savings of cheap wire and inadequate tools are entirely negated by the risk of catastrophic electrical failure. By adhering to SAE standards and utilizing proper mechanical crimping techniques, you ensure a 30-amp circuit that will reliably outlast the vehicle itself.