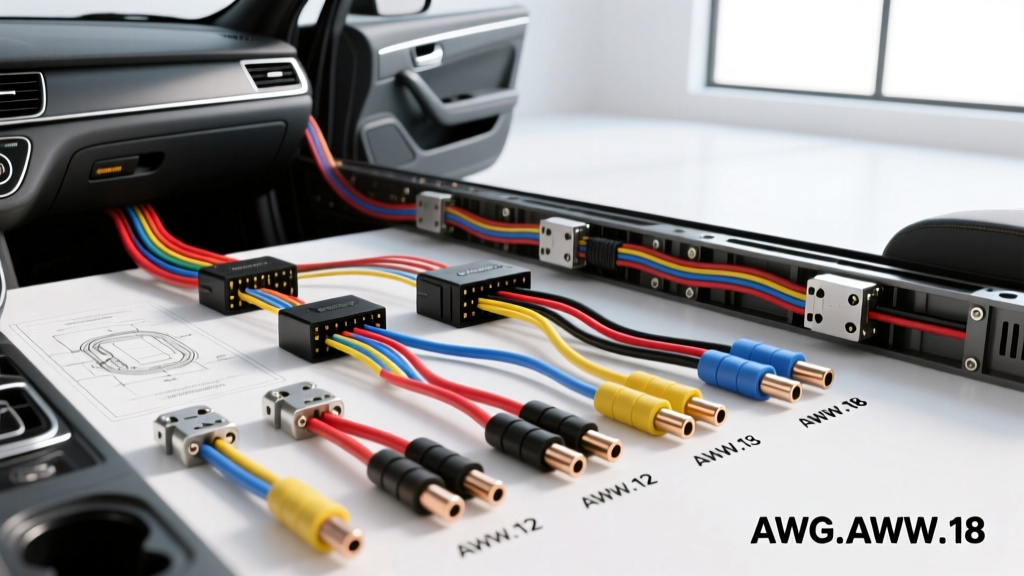
Introduction to Car Speaker Wire Gauge Selection
When upgrading your vehicle's audio system, the focus often lands squarely on head units, amplifiers, and component speakers. However, the physical link between your amplifier's output terminals and the speaker's voice coil is just as critical to sound quality. Selecting the proper car speaker wire gauge is not merely a matter of fitting a wire into a terminal; it is an exercise in preserving signal integrity, maintaining amplifier damping factor, and ensuring long-term reliability in a harsh automotive environment. This practical installation guide will walk you through the physics of audio signal transmission, how to calculate your exact AWG requirements, and professional routing techniques for modern vehicle interiors.
The Physics: Why AWG Matters in Automotive Audio
Unlike power cables that carry high current at 12-14 volts DC, speaker wires carry an alternating current (AC) audio signal. While the current draw of a speaker is relatively low compared to an amplifier's main power feed, the impedance of the speaker (typically 4 ohms or 2 ohms) is also very low. Any resistance added by the speaker wire acts as a resistor in series with the speaker's voice coil.
Damping Factor and Signal Loss
Damping factor is the amplifier's ability to control the mechanical movement of the speaker cone, particularly after a transient bass note. It is calculated by dividing the speaker's nominal impedance by the total output impedance (which includes the amplifier's internal resistance plus the resistance of the speaker wire). If you use a car speaker wire gauge that is too thin, the wire's resistance increases. This artificially lowers the damping factor, resulting in 'muddy' or 'boomy' mid-bass response because the amplifier cannot effectively brake the speaker cone. According to Southwire AWG Resistance Specifications, stepping down from 14 AWG to 18 AWG nearly triples the resistance per foot, drastically altering the electrical damping seen by the amplifier.
Step-by-Step Guide: Calculating Your Car Speaker Wire Gauge
To choose the correct wire, you must evaluate three variables: the total length of the wire run, the nominal impedance of the speaker, and the continuous power (RMS) being delivered to that channel.
Step 1: Determine Total Wire Run Length
Never estimate wire length by looking at the vehicle. You must measure the actual routing path. Start at the amplifier location (e.g., under the passenger seat or in the trunk), trace the path through the center console, under the carpet, through the door sill plates, and into the door cavity or dash panel. Always add 15% to 20% to your final measurement to account for service loops, drip loops inside the door cavity, and termination slack.
Step 2: Match AWG to Power and Impedance
For standard 4-ohm car audio systems running 50 to 100 watts RMS per channel, 16 AWG Oxygen-Free Copper (OFC) is generally the industry baseline. However, if you are running high-power component systems (150+ watts RMS) or wiring 2-ohm loads, you must step up to 14 AWG or even 12 AWG to minimize voltage drop and preserve the damping factor.
Car Speaker Wire Gauge Reference Chart
| Wire Gauge (AWG) | Resistance per 1,000 ft (OFC) | Max Run Length (4-Ohm, 50W RMS) | Max Run Length (2-Ohm, 100W+ RMS) | Recommended Application |
|---|---|---|---|---|
| 18 AWG | 6.385 Ohms | Up to 15 feet | Not Recommended | Factory replacements, low-power rear fills |
| 16 AWG | 4.016 Ohms | Up to 30 feet | Up to 10 feet | Standard 50-75W RMS coaxial and components |
| 14 AWG | 2.525 Ohms | Up to 50 feet | Up to 25 feet | High-power components, 2-ohm mid-bass drivers |
| 12 AWG | 1.588 Ohms | Up to 80 feet | Up to 40 feet | Competition SPL builds, high-current subwoofers |
Note: Lengths represent the total continuous run from amplifier to speaker terminal. Data sourced from standard OFC conductivity metrics.
Practical Installation: Routing and Termination
Knowing the correct car speaker wire gauge is only half the battle. Automotive environments subject wiring to extreme temperature fluctuations, vibration, and moisture. Professional installation techniques are mandatory to prevent future failures.
Navigating the Factory Door Boot
The most challenging part of any door speaker installation is passing the wire through the factory rubber door boot (the flexible grommet between the A/B-pillar and the door hinge).
- Disconnect the Battery: Always disconnect the negative terminal to prevent shorting factory wiring harnesses.
- Detach the Boot: Carefully peel back the rubber grommet from the pillar side using a plastic trim removal tool to avoid tearing the weather seal.
- Use a Fish Tape: Do not force the wire blindly. Use a flexible nylon fish tape or a straightened metal coat hanger with a smooth, taped loop at the end. Feed it from the door side into the cabin.
- Lubricate: Apply a small amount of silicone dielectric grease to the speaker wire. This reduces friction and protects the wire jacket from chafing against the rubber and factory harnesses.
- Pull and Secure: Tape the 16 AWG or 14 AWG wire to the fish tape using high-quality electrical tape, ensuring no sharp edges. Pull gently. Create a 'drip loop' inside the door cavity so water running down the window track does not flow directly onto the speaker terminals.
CEA-2015 Color Coding Standards
To maintain proper phase and simplify future troubleshooting, always adhere to the Consumer Technology Association (CTA) CEA-2015 Mobile Electronics Wiring Standards. Using standardized color codes ensures that anyone working on the vehicle later can easily identify the channels:
- Left Front: White (Solid = Positive, Black Stripe = Negative)
- Right Front: Gray (Solid = Positive, Black Stripe = Negative)
- Left Rear: Green (Solid = Positive, Black Stripe = Negative)
- Right Rear: Purple (Solid = Positive, Black Stripe = Negative)
Termination and Moisture Sealing
Never simply twist bare speaker wire around a binding post and leave it exposed. The interior of a car door is a high-humidity environment. Bare copper will oxidize rapidly, creating a semiconductor effect that introduces harsh distortion and high-frequency roll-off.
- Strip exactly 3/8 inch of insulation using precision wire strippers to avoid nicking the copper strands.
- Crimp a closed-end spade connector or a ferrule onto the wire.
- Seal the crimp using 3M EPS300 series adhesive-lined heat shrink. When heated, the inner epoxy melts and creates a watertight seal, preventing capillary action from drawing moisture up into the wire jacket.
Common Mistakes: The CCA vs. OFC Conundrum
One of the most pervasive mistakes in mobile audio is purchasing Copper-Clad Aluminum (CCA) wire disguised as Oxygen-Free Copper (OFC). CCA wire features an aluminum core with a microscopic copper coating. While it may look identical when new, aluminum has roughly 60% less conductivity than copper. To achieve the same electrical resistance as 16 AWG OFC, you would need to use 14 AWG CCA. Furthermore, CCA is highly susceptible to galvanic corrosion when exposed to moisture and dissimilar metals (like the brass or nickel terminals on a speaker). Over time, the copper cladding flakes away, the aluminum oxidizes into a white, non-conductive powder, and the connection fails completely. For any permanent car speaker wire gauge installation, always verify the wire is pure OFC by performing a scrape test on the cut end. If the center reveals a silvery-white color instead of a continuous copper hue, discard the wire. For authoritative advice on identifying quality wire, refer to Crutchfield's Car Audio Wiring Guide, which extensively details the long-term reliability differences between conductor materials.
Conclusion
Selecting the correct car speaker wire gauge is a foundational step in achieving high-fidelity automotive audio. By calculating your exact run lengths, respecting the physics of damping factor, adhering to CEA color codes, and utilizing moisture-sealed terminations, you ensure that the electrical signal reaches your speakers exactly as the amplifier intended. Invest in high-quality OFC wire, take the time to route it safely through factory grommets, and your custom audio installation will deliver pristine sound for the lifespan of the vehicle.