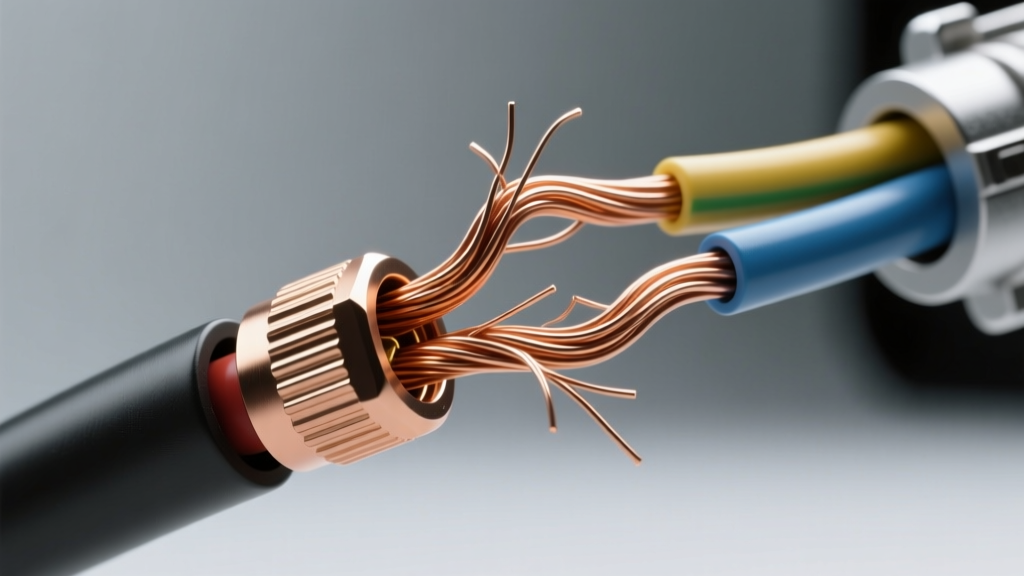
The Fatal Flaw: Reaching for a Wire Nut for 6 Gauge Wire
When upgrading a vehicle electrical system—whether you are installing a high-output 200-amp alternator, wiring an electric winch, or running power to a massive car audio amplifier—you will inevitably be working with 6 AWG (American Wire Gauge) cable. In residential electrical work, joining thick wires is often done with twist-on connectors. However, using a wire nut for 6 gauge wire in an automotive environment is one of the most dangerous and pervasive mistakes made by amateur mechanics and DIY enthusiasts. The consequences of this mistake range from intermittent electrical gremlins to catastrophic thermal runaway and engine bay fires.
Automotive electrical systems operate in a brutal environment characterized by extreme temperature fluctuations, exposure to corrosive chemicals, and relentless harmonic vibration. A connection method that is perfectly acceptable behind the drywall of a living room is entirely inadequate under the hood of a truck. In this guide, we will break down the exact physics of why wire nuts fail on 6 AWG automotive cable, outline the most common installation mistakes, and provide the industry-standard alternatives mandated by automotive electrical engineers.
Understanding 6 AWG Current Loads and Thermal Limits
To understand why a wire nut fails, we must first understand the electrical properties of 6 AWG copper wire. According to the SAE J1128 standard for low-tension automotive cable, a 6 AWG wire is typically constructed of 133 individual strands of 30 AWG copper, giving it a nominal diameter of 4.11mm and a cross-sectional area of roughly 13.3 mm². This wire is rated to safely carry between 60 and 120 amps, depending on whether it is routed through a hot engine bay or a cooler chassis area.
At 80 amps of continuous draw, the physics of electrical resistance become critical. Even a microscopically poor connection introduces resistance. If a loose wire nut adds just 0.02 ohms of resistance to the circuit, the resulting voltage drop generates heat according to the formula P = I²R (Power = Current squared × Resistance). In this scenario, 80 amps squared (6400) multiplied by 0.02 ohms equals 128 watts of pure heat generated directly at the connection point. Because a wire nut is made of thermoplastic with a maximum melting point of around 105°C, this localized heat will rapidly soften the shell, causing the internal spring to lose tension and the connection to fail completely.
The Mechanical Mismatch: Solid vs. Stranded Copper
The internal mechanism of a standard wire nut relies on a tapered, coiled steel spring insert designed to bite into the outer layer of the copper wire. Residential wire nuts are engineered primarily for solid-core THHN building wire. Automotive 6 AWG wire, however, is highly flexible, fine-stranded copper (often GXL or TXL insulation types). When you attempt to twist a wire nut onto 133 strands of fine copper, the steel spring does not bite evenly. Instead, it shreds the outer strands, crushes the inner core, and creates a massive bottleneck for electron flow. This mechanical mismatch guarantees a high-resistance joint from the moment it is installed.
Top 4 Mistakes Mechanics Make with 6 AWG Connections
When technicians attempt to use a wire nut for 6 gauge wire, they typically compound the initial error with several secondary mistakes that accelerate the failure of the joint.
- Mistake 1: Using Residential 'Large' Wire Nuts. Even the largest residential wire nuts (such as the Ideal 65 Blue or Winged connectors) are strictly rated by the NEC for solid copper building wire. They are not UL-listed or SAE-approved for fine-stranded automotive DC applications.
- Mistake 2: Wrapping the Nut in Electrical Tape. Many DIYers believe that wrapping a wire nut in vinyl electrical tape makes it 'waterproof' and 'vibration-proof'. Standard vinyl tape adhesive degrades and turns into a sticky mess at temperatures above 80°C, which is easily exceeded near an exhaust manifold or radiator.
- Mistake 3: Pre-Twisting the Strands. Some installers use lineman's pliers to twist the 6 AWG strands together before applying the wire nut. This work-hardens the copper, making it brittle and prone to snapping under engine vibration.
- Mistake 4: Ignoring Galvanic Corrosion. Wire nuts provide zero environmental sealing. In a vehicle, moisture, road salt, and battery acid vapors will penetrate the open threads of the nut, causing rapid copper oxidation (green corrosion) that increases resistance over time.
Automotive vs. Residential: Why the NEC Doesn't Apply Here
The National Electrical Code (NEC) governs stationary, climate-controlled, low-vibration alternating current (AC) systems. Automotive systems are mobile, high-vibration, direct current (DC) environments. The IPC/WHMA-A-620 standard for cable and wire harness assemblies explicitly dictates that solder-only or twist-only connections are insufficient for high-reliability automotive applications. A proper automotive connection requires a cold-weld (crimp) that deforms the copper strands into a solid mass, eliminating air pockets where oxidation can occur, followed by environmental sealing.
Specification Chart: Proper 6 AWG Terminations
Instead of reaching for a wire nut, automotive electricians rely on mechanical crimps and distribution blocks. Below is a reference chart detailing the correct termination methods for 6 AWG wire in vehicle applications.
| Connection Type | Required Tooling | Pull-Out Force (Min) | Vibration Resistance | Best Automotive Use Case |
|---|---|---|---|---|
| Closed-End Crimp (CE) | Heavy-Duty Hex Crimper | >150 lbs | Excellent | Battery pigtails, joining two 6 AWG feeds |
| Ring Terminal (Lug) | Hex/Indent Crimper + Torque Wrench | N/A (Mechanical) | Excellent | Alternator B+ post, starter motor, grounding to chassis |
| Adhesive Heat Shrink Splice | Hex Crimper + Heat Gun | >120 lbs | Very Good | Secondary accessory feeds, marine environments |
| Distribution Block | Hex Key / Screwdriver | N/A (Mechanical) | Good (if strain relieved) | Splitting one 6 AWG main feed into multiple smaller circuits |
Step-by-Step: The Correct Adhesive Heat Shrink Crimp Method
If you must splice two pieces of 6 AWG wire together (the exact scenario where a residential worker might use a wire nut), you must use an adhesive-lined, heat-shrink butt splice. Follow this procedure to ensure a factory-grade connection:
- Strip the Wire: Use a ratcheting wire stripper calibrated for 6 AWG. Strip exactly 5/8 inch of insulation. Do not nick the outer copper strands, as this creates a stress riser that will snap under vibration.
- Insert and Align: Slide the 6 AWG wires into opposite ends of the adhesive-lined butt splice. Ensure the copper strands are fully seated and do not cross over the center stopper inside the barrel.
- The Hex Crimp: Using a heavy-duty crimper with a hexagonal die, crimp both sides of the barrel. The hex die compresses the copper strands into a dense, hexagonal shape, maximizing surface area contact and creating a gas-tight cold weld. Never use a tool that simply 'smashes' the barrel flat, as this cuts the outer strands.
- Heat Shrink and Seal: Apply heat evenly using a heat gun (not a lighter or torch). The polyolefin tubing will shrink at a 3:1 ratio, and the inner thermoplastic adhesive will melt, flowing into the wire strands and creating a 100% waterproof, corrosion-proof seal.
Real-World Failure Modes: What Happens When Wire Nuts Melt
Consider a real-world scenario: A technician installs an electric winch on a truck and uses a large twist-on wire nut to connect the 6 AWG winch feed to the battery positive cable, hiding the connection behind the grille. During the first heavy pull, the winch draws 350 amps. The wire nut, rated for a fraction of that in a static environment, experiences massive I²R heating. The thermoplastic shell softens and melts. The internal steel spring expands, losing its grip on the copper. The wires separate by a fraction of a millimeter, and a high-energy DC arc strikes across the gap.
This arc generates temperatures exceeding 5,000°F, instantly vaporizing the surrounding copper and igniting the wire insulation. Automotive wire insulation, when burned, can release toxic hydrogen chloride gas. The resulting fire can quickly spread to the radiator support, battery, and engine bay wiring harness, totaling the vehicle. By understanding the limitations of hardware store connectors and respecting the rigorous demands of automotive electrical systems, you can ensure your high-current upgrades are safe, reliable, and built to last.
For further reading on proper automotive crimping techniques and terminal pull-test specifications, refer to the engineering guidelines provided by TE Connectivity Crimp Terminals and the SAE J1128 documentation.