The True Cost of Automotive Security Camera Systems
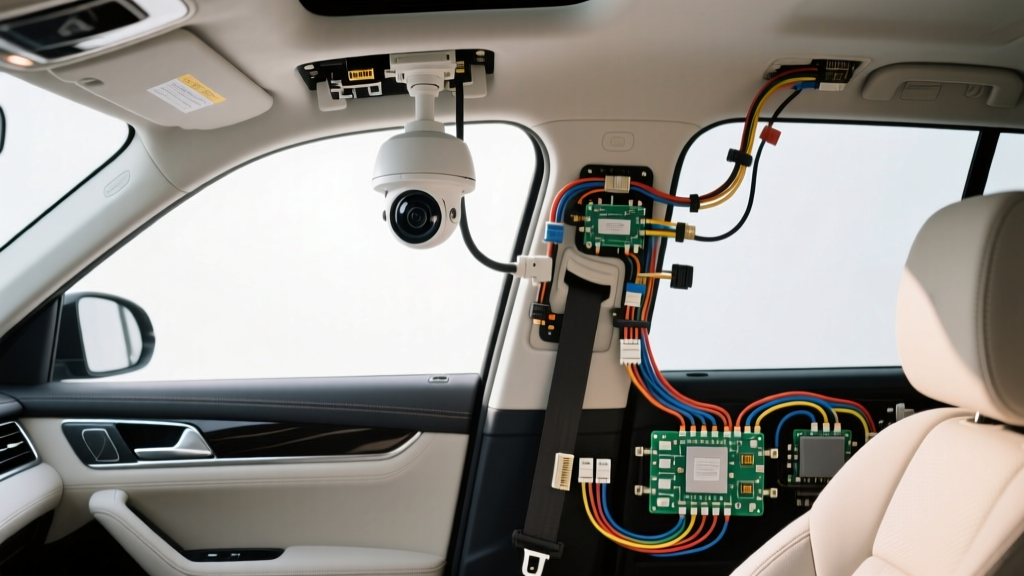
When fleet managers, RV owners, and daily commuters ask, "how much does it cost for security camera installation," the answer varies wildly based on system complexity and integration depth. Unlike static home setups, automotive security cameras—ranging from hardwired dash cams with parking surveillance to 360° bird's-eye trailer monitoring—require seamless integration with a vehicle's dynamic electrical system, CAN bus networks, and high-vibration environments. The cost is not just in the hardware; it is in the labor, specialized wiring materials, and electronic isolation required to prevent vehicle battery drain and module damage.
Automotive Security Camera Cost Breakdown
| System Type | Hardware Cost | Professional Labor | Wiring Complexity & Materials |
|---|---|---|---|
| Dash Cam w/ Parking Mode | $150 - $400 | $75 - $150 | Low (Add-a-circuit, 18 AWG TXL, Fuse Tapping) |
| Cabin & Cargo Security Cams | $300 - $800 | $200 - $450 | Medium (Coaxial routing, Molex connectors, Ground Loop Isolation) |
| 360° Bird's-Eye / Trailer Cams | $800 - $2,500+ | $600 - $1,500+ | High (Fakra/H-MTD connectors, Shielded Twisted Pair, CAN bus triggers) |
Hardwiring Parking Surveillance: The Budget Option
The most common entry point for vehicle security is a dash cam with a hardwire parking surveillance kit. This allows the camera to monitor the vehicle while the ignition is off, drawing power directly from the fuse box. According to Crutchfield's dash cam installation guides, a proper hardwire installation requires identifying three distinct circuits: Constant 12V (B+), Switched 12V (ACC), and a reliable chassis ground.
Wire Gauge and Insulation Specifications
Never use standard PVC-insulated copper wire under a vehicle's dash or in engine bays. Automotive environments demand TXL (Thermoplastic Cross-Linked) or GXL wire, which resists melting, abrasion, and under-dash heat up to 125°C. For standard dash cam hardwire kits drawing less than 1.5 Amps, 18 AWG stranded copper is the standard. For longer runs, such as routing power to a rear cargo security camera in a Sprinter van or transit bus, step up to 16 AWG to mitigate voltage drop.
Parasitic Draw and Voltage Cutoff Modules
Modern vehicles with complex Body Control Modules (BCMs) require strict parasitic draw limits. According to AA1Car electrical diagnostics, a modern vehicle's acceptable sleep-state draw is typically between 30mA and 50mA. A security camera left on continuously will drain a standard 70Ah AGM battery in a matter of days, potentially bricking the BCM due to low-voltage logic faults.
Hardwire kits must include a low-voltage cutoff module. These modules monitor the battery and sever the ground path to the camera when voltage drops below a selectable threshold:
- 12.4V: Recommended for older vehicles or vehicles with standard flooded lead-acid batteries.
- 12.0V: Ideal for modern vehicles with robust AGM batteries and frequent daily driving.
- 11.8V: Maximum discharge for deep-cycle auxiliary batteries in RV or fleet setups.
360° Bird’s-Eye & Trailer Security Systems: The Advanced Option
For fleet vehicles, RVs, and heavy-duty trucks, security extends beyond the cabin. 360° surround-view systems and exterior trailer security cameras require high-bandwidth data transmission and ruggedized physical connections. The labor cost for these systems is high because routing shielded cables through firewalls, door jambs, and trailer hitches requires meticulous sealing and EMI (Electromagnetic Interference) mitigation.
Heavy-Duty M12 Aviation Connector Pinout
Exterior security cameras on commercial vehicles rely on M12 4-Pin Aviation Connectors due to their IP67 waterproof rating and threaded locking collars, which prevent vibration-induced disconnects. When wiring or repairing these pigtails, adhere to the following industry-standard pinout:
| Pin Number | Function | Wire Color (Typical) | AWG Requirement |
|---|---|---|---|
| Pin 1 | 12V DC Power (B+) | Red | 18 AWG (16 AWG for PTZ) |
| Pin 2 | Chassis Ground | Black | 18 AWG |
| Pin 3 | Audio / Trigger / RS485 Data | White / Blue | 20 AWG Shielded |
| Pin 4 | Analog Video Signal (AHD/CVBS) | Yellow / Green | Coaxial or Shielded Twisted Pair |
Mitigating Alternator Whine and EMI
Automotive electrical systems are incredibly noisy. The alternator generates AC ripple and high-frequency switching noise from fuel injectors and ignition coils. If a trailer security camera's video signal runs parallel to the main power harness without proper shielding, the display will exhibit rolling horizontal bars or severe static. To comply with SAE J1113 electromagnetic compatibility standards, all analog video and RS485 data lines must be routed using Shielded Twisted Pair (STP) cabling. The shield drain wire must be grounded at the monitor end only to prevent ground loops.
Voltage Drop Calculations for Long-Run Trailer Cams
A frequent failure mode in RV and trailer security camera installations is the "brownout" reboot loop. This occurs when the camera's infrared (IR) night vision engages, spiking the current draw from 0.3A to 1.8A, causing a massive voltage drop across a long, undersized wire run.
Using the standard voltage drop formula V_drop = (2 × L × I × R) / 1000:
- Scenario: 40-foot cable run (80 feet total loop) using 18 AWG copper (6.385 ohms/1000ft) drawing 1.8A (IR Mode).
- Calculation: (80 × 1.8 × 6.385) / 1000 = 0.91V Drop.
- Result: If the source voltage is 12.6V, the camera receives 11.69V. Many AHD cameras will shut down or reboot at this voltage.
- The Fix: Upgrade the power and ground lines to 14 AWG TXL (2.525 ohms/1000ft). The new drop is 0.36V, delivering a stable 12.24V to the camera head.
Real-World Failure Modes & Troubleshooting
1. CAN Bus Backfeeding and Module Damage
Symptom: Vehicle battery drains overnight, or the infotainment screen randomly wakes up when the security camera's motion detector triggers.
Cause: The installer tapped the camera's ACC trigger wire directly into a CAN bus wake-up line or a sensitive LIN bus circuit. The camera's internal voltage regulator backfeeds 5V or 12V into the data line, confusing the BCM.
Fix: Never tap directly into data lines for power or triggers. Use a 12V automotive relay or an optocoupler isolation module. The security camera triggers the optocoupler's LED, and the phototransistor safely switches the load without any electrical continuity between the camera circuit and the vehicle's sensitive data network.
2. Poor Chassis Grounding
Symptom: Video feed flickers when the turn signals or brake lights are activated.
Cause: The camera ground is tied to a painted surface, a plastic trim screw, or a shared ground point that is already saturated by high-draw lighting circuits.
Fix: Locate a dedicated M6 or M8 chassis ground stud. Remove the nut, sand the surrounding paint and primer down to bare steel using 80-grit sandpaper, attach an 18 AWG wire with a tinned copper ring terminal, and re-torque to 10 Nm (7.4 lb-ft). Apply a dab of dielectric grease over the terminal to prevent galvanic corrosion.
Conclusion: Investing in Proper Integration
Ultimately, when evaluating how much it costs for security camera installation in an automotive context, you are paying for electrical safety and signal integrity. A $50 DIY fuse-tap job might work for a week, but it risks parasitic battery drain and CAN bus faults. Professional installations utilizing TXL wiring, M12 aviation connectors, optocouplers, and strict adherence to SAE EMC standards ensure your vehicle's security system operates reliably without compromising the OEM electrical architecture.