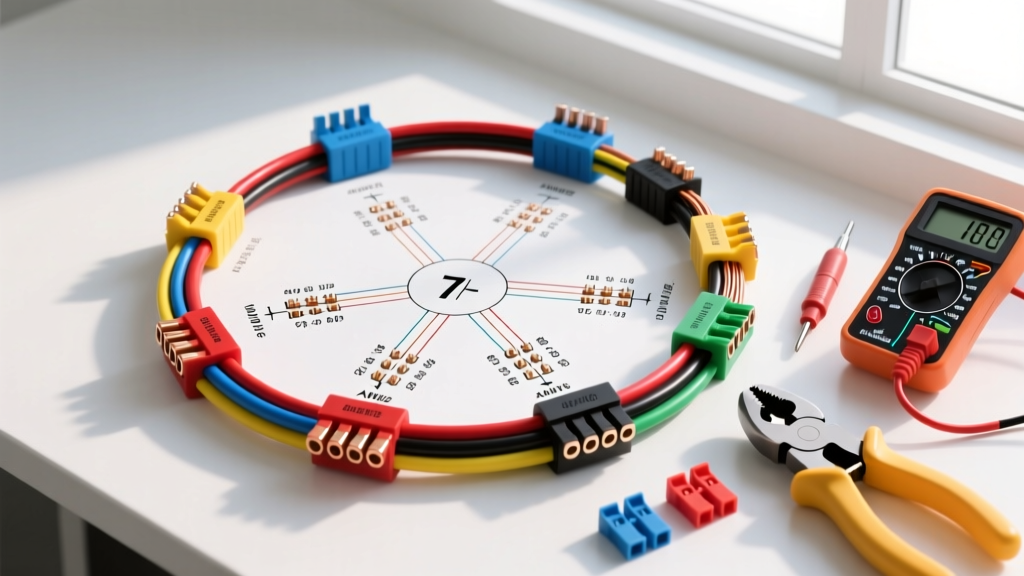
Understanding the 7 Way Round to 7 Way Flat Wiring Diagram
Adapting a heavy-duty commercial truck or agricultural tractor to a standard recreational vehicle (RV) or utility trailer requires a precise understanding of connector pinouts. The 7 way round to 7 way flat wiring diagram bridges the gap between heavy-duty truck receptacles (often governed by SAE J286 or legacy agricultural standards) and the ubiquitous 7-way flat RV blade connector. While the electrical functions remain largely identical, the physical pin geometry and typical wire gauge requirements differ significantly. Building a custom adapter pigtail rather than buying a cheap, pre-molded cable ensures you can upgrade to 10 AWG wire for high-draw circuits like electric brakes and 12V auxiliary power, preventing the voltage drop that plagues off-the-shelf adapters.
Pinout Mapping and Wire Color Standards
The most critical step in fabricating your adapter is mapping the physical pins. Standard 7-way flat connectors use a specific blade layout, while 7-way round connectors utilize a circular arrangement, typically with one center pin and six surrounding pins. Below is the definitive mapping chart for standard RV-to-Truck applications.
| Function | Flat Blade Pin | Flat Wire Color | Round Pin Number | Round Wire Color | Min. AWG Size |
|---|---|---|---|---|---|
| Ground (Chassis) | Pin 1 | White | Pin 1 (Center) | White | 10 AWG |
| Tail / Running Lights | Pin 2 | Brown | Pin 2 (12 o'clock) | Brown | 12 AWG |
| Left Turn / Stop | Pin 3 | Yellow | Pin 3 (9 o'clock) | Yellow | 12 AWG |
| Right Turn / Stop | Pin 4 | Green | Pin 4 (3 o'clock) | Green | 12 AWG |
| Electric Brakes | Pin 5 | Blue | Pin 5 (6 o'clock) | Blue | 10 AWG |
| 12V Auxiliary Power | Pin 6 | Black / Red | Pin 6 (10:30) | Black | 10 AWG |
| Reverse / Backup | Pin 7 | Purple | Pin 7 (1:30) | Purple | 12 AWG |
Expert Note: Agricultural wiring frequently deviates from standard color codes. Always verify the truck-side round receptacle with a digital multimeter before cutting or crimping your new pigtail. Refer to the SAE J286 standard documentation for heavy-truck electrical connection variations.
Cost Analysis: Custom Fabrication vs. Pre-Molded Adapters
When sourcing a 7 way round to 7 way flat adapter, you generally have two routes: purchasing a pre-molded retail adapter or fabricating a custom heavy-duty pigtail. From a cost and longevity perspective, the ROI heavily favors custom fabrication for users towing heavy horse trailers, car haulers, or large fifth-wheels.
Material Breakdown & Pricing
| Component | Pre-Molded Adapter (Retail) | Custom DIY Pigtail (Heavy Duty) |
|---|---|---|
| Connectors (Round & Flat) | $45.00 (Integrated) | $28.00 (Heavy-duty metal/cast housings) |
| Wiring (18-inch length) | Included (Often undersized 12-14 AWG) | $18.00 (Premium 10/12 AWG stranded copper) |
| Terminals & Heat Shrink | N/A (Molded) | $12.00 (Adhesive-lined polyolefin & ring terminals) |
| Dielectric Grease | Rarely Included | $6.00 (Permatex or Nocor) |
| Total Estimated Cost | $45.00 - $55.00 | $64.00 |
| Lifespan & Performance | 2-4 Years (Prone to internal corrosion) | 10+ Years (Serviceable, zero voltage drop) |
While the upfront cost of a custom harness is roughly $15 to $20 more, pre-molded adapters are notorious for internal wire breakage and undersized ground wires. A failing ground wire on a pre-molded adapter will cause your trailer brake controller to throw an 'SH' (Short) or 'OL' (Overload) code, or cause your tail lights to backfeed through the turn signal circuits. Fabricating your own allows you to use true 10 AWG wire for the ground, brake, and auxiliary circuits, which is critical for modern pulse-width modulation (PWM) brake controllers.
Essential Tool Requirements for the Job
You cannot build a reliable, weatherproof 7-way trailer harness with standard household pliers and electrical tape. The vibration and moisture exposure inherent to highway towing demand professional-grade terminations. Below is the mandatory tool list for this specific fabrication.
1. Ratcheting Terminal Crimper (10-22 AWG)
Standard crimping pliers often leave high-resistance connections if the user lacks grip strength. A ratcheting crimper (such as those from Glarks or Titan) ensures a uniform, gas-tight crimp on 10 AWG and 12 AWG non-insulated ring terminals. A poor crimp on the blue electric brake wire will generate heat, melt the connector housing, and result in trailer brake failure on long downhill grades.
2. Precision Wire Strippers
Stripping 10 AWG multi-strand copper wire without nicking the outer strands is vital. Nicked strands reduce the cross-sectional area of the wire, creating a bottleneck for current flow. Invest in a self-adjusting wire stripper (like the Knipex MultiStrip) calibrated for 10-14 AWG wire.
3. Adhesive-Lined Heat Shrink & Heat Gun
Standard PVC electrical tape will unravel when exposed to summer highway temperatures and road grime. You must use 3M or equivalent adhesive-lined polyolefin heat shrink. When heated to 250°F with a dedicated heat gun, the inner meltable adhesive flows into the wire strands, creating a 100% waterproof seal that prevents capillary action from drawing moisture into the connector pins.
Step-by-Step Execution & Weatherproofing
- Prep the Wire Loom: Cut your 10 AWG (White, Blue, Black) and 12 AWG (Brown, Yellow, Green, Purple) wires to your desired length. Add 6 inches for service loops. Slide the main exterior cable jacket over the bundle before terminating any ends.
- Strip and Crimp: Strip exactly 3/8 inch of insulation from each wire. Insert the bare copper into the appropriate non-insulated ring or pin terminal. Use the ratcheting crimper to secure the terminal. Give each wire a firm 10-lb pull test to ensure the crimp holds.
- Seal the Terminations: Slide a piece of adhesive-lined heat shrink over each crimped joint. Apply heat evenly until the adhesive oozes slightly from the edges. This step is what separates a professional harness from an amateur one.
- Pin Insertion: Insert the pins into the 7-way round and 7-way flat housings according to the diagram above. Ensure the locking tangs click securely into the plastic housing. If using a screw-terminal style round connector, torque the set screws to 15 in-lbs and apply a dab of clear nail polish or threadlocker to prevent vibration loosening.
- Final Weatherproofing: Pack the rear cavity of both connectors with a generous amount of dielectric grease. This displaces moisture and prevents galvanic corrosion between the copper wire and the brass or nickel-plated pins.
Real-World Troubleshooting & Voltage Drop
Even with a perfect 7 way round to 7 way flat wiring diagram execution, environmental factors can cause issues. The most common failure mode in custom adapters is voltage drop on the electric brake circuit.
Symptom: Brake Controller Displays 'OL' or Low Voltage Output
Cause: If you used 12 AWG wire for the blue brake circuit instead of the recommended 10 AWG, the resistance over a 25-foot trailer length will cause a significant voltage drop. Modern brake controllers monitor output voltage; if the resistance is too high, the controller assumes a short circuit and shuts down.
Fix: Verify the wire gauge used in your custom pigtail. Upgrade the blue wire and the white ground wire to 8 AWG or 10 AWG stranded copper. Additionally, check the truck-side round receptacle. Heavy-duty truck round pins often suffer from oxidation. Use a fiberglass scratch pen or a small wire brush to clean the male pins on the truck before plugging in your new adapter.
Symptom: Tail Lights Flicker When Turn Signals are Engaged
Cause: This is a classic 'backfeed' issue caused by a high-resistance ground. The current from the turn signal is seeking an alternative path to ground, traveling backward through the tail light circuit.
Fix: The white ground wire on your adapter is insufficient, or the truck-side round receptacle ground (Pin 1) is corroded. Ensure your custom adapter uses a minimum 10 AWG white wire, and verify that the truck's round receptacle is bolted directly to a clean, bare-metal chassis ground point.
For further reading on commercial vehicle electrical standards and advanced brake controller troubleshooting, consult the etrailer Wiring FAQ and Technical Guides or review the installation specifications provided by Curt Manufacturing. Proper tooling and adherence to AWG requirements will ensure your adapter outlasts the trailer it is towing.