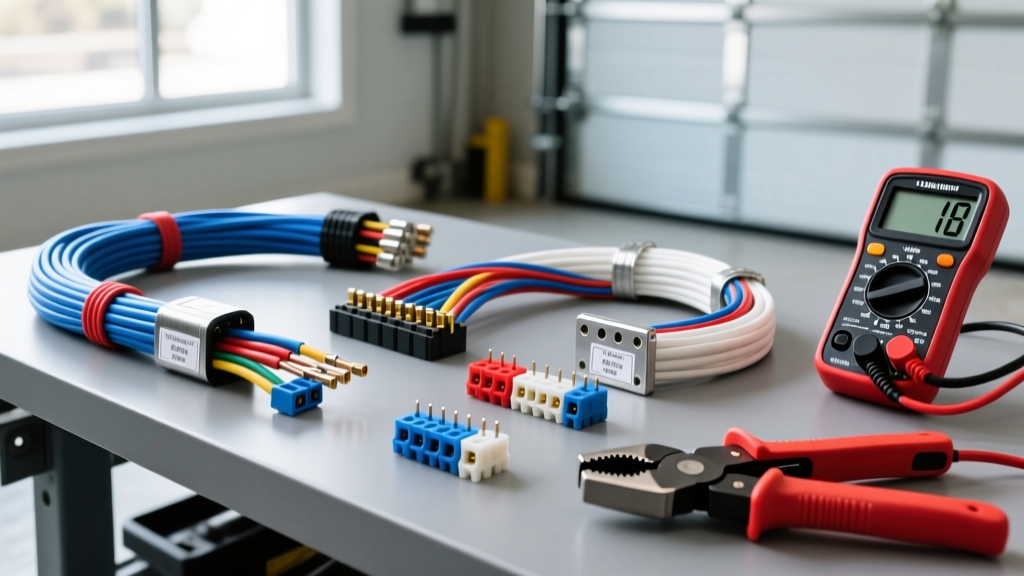
The True Economics of a 4-Way Flat Harness Installation
Installing a 4 way flat trailer wiring harness is often marketed as a simple weekend plug-and-play project. However, automotive electrical engineers and seasoned mechanics know that improper tooling and cheap materials are the root causes of trailer lighting failures, blown fuses, and in worst-case scenarios, damaged vehicle Body Control Modules (BCMs). Whether you are wiring a small utility trailer or integrating a T-connector on a modern SUV, understanding the true cost and tool requirements is critical to a reliable setup.
This analysis breaks down the material costs, specialized tooling requirements, and hidden expenses associated with 4-pin flat harness installations, ensuring your trailer lighting meets both safety standards and long-term durability requirements.
4-Way Flat Pinout and AWG Specifications
Before purchasing materials, you must understand the standard SAE color codes and American Wire Gauge (AWG) requirements. While many off-the-shelf kits use 18 AWG for all four circuits, professional installers upgrade the ground circuit to prevent voltage drop over long trailer tongues.
| Pin Position | Wire Color | Function | Recommended AWG | Technical Notes & Failure Modes |
|---|---|---|---|---|
| 1 (Ground) | White | Chassis Ground | 14 - 16 AWG | Undersized ground wires cause LED hyper-flashing and dim running lights. Must bond to bare frame metal, never the hitch ball. |
| 2 | Brown | Tail / Running Lights | 18 AWG | Carries continuous load. Ensure connections are sealed against moisture to prevent copper oxidation (green wicking). |
| 3 | Yellow | Left Turn / Stop | 18 AWG | Pulsed DC load. Requires high-quality crimps to withstand vibration at the trailer tongue pivot point. |
| 4 | Green | Right Turn / Stop | 18 AWG | Combined stop/turn signal. If vehicle has separate stop/turn bulbs, an isolated taillight converter is mandatory. |
Essential Tooling: Where to Spend and Where to Save
The difference between a harness that lasts ten years and one that fails in six months lies in the termination tools. Electrical tape and twist-on connectors are strictly prohibited in automotive exterior applications due to capillary action drawing moisture into the copper strands.
Must-Have Professional Tools
- Ratcheting Crimp Tool (Insulated Terminals): A proper ratcheting crimper applies exact pressure to the metal conductor crimp and the insulation crimp simultaneously. Non-ratcheting pliers often crush the barrel, leading to high-resistance hot spots.
- Dual-Wall Adhesive Heat Shrink (3:1 Ratio): Standard heat shrink is insufficient. You must use polyamide-lined (adhesive) heat shrink. When heated, the inner lining melts and seals the wire entry points, creating a waterproof dielectric barrier.
- High-Impedance Digital Multimeter (DMM): Essential for testing voltage drop across the ground circuit. A reading of more than 0.2V drop under load indicates a poor chassis bond or undersized white wire.
- Wire Strippers (10-22 AWG Precision): Nicking the copper strands while stripping 18 AWG wire reduces the cross-sectional area, creating a localized bottleneck that will heat up and fail under brake-light loads.
Nice-to-Have (But Recommended) Tools
- Logic Probe / CANBUS Circuit Tester: Unlike standard incandescent test lights, a high-impedance logic probe will not draw enough current to trigger a modern vehicle's CANBUS error codes or blow a multiplexed lighting fuse.
- Split Loom Tubing &> UV-Resistant Zip Ties: Protects the harness from road debris, exhaust heat, and UV degradation where the harness routes under the vehicle bumper.
Cost Matrix: Hardwire vs. T-Connector vs. Professional
The total cost of your 4 way flat trailer wiring harness installation varies wildly depending on your vehicle's electrical architecture and your chosen integration method. Below is a realistic cost analysis based on current automotive aftermarket pricing.
| Installation Method | Parts & Materials Cost | Tooling Investment | Labor / Time | Risk Factor |
|---|---|---|---|---|
| Universal Hardwire Kit | $25 - $45 | $60 - $120 | 2 - 4 Hours | High (Requires splicing into vehicle tail light circuits; high risk of CANBUS faults if done improperly). |
| Vehicle-Specific T-Connector | $65 - $130 | $25 (Basic Crimpers) | 45 - 90 Mins | Low (Plug-and-play into factory harnesses; isolated Modulite protects vehicle BCM). |
| Professional Installation | $150 - $250 (Installed) | $0 | 1 - 2 Hours | Minimal (Warranty-backed; includes proper dielectric grease and loom routing). |
Hidden Costs: CANBUS, PWM, and Taillight Converters
When budgeting for a 4 way flat trailer wiring harness, DIYers frequently overlook the compatibility between modern vehicle lighting systems and traditional trailer incandescent loads.
The Modulite / Taillight Converter Requirement
If your tow vehicle utilizes a 3-wire lighting system (separate bulbs for brake lights and turn signals, common in European vehicles, modern Subarus, and many JDM platforms), you cannot wire it directly to a standard 4-pin flat connector. The 4-way flat requires a combined stop/turn signal on the yellow and green circuits. Splicing these directly will result in cross-circuit backfeeding and blown fuses. You must budget an additional $45 to $90 for a powered, isolated taillight converter (Modulite). This device draws power directly from the battery via a fused 12V line, using the vehicle's tail light wires only as low-current signal triggers, completely protecting the factory BCM.
PWM and LED Hyper-flashing
Many modern trucks use Pulse Width Modulation (PWM) to monitor bulb health. If you connect a trailer with low-draw LED lights, the vehicle's BCM will interpret the low resistance as a blown bulb, resulting in hyper-flashing or a dashboard error. Budget $15 to $30 for inline LED load resistors or a specialized PWM-compatible harness adapter to bypass this issue.
Grounding Fallacies and Voltage Drop
The most common hidden cost is diagnostic time spent chasing 'ghost' electrical issues caused by poor grounding. Never rely on the hitch ball and coupler to complete the ground circuit; paint, rust, and grease will cause severe voltage drop. Always budget for a heavy-duty 14 AWG white wire with a large ring terminal, bolted directly to a sanded, bare-metal section of the vehicle's chassis or frame rail, sealed with marine-grade dielectric grease to prevent galvanic corrosion.
Authoritative Standards and References
When designing or modifying trailer electrical systems, adherence to federal and industry standards is not just a legal requirement, but a baseline for safety. The wiring configurations and lighting requirements discussed in this analysis are governed by the NHTSA Federal Motor Vehicle Safety Standard (FMVSS) 108, which dictates the luminosity, color, and circuit behavior of automotive and trailer lighting. Furthermore, the physical pinouts and dimensional tolerances of the 4-way flat connector align with SAE J1292 (Automobile and Light Truck Trailer Wiring) guidelines, ensuring interoperability across different manufacturers and model years. Always consult your specific vehicle's factory service manual for exact BCM pinouts and fuse ratings before initiating any hardwire splices.