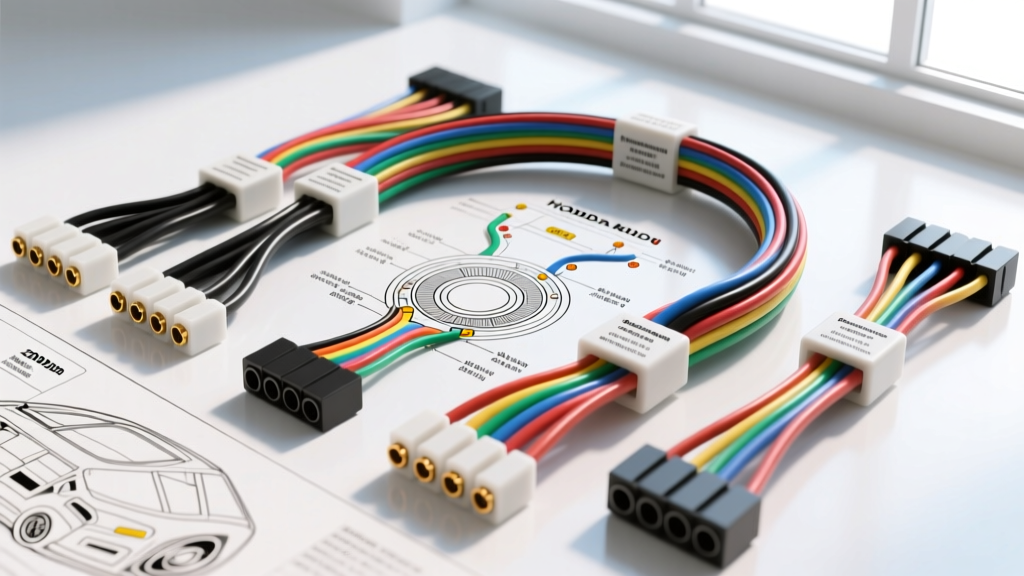
7th-Gen Accord Audio Architecture Overview
The 2006 Honda Accord represents a pivotal year in the seventh-generation platform (2003-2007). While the exterior received a mid-cycle facelift, the underlying electrical architecture—specifically the audio and multiplex communication systems—retained the robust but complex 24-pin head unit harness. Whether you are upgrading the base LX 4-speaker system or integrating an aftermarket Digital Signal Processor (DSP) into an EX-L V6 with the premium audio package, understanding the exact OEM wire color codes and pin configurations is critical. Incorrectly tapping into the Honda B-CAN data lines or misidentifying the amplified subwoofer channels can result in catastrophic head unit failure or parasitic battery drain.
This advanced technical deep dive provides the definitive 2006 Honda Accord speaker wiring diagram, detailing factory harness pinouts, wire gauges, and real-world troubleshooting methodologies for automotive electrical technicians and advanced DIY installers.
2006 Honda Accord Speaker Wiring Diagram: OEM Color Codes
The standard audio system in the 2006 Accord utilizes a direct-output configuration from the head unit to the four main cabin speakers. Honda employs a standardized color-coding scheme across this generation, but the polarity must always be verified with a multimeter or AA battery pop-test before soldering. Factory speaker wire is typically 18 AWG, which is sufficient for the head unit's internal 15W x 4 IC amplifier but inadequate for high-current aftermarket amplification.
| Speaker Location | Polarity | OEM Wire Color | Pin # | AWG |
|---|---|---|---|---|
| Front Left (FL) | Positive (+) | Green/Black | 1 | 18 AWG |
| Front Left (FL) | Negative (-) | Light Green | 2 | 18 AWG |
| Front Right (FR) | Positive (+) | Red/Green | 3 | 18 AWG |
| Front Right (FR) | Negative (-) | Brown/Black | 4 | 18 AWG |
| Rear Left (RL) | Positive (+) | Blue/Black | 13 | 18 AWG |
| Rear Left (RL) | Negative (-) | Yellow/Black | 14 | 18 AWG |
| Rear Right (RR) | Positive (+) | Red/Black | 15 | 18 AWG |
| Rear Right (RR) | Negative (-) | White/Black | 16 | 18 AWG |
Main 24-Pin Head Unit Harness Pinout Configuration
To properly integrate an aftermarket wiring interface (such as an Axxess or PAC module) or to bench-test the OEM head unit, you must understand the power and accessory pins. The 2006 Accord uses a proprietary Honda 24-pin MQJ-style connector. Pin extraction requires a specific JST release tool to avoid damaging the terminal locking tabs.
| Function | Pin # | Wire Color | AWG | Notes |
|---|---|---|---|---|
| Constant 12V (Battery) | 24 | White/Black | 16 AWG | Hot at all times, fused |
| Switched 12V (Ignition) | 23 | Yellow/Red | 16 AWG | Hot in ACC and ON positions |
| Chassis Ground | 12 | Black | 14 AWG | Must be secured to bare metal |
| Illumination | 22 | Red/Black | 18 AWG | Dimmer circuit variable voltage |
| Amp Turn-On / Power Ant | 9 | Blue/White | 18 AWG | Outputs 12V when radio is ON |
| B-CAN Data High | 18 | Pink | 20 AWG | Do not tap; used for steering wheel controls |
| B-CAN Data Low | 19 | Brown | 20 AWG | Do not tap; multiplex network |
Premium Audio & External Amplifier Integration
V6 EX-L models and vehicles equipped with the factory Navigation system utilize a premium audio package. This system features an external 4-channel amplifier (typically mounted behind the rear seat backrest or in the trunk cavity) and an 8-inch rear deck subwoofer. The head unit outputs low-level (pre-amp) signals via a secondary 14-pin connector to the external amplifier.
Impedance and Subwoofer Matching
The factory subwoofer in the 2006 Accord premium system is a dual-voice-coil (DVC) or specialized 2-ohm single-voice-coil driver. If you are replacing the blown factory subwoofer, installing a standard 4-ohm aftermarket driver will cause the OEM amplifier's protection circuit to detect an impedance mismatch, resulting in thermal shutdown or severely clipped output. Always measure the DCR (DC Resistance) of the replacement driver; it should read between 1.6 and 2.0 ohms on a multimeter.
Bypassing the OEM Amplifier
For audiophiles installing an aftermarket DSP, retaining the factory amplifier is not recommended due to its built-in, non-defeatable crossovers and severe EQ curves. To bypass the OEM amp, you must run new 14 AWG or 12 AWG oxygen-free copper (OFC) speaker wire directly from your aftermarket amplifier to the door speakers. Attempting to push 75+ watts through the factory 18 AWG wiring will result in significant voltage drop, high-frequency roll-off (due to the skin effect and wire capacitance), and potential melting of the OEM harness insulation.
Advanced Troubleshooting: Door Boots and Ground Loops
When diagnosing audio failures in the 7th-generation Accord, technicians must look beyond the head unit. Two highly prevalent failure modes plague this specific model year.
The Door Jamb Wiring Boot Failure
The rubber accordion boot connecting the front doors to the A-pillar chassis is a notorious failure point on 2003-2007 Accords. Over years of thermal cycling and physical articulation, the 18 AWG speaker wires and window regulator power wires inside the boot suffer from copper strand fatigue and eventual severing. Symptom: Intermittent audio loss in the front doors, accompanied by a failure of the door-open chime (which is routed through the audio system). Fix: Peel back the rubber boot, inspect the harness for cracked insulation, and repair using 16 AWG adhesive-lined heat shrink butt connectors. Never use twist-on wire nuts or standard electrical tape in the door jamb environment.
Alternator Whine and Ground Loops
If you experience a high-pitched whine that modulates with engine RPM after installing an aftermarket amplifier, you have introduced a ground loop. The 2006 Accord's chassis grounding points are prone to oxidation. Ensure your amplifier's main ground is bolted to a structural chassis member, sanded down to bare metal, and treated with dielectric grease. Furthermore, verify that your RCA signal cables are routed strictly on the opposite side of the vehicle from the 12V power wire and the factory B-CAN data lines to prevent electromagnetic interference (EMI).
Upgrading to Aftermarket DSPs and Line Output Converters
If you are retaining the factory head unit but upgrading to an active DSP setup, you will need to tap into the speaker-level outputs at the 24-pin harness. Because the factory head unit utilizes a volume-dependent EQ curve and lacks a true flat pre-out, you must use an active Line Output Converter (LOC) with load-sensing capabilities. Passive LOCs will trigger the head unit's diagnostic circuit, causing it to mute the outputs or display a 'Check Audio System' error on the LCD. An active LOC (such as the AudioControl LC2i or JL Audio FIX) provides the necessary 10-ohm dummy load to trick the Honda head unit into outputting a full-range, unclipped signal.
Authoritative References
- For comprehensive vehicle fitment and harness adapter schematics, consult the Crutchfield Vehicle Database.
- Automotive audio integration standards and impedance testing protocols are defined by the SAE J1193 Automotive Audio Systems guidelines.
- Advanced multiplex network diagnostics and B-CAN bus troubleshooting can be referenced via the Honda-Tech Audio & Security Forums, a premier repository for OEM service manual excerpts and community-verified pinout testing.