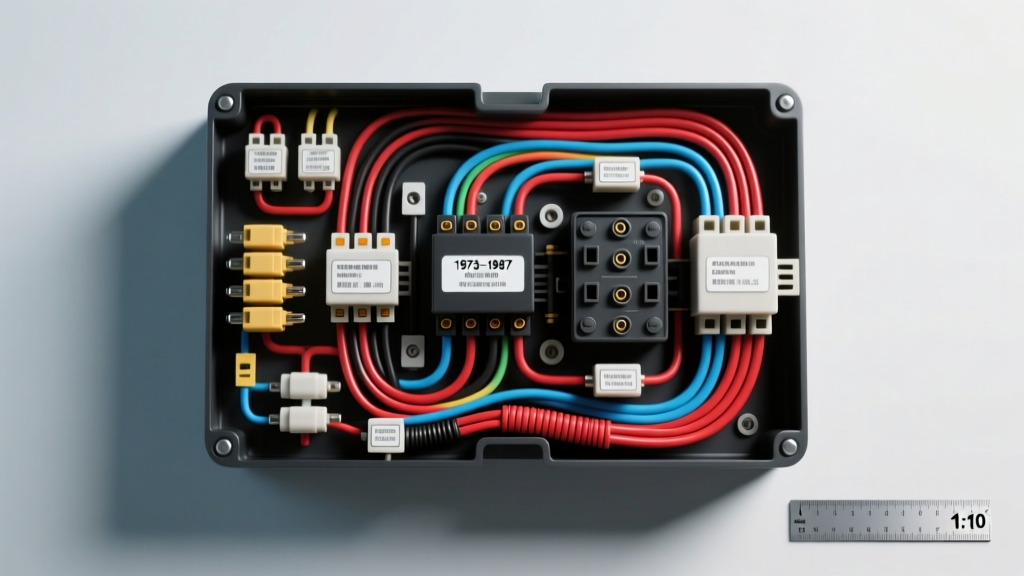
Introduction to Square Body Electrical Architecture
The 1973-1987 GM C/K 'Square Body' trucks remain highly sought after for restorations and custom builds. However, their aging electrical systems, specifically the under-dash fuse block and firewall pass-through, are notorious failure points. When troubleshooting parasitic draws, voltage drops, or planning a complete chassis rewire, accessing an accurate fuse box 73 87 chevy truck wiring harness diagram is non-negotiable. The factory setup relies on a centralized glass-tube fuse block fed by a complex bulkhead connector. Over decades of heat cycling, the resistance in these circuits increases, leading to melted connectors, dim lighting, and intermittent accessory failures.
This comprehensive cost and tool requirements analysis breaks down exactly what it takes to diagnose, repair, or upgrade the 1973-1987 Chevy truck fuse box and main harness. We will examine the financial differences between OEM-style glass fuse repairs and modern ATO blade-fuse conversions, outline the specialized crimping tools required for GM-specific terminals, and map out the critical wire gauges and color codes dictated by the factory schematic.
Cost Analysis: OEM Repair vs. Aftermarket Replacement
Before ordering parts, restorers must decide between preserving factory originality and upgrading for modern reliability. The cost variance is significant and depends heavily on the condition of the existing copper and bulkhead pins.
| Repair Strategy | Estimated Cost | Tool Requirements | Best Application |
|---|---|---|---|
| OEM Glass Fuse Block Cleaning & Repair | $45 - $90 | Contact cleaner, brass brush, basic crimpers | Concours restorations, low-mileage survivors |
| Bulkhead Connector Re-Pinning | $120 - $180 | Delphi Packard 56 crimpers, terminal removal tools | Trucks with melted firewall pass-throughs |
| Universal Blade Fuse Block Retrofit | $80 - $150 | Wire strippers, soldering iron, heat shrink | Custom builds requiring modern ATO/ATC fuses |
| Complete Aftermarket Chassis Harness | $450 - $850 | Basic hand tools, zip ties, label maker | Severely damaged OEM harnesses, LS swaps |
For a standard daily driver, the most cost-effective route is often a bulkhead re-pin combined with an upgraded heavy-duty alternator feed wire, bypassing the factory ammeter loop which is a known resistance bottleneck.
Mandatory Tooling for GM Packard 56 & Weather-Pack Systems
You cannot reliably repair a 1973-1987 Chevy wiring harness using generic automotive crimpers. GM utilized specific terminal families during this era, primarily the Packard 56 series for the fuse block and bulkhead, and early Weather-Pack seals for exterior lighting. Using improper dies will result in loose crimps, high resistance, and eventual thermal failure.
Essential Tool List & Specifications
- Delphi Packard 56 Terminal Crimper: Required for the main fuse box feeds. The Packard 56 terminal features a unique 'F' crimp for the wire barrel and a secondary crimp for the insulation. A ratcheting crimper with a specific Packard 56 die (such as the Delphi 12094428 or high-end aftermarket equivalents) is mandatory.
- Terminal Extraction Tools: The fuse block utilizes locking tangs. A set of flat-blade and double-barrel extraction tools (0.093-inch and 0.062-inch pin sizes) is required to remove terminals without shattering the brittle 40-year-old nylon housing.
- Digital Multimeter (True RMS): For performing voltage drop tests across the bulkhead. You need a meter capable of reading millivolt drops under load to identify corroded pins before they melt.
- Solder Seal Wire Connectors & Heat Gun: For splicing into the OEM harness when integrating a modern blade fuse block. Solder-seal heat shrink provides a moisture-proof seal, critical for the engine bay side of the firewall.
Decoding the 73-87 Chevy Fuse Box Diagram: Critical Circuits
When referencing the factory wiring schematic, the fuse block acts as the central distribution node. The diagram reveals that not all fused circuits carry the same load, and substituting wire gauges will lead to voltage drop or fire hazards. Below is a technical breakdown of the primary circuits feeding and exiting the 1973-1987 fuse block.
| Circuit Function | OEM Wire Color | AWG Size | Terminal Type | Factory Fuse Rating |
|---|---|---|---|---|
| Main Battery Feed (Horn/Stop) | Red | 10 AWG | Packard 56 Female | 20A Glass (AGC) |
| Ignition Switch Feed (IGN 1) | Pink | 12 AWG | Packard 56 Female | 10A Glass (AGC) |
| Accessory / Cigar Lighter | Orange | 14 AWG | Packard 56 Female | 20A Glass (AGC) |
| Tail / Park Lights | Brown | 18 AWG | Packard 56 Female | 9A Glass (AGC) |
| Instrument Cluster Illumination | Gray | 20 AWG | Packard 56 Female | 3A Glass (AGC) |
| Wiper Motor Feed | Dark Blue | 14 AWG | Packard 56 Female | 15A Glass (AGC) |
Note: When upgrading to a modern ATO/ATC blade fuse block, you must adjust the fuse amperages. A 20A AGC glass fuse blows at a different thermal curve than a 20A ATO blade fuse. Always size the ATO fuse based on the wire AWG capacity, not just the original glass fuse rating, referencing SAE J1128 standards for low-tension primary cable limits.
The Firewall Bulkhead Connector: Failure Modes & Bypass Costs
The most critical vulnerability identified in any fuse box 73 87 chevy truck wiring harness diagram is the main firewall bulkhead connector. This multi-pin block routes the main battery feed, ignition feeds, and lighting circuits from the engine bay into the cab. In 1973-1987 models, the main battery feed often routed through the dash ammeter gauge before returning to the fuse block. This created a massive resistance loop.
Real-World Failure Mode
As the ammeter terminals oxidize, resistance increases. According to Ohm's Law, increased resistance under high amperage loads (like running headlights and AC simultaneously) generates extreme heat. This heat transfers down the 10 AWG Red wire directly into the Packard 56 bulkhead terminal, melting the nylon connector shell and causing a dead short or complete loss of cab power.
Cost-Effective Bypass Solution
Rather than spending $180 on a replacement bulkhead connector and attempting to re-pin the entire harness, many professional auto electricians perform an 'Ammeter Bypass'. This involves running a new 8 AWG or 6 AWG primary wire directly from the alternator output or starter solenoid directly to the main battery feed terminal on the fuse block, completely bypassing the dash ammeter and the bulkhead connector for that specific high-load circuit. The cost for 15 feet of 8 AWG primary wire, heavy-duty ring terminals, and adhesive-lined heat shrink is under $35, saving hundreds in labor and preventing future fire hazards.
Step-by-Step Cost-Effective Diagnostic Workflow
Before cutting a single wire or ordering a $600 aftermarket harness, perform this systematic diagnostic workflow using your wiring diagram and a multimeter.
- Visual Bulkhead Inspection: Disconnect the negative battery terminal. Locate the bulkhead connector on the driver's side firewall. Pull the connector apart and inspect the large Packard 56 terminals for green/white corrosion or melted nylon. If the main power pins are melted, a bypass or re-pin is mandatory.
- Voltage Drop Test (Live Circuit): Reconnect the battery and turn on the headlights and blower motor to place the system under load. Set your multimeter to DC Volts. Place the red probe on the battery positive post and the black probe on the main 10 AWG Red wire where it enters the fuse block. A reading above 0.2V indicates unacceptable resistance in the bulkhead or fusible links.
- Ground Circuit Verification: The 73-87 Chevy fuse block relies on the metal dash frame for secondary grounding, but the main harness grounds via a dedicated ring terminal bolted to the cowl. Clean this ground point down to bare metal. According to GM Heritage Center documentation, poor cowl grounds cause back-feeding through the instrument cluster, leading to erratic gauge behavior and blown 3A gauge fuses.
- Fuse Block Terminal Tension Test: Glass AGC fuses rely on side-pressure from the fuse block clips. Use a small pick to gently bend the internal brass tensioners inward. If a fuse feels loose when inserted, the clip has lost its spring temper and must be replaced, or the localized resistance will melt the plastic fuse block housing.
Authoritative References & Standards
When executing harness repairs on vintage GM trucks, adhering to OEM specifications and modern safety standards is critical. The data and diagnostic procedures outlined in this analysis are cross-referenced with the following authoritative automotive electrical resources:
- SAE International: SAE J1128 Low-Tension Primary Cable Standards - Provides the definitive thermal and amperage limits for automotive wire gauges, essential when upgrading from AGC to ATO fuses.
- GM Heritage Center: Chevrolet Truck Chassis Wiring Manuals (1973-1987) - The primary source for factory Packard 56 pinouts, OEM wire color codes, and bulkhead routing diagrams.
- Painless Performance Products: Square Body Chassis Harness Installation Manuals - Used as a benchmark for modern aftermarket circuit integration, upgraded grounding strategies, and heavy-duty alternator feed specifications.
By combining a thorough understanding of the factory wiring schematic with the correct specialized tooling, you can restore the electrical reliability of your 1973-1987 Chevy truck without the exorbitant costs of unnecessary full-harness replacements.