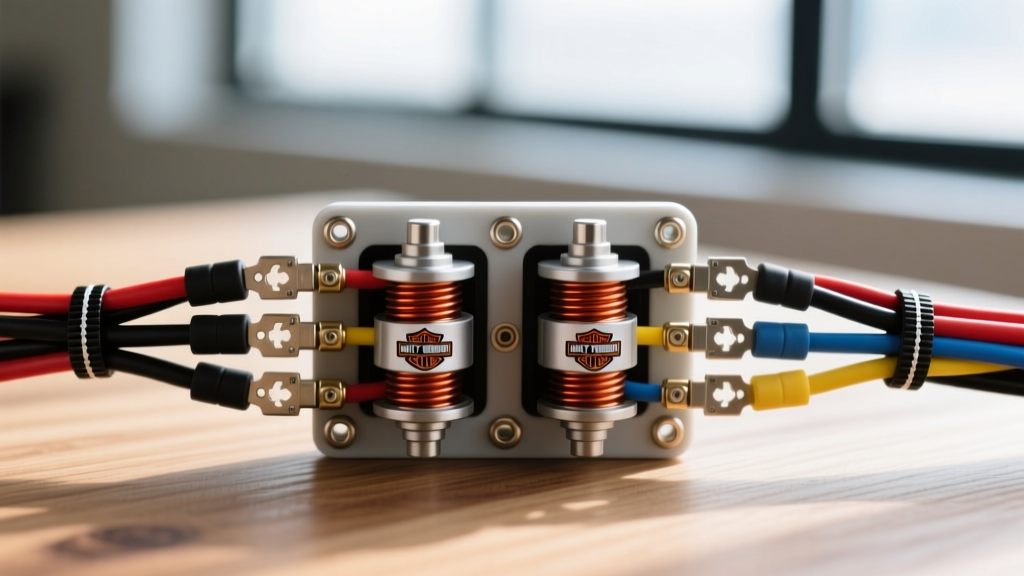
Understanding the Harley-Davidson Dual-Fire Ignition System
The Harley-Davidson dual-fire ignition system, commonly referred to as a "wasted spark" setup, is a hallmark of the Evolution (1984–1999) and early Twin Cam (1999–2003) engine families. In this configuration, a single ignition coil fires both the front and rear spark plugs simultaneously. Because the cylinders are 360 degrees apart in the firing order, one plug fires under compression (igniting the air/fuel mixture) while the other fires during the exhaust stroke (the "wasted" spark). Understanding the ignition wiring harley dual fire coil wiring diagram is critical for anyone performing an engine swap, upgrading to an aftermarket Ignition Control Module (ICM), or diagnosing a high-speed misfire.
Unlike modern single-fire systems that utilize two separate coils or a coil-on-plug setup, the dual-fire system relies on a single high-output canister or e-core coil. Proper primary circuit wiring and secondary wire routing are paramount to prevent inductive crossfire, voltage drops, and premature ICM failure.
Harley Dual Fire Coil Wiring Diagram & Pinout Specifications
Before cutting or stripping any wires, review the primary circuit specifications below. The primary side of the coil operates on 12V DC and requires precise gauge sizing to handle the amperage draw without overheating the ICM driver transistor.
| Circuit Function | OEM Wire Color | Wire Gauge (AWG) | Connector / Terminal Type | Destination |
|---|---|---|---|---|
| Coil Primary Positive (+) | Orange w/ White Tracer | 16 AWG | 1/4" Female Spade (Locking) | Run/Stop Switch (12V Switched) |
| Coil Primary Negative (-) | Pink w/ White Tracer | 18 AWG | 1/4" Female Spade (Locking) | ICM Pinout (Coil Driver Ground) |
| ICM Main Power | Red w/ White Tracer | 16 AWG | 8-Pin AMP/Molex Connector | Main Circuit Breaker / Battery |
| ICM Main Ground | Black | 16 AWG | Ring Terminal (M6 / 1/4") | Engine Case / Frame Star Ground |
Note: While the ICM may feature multiple pins for sensors (MAP, CKP, Tachometer), the dual-fire coil itself only requires one positive and one negative primary connection. The ICM internally bridges the ground signal to fire both plug towers simultaneously.
Tools and Materials for a Factory-Grade Installation
To ensure a reliable connection that withstands the heavy vibration characteristic of Harley-Davidson V-Twin engines, avoid cheap twist-on connectors. Use the following materials:
- Wire: SAE J1128 compliant GXL or TXL cross-linked polyethylene wire (16 AWG for power, 18 AWG for signal).
- Terminals: Nylon-insulated, locking female spade terminals (sometimes called Posi-Lock or Amp-lock). Standard smooth spades will vibrate off the coil posts.
- Crimpers: Ratcheting terminal crimpers (e.g., Titan 1124 or equivalent) to ensure a gas-tight crimp.
- Secondary Wires: 8.0mm or 8.8mm spiral-wound or Kevlar-core spark plug wires. Avoid cheap carbon-core wires, which suffer from high resistance and internal breakdown.
- Chemicals: Dielectric grease and high-temp RTV silicone.
Step-by-Step Installation Guide
Step 1: Prepping the Primary Harness
Disconnect the negative battery cable to prevent accidental shorting or ICM damage. Locate the main ignition harness near the coil mounting bracket. If you are building a custom harness, route the 16 AWG Orange/White wire from the ignition switch relay. This wire must only carry power when the key is in the "Run" position. Splice into the factory harness using heat-shrink solder seal connectors rather than T-taps, which can corrode and cause voltage drops under load.
Step 2: Wiring the Coil Primary Terminals
The dual-fire coil features two primary posts, typically marked "+" and "-" (or "15" and "1" on European/Bosch-style coils).
- Crimp the locking 1/4" female spade onto the Orange/White (12V) wire. Apply a small dab of dielectric grease inside the terminal to prevent moisture intrusion and push it onto the "+" post until it clicks.
- Crimp the second locking spade onto the Pink/White (ICM Signal) wire and attach it to the "-" post.
- Critical Warning: Never swap the positive and negative terminals. Reversing the polarity will cause the coil to fire with reversed electrical polarity, resulting in a weak spark, severe high-RPM misfires, and potential damage to the ICM driver transistor.
Step 3: Routing the Secondary Ignition Wires
The secondary circuit carries up to 40,000 volts. Improper routing will result in inductive crossfire, where the magnetic field of the secondary wire induces a voltage in nearby wiring harnesses, potentially frying the voltage regulator or speedometer.
- Route the front and rear spark plug wires away from the stator wiring, CKP (Crankshaft Position Sensor) wires, and fuel injection harnesses.
- Maintain at least a 2-inch clearance between the secondary wires and any metal chassis components to prevent arcing.
- Use SAE J2031 compliant high-tension ignition cables rated for extreme under-hood temperatures.
- Apply a thin layer of dielectric grease inside the spark plug boots to prevent them from bonding to the ceramic insulator due to heat cycling.
Multimeter Testing & Diagnostics
Before starting the motorcycle, verify the coil's internal resistance. A failing coil will often show correct resistance when cold but break down internally once it reaches operating temperature. Use a digital multimeter (DMM) to perform these checks:
Primary Winding Resistance Test
Set your DMM to the lowest Ohms setting (usually 200Ω). Place one probe on the "+" terminal and the other on the "-" terminal. Specification: A healthy OEM dual-fire coil should read between 2.8 and 3.4 ohms. If the reading is below 2.0 ohms, the coil is shorted internally and will draw excessive amperage, eventually destroying the ICM. If the reading is infinite (OL), the primary winding is open.
Secondary Winding Resistance Test
Set your DMM to the 20kΩ or 200kΩ setting. Place one probe on the primary "+" terminal and the other probe inside the front secondary spark plug tower. Repeat for the rear tower. Specification: Expect a reading between 11,000 and 15,000 ohms (11k - 15kΩ). Keep in mind that if your spark plug wires have built-in suppressor resistors (usually 5kΩ per wire), you must subtract that value to find the true coil resistance. Refer to your specific Harley-Davidson Service Manual for exact model-year tolerances.
Troubleshooting Common Dual-Fire Misfires
If you have followed the wiring diagram and the bike still suffers from a misfire, backfire, or failure to start, consult this diagnostic tree:
- Symptom: Bike dies when it gets hot.
Cause: The ICM is overheating or the coil primary resistance is dropping as it heats up.
Fix: Ensure the ICM is mounted to a clean, unpainted metal surface with thermal paste. Replace the coil if hot primary resistance drops below 2.5 ohms. - Symptom: Intermittent popping in the exhaust at steady highway speeds.
Cause: Inductive crossfire or a failing spark plug wire.
Fix: Check secondary wire routing. Test spark plug wire resistance; replace any wire reading over 10,000 ohms per foot. - Symptom: No spark on either cylinder after installation.
Cause: Loss of switched 12V or bad ICM ground.
Fix: Verify 12V at the Orange/White wire with the key ON and the Run/Stop switch set to RUN. Check the ICM ground ring terminal for paint or corrosion.
Upgrading to Single-Fire: When to Ditch the Dual-Fire
While the dual-fire system is robust, many performance enthusiasts upgrade to a single-fire ignition system (using two separate coils or a twin-tower coil with independent ICM channels). Single-fire eliminates the wasted spark, reduces coil saturation time requirements at high RPMs, and allows for more precise ignition timing maps. If you decide to convert, you will need to pull new 18 AWG signal wires from the ICM to a second coil, and you must use a camshaft position sensor (CKP) or a specialized single-fire module to tell the ICM which cylinder is on the compression stroke. For detailed pinouts on single-fire conversions, consult resources like Electrosport Industries Technical Resources or aftermarket ignition manufacturers like Dynatek and Firepower.
By strictly adhering to this ignition wiring harley dual fire coil wiring diagram and utilizing proper automotive-grade materials, you will ensure a reliable, high-energy spark that keeps your V-Twin running smoothly for thousands of miles.