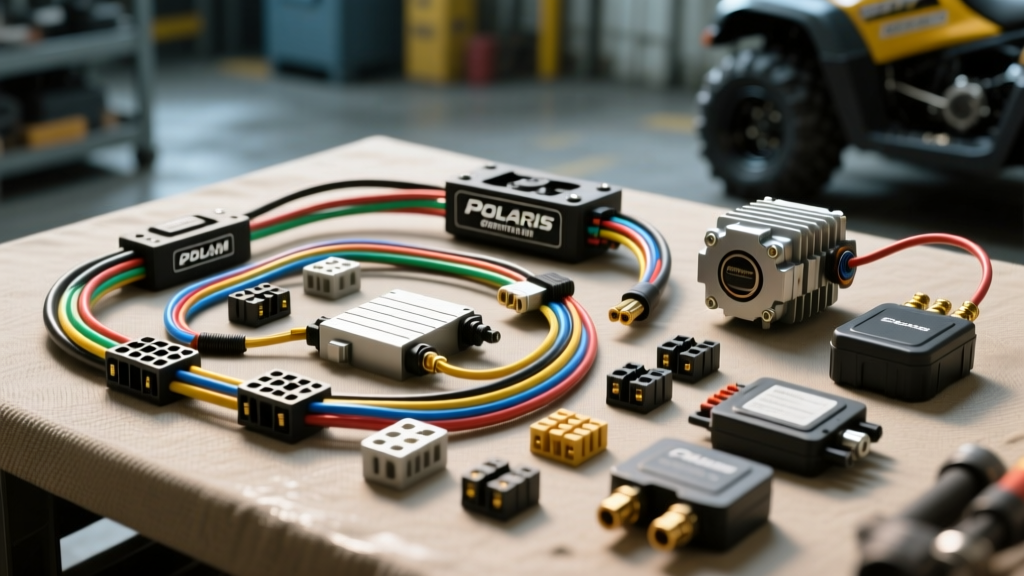
Navigating the Polaris Sportsman 500 Wiring Diagram for Component Selection
When diagnosing a no-spark condition, upgrading the lighting system, or integrating high-draw accessories on a Polaris Sportsman 500, the factory wiring diagram is your primary blueprint. However, reading the schematic is only the first step. Selecting the correct replacement wiring harness, stator, or Capacitor Discharge Ignition (CDI) module requires a deep understanding of how the diagram translates to physical component quality. Not all replacement parts meet the rigorous environmental and electrical standards required for off-road use. This guide leverages the wiring diagram of the Polaris Sportsman 500 (focusing on the widely serviced 2006-2013 500 HO generation) to help you compare OEM and aftermarket electrical components, ensuring you select parts that match or exceed factory specifications.
Core Electrical Architecture & Harness Comparison
The Sportsman 500 utilizes a magneto-style 3-phase stator, a CDI unit, and a Regulator/Rectifier (R/R). The main wiring harness routes critical low-amperage sensor signals alongside high-amperage 12V DC power feeds. When your wiring diagram indicates a melted connector or a shorted main power feed, you must decide between an OEM Polaris harness and an aftermarket alternative. The diagram reveals that the main battery feed requires a minimum of 10 AWG wire to handle the starter solenoid and accessory bus loads without excessive voltage drop.
OEM vs. Aftermarket Harness Selection Matrix
Based on schematic analysis and physical teardowns, here is how the top replacement harness options compare for the Sportsman 500:
| Manufacturer | Main Power AWG | Connector Type | Signal Shielding | Best Application |
|---|---|---|---|---|
| OEM Polaris | 10 AWG (Stranded) | Sealed Metri-Pack 280 | Foil-wrapped CDI signal | 100% Factory Restoration |
| RM Stator (Pro-Series) | 10 AWG (High-Strand) | Deutsch DT / Metri-Pack | Braided shield on pickup | Heavy Winch/Plow Use |
| Caltric (Economy) | 12 AWG (Standard) | Generic Nylon Spade | None |
Expert Verdict: While Caltric offers a budget-friendly replacement, their use of 12 AWG wire for the main power bus violates the SAE J1128 wire standards for the amperage drawn by the Sportsman 500's starter and lighting circuits. For heavy-duty use, the RM Stator harness provides superior vibration resistance through higher strand-count copper and upgraded Deutsch connectors for the stator outputs.
Critical Wire Color Codes & CDI Pin Configurations
To properly select and test a replacement CDI or harness sub-assembly, you must cross-reference the wiring diagram's pinout chart. The Sportsman 500 CDI typically utilizes a 6-pin sealed connector. Misinterpreting these pins when splicing a universal harness will instantly destroy the CDI's internal thyristor.
CDI to Harness Pinout Reference (2006-2013 500 HO)
| Pin | Wire Color | Function | AWG | Diagnostic Voltage |
|---|---|---|---|---|
| 1 | Black | Chassis Ground | 16 AWG | 0V (Must have <0.1 ohm to battery neg) |
| 2 | Red/White | Switched 12V (Key On) | 14 AWG | 12.4V - 14.2V |
| 3 | Yellow | Stator AC Power In | 14 AWG | 28V - 45V AC (Cranking) |
| 4 | Green | Pickup Coil Signal (+) | 18 AWG (Shielded) | 0.5V - 2.0V AC Pulse |
| 5 | White/Red | Ignition Kill Switch | 16 AWG | 12V (Run) / 0V (Kill) |
| 6 | Red/Black | High Voltage Out to Coil | 16 AWG | N/A (Primary Coil Feed) |
When selecting a replacement CDI, ensure the manufacturer specifies compatibility with the Green wire pickup coil signal. Some older Polaris models used a triggered-reluctance sensor requiring a different CDI mapping. Always verify the part number against the specific year in the Polaris Official Service Documentation.
Selecting the Right Stator Based on Schematic Output
The wiring diagram shows three Yellow wires exiting the stator casing and routing directly to the Regulator/Rectifier. These carry the raw 3-phase AC voltage. If your multimeter reads below 20V AC across any two yellow wires at 1300 RPM, the stator is failing. When selecting a replacement, you must choose between a standard output and a high-output stator.
- Standard Output Stator (OEM Spec): Produces ~28V AC at 1300 RPM. Ideal for stock machines running factory 50W halogen headlights and standard ignition demands.
- High-Output Stator (e.g., RM Stator G4): Produces ~45V AC at 1300 RPM. Features thicker 14 AWG internal windings and a heavier epoxy potting compound. Selection Rule: Choose this if your wiring diagram includes aftermarket LED light bars, heated grips, or if you frequently use a high-amperage winch that drains the battery at idle speeds.
According to RM Stator Technical Resources, upgrading to a high-output stator requires ensuring your Regulator/Rectifier can handle the increased thermal load. If you select a high-output stator, you must simultaneously upgrade to a MOSFET-style R/R to prevent the stator from overheating and melting the internal epoxy.
Winch Wiring Integration & Accessory Bus Selection
The Polaris Sportsman 500 wiring diagram includes an accessory bus, typically protected by a 10A or 15A fuse, intended for low-draw items like hand warmers. It is a critical error to wire a winch solenoid's control circuit directly to this bus without a relay, as the inductive kickback from the winch contactor will fry the factory fuse block traces.
When selecting a winch wiring kit, look for the following specifications derived from proper schematic integration:
- Power Cables: Must be 4 AWG or 2 AWG tinned marine-grade copper, routed directly to the battery terminals, bypassing the factory harness entirely.
- Solenoid Control Wire: Should be 12 AWG, triggered by a heavy-duty automotive relay (minimum 40A rating).
- Relay Trigger Source: Tap into the Red/White (Switched 12V) wire at the key switch or the tail light circuit, ensuring the winch cannot be accidentally engaged when the ATV is off.
Professional Installation & Soldering Standards
Selecting the right parts is only half the battle; installing them to OEM standards ensures longevity in wet, high-vibration environments. When splicing wires based on the wiring diagram, never use twist-on wire nuts or standard vinyl electrical tape.
Mandatory Termination Protocols
- Heat Shrink: Use only dual-wall, adhesive-lined marine heat shrink (3:1 shrink ratio). The inner meltable adhesive creates a waterproof seal that prevents capillary action from drawing water into the copper strands.
- Crimp Connectors: For Metri-Pack 280 terminals, use a dedicated ratcheting terminal crimper. A proper crimp should pass a 30-lb pull-test without the wire slipping from the barrel.
- Dielectric Grease: Apply a light coat of Nyogel 760G or equivalent dielectric grease to all multi-pin connectors (especially the CDI and R/R plugs) to prevent galvanic corrosion between the brass terminals.
Stator & Flywheel Torque Specifications
When replacing the stator or pickup coil based on your diagnostic findings, adhere strictly to these mechanical specifications to prevent air-gap failures:
- Flywheel Puller: M27 x 1.0mm (Left-hand thread on some early models, verify with manual).
- Stator Mounting Bolts (M6): 7.2 ft-lbs (9.8 Nm). Apply blue Loctite 243 to prevent backing out due to engine vibration.
- Flywheel Nut: 45 ft-lbs (61 Nm). Must be torqued to spec to maintain the precise 0.010" - 0.020" air gap between the pickup coil and the flywheel reluctor tab.
By meticulously cross-referencing the Polaris Sportsman 500 wiring diagram with these component selection guidelines, you ensure that every replacement part—from the main harness to the stator windings—operates in perfect harmony, delivering reliable spark and consistent voltage in the harshest off-road conditions.