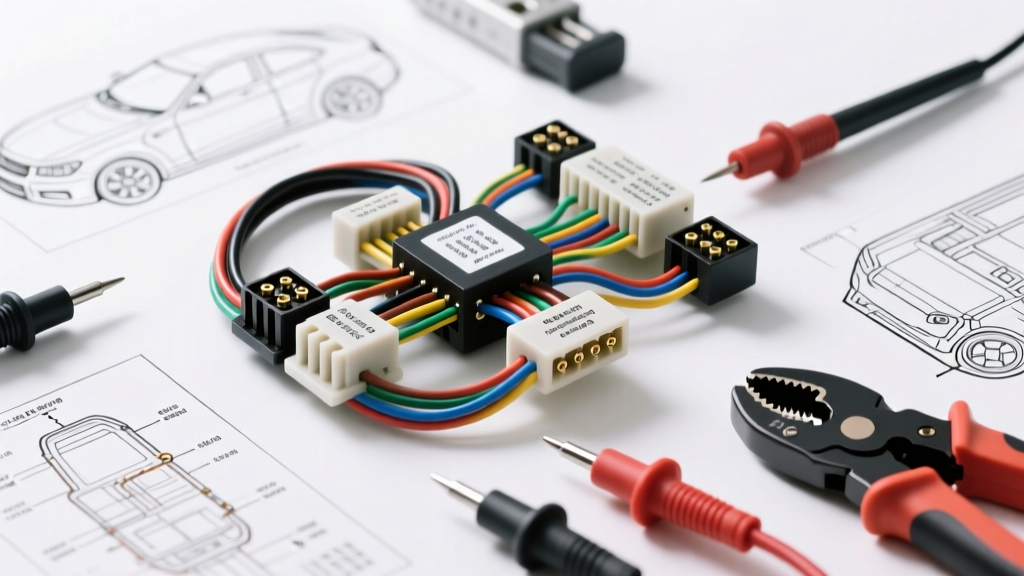
Decoding the RV Tank Sensor Wiring Diagram
When your motorhome or travel trailer monitor panel displays an inaccurate reading, interpreting the RV tank sensor wiring diagram is the first step toward a cost-effective repair. RV holding tank monitoring systems—whether for fresh, gray, or black water—rely on low-voltage signal circuits that are highly susceptible to corrosion, vibration damage, and chemical degradation. Before replacing expensive monitor panels or dropping the coroplast underbelly, a thorough cost and tool requirements analysis will save you hundreds of dollars in misdiagnosed parts and dealership labor rates.
2-Wire vs. 4-Wire Sensor Topologies
Most legacy and mid-tier RVs utilize a standard 4-wire analog resistive or discrete switch system. In this topology, the monitor panel sends a low-voltage signal to four distinct sensor pads mounted on the exterior of the tank (Empty, 1/3, 2/3, Full). When the fluid level rises, it bridges the gap between the common ground and the signal pad, completing the circuit. Conversely, modern premium rigs and aftermarket upgrades often use a 2-wire multiplexed system (such as the RV-C protocol), where a single data bus communicates fluid levels capacitively, drastically reducing the physical wire count and failure points.
Diagnostic Tool Requirements & Cost Analysis
Tracing an RV tank sensor wiring diagram through 30 to 40 feet of enclosed underbelly requires specialized diagnostic tools. Investing in the right equipment pays for itself after a single successful DIY repair, as mobile RV technicians typically charge $125 to $175 per hour just for diagnostic time.
Essential Diagnostic Toolkit
- Digital Multimeter (DMM): A True-RMS multimeter is mandatory for reading the low-voltage DC signals (typically 5V to 12V) and measuring resistance across the sensor pads. Cost: $40 - $150 (e.g., Klein Tools MM400 or Fluke 115).
- Tone Generator and Inductive Probe: Because RV wiring harnesses are bundled tightly and wrapped in split loom, visually tracing a single 18 AWG wire from the monitor panel to the tank is nearly impossible. A tone generator allows you to clip onto the wire at the panel and trace the audible signal through the underbelly. Cost: $25 - $60.
- Wire Piercing Probes: For testing continuity without stripping back weather-sealed insulation, T-pin piercing probes are essential to prevent introducing new corrosion points. Cost: $15.
- Ratcheting Crimper Set: To ensure weather-tight connections, you must use a ratcheting crimper designed for open-barrel or Weather-Pack terminals. Standard pliers will not achieve the necessary gas-tight crimp. Cost: $35 - $80.
Material Costs: Wiring, Connectors, and Terminals
According to guidelines from the RV Industry Association (RVIA), all exterior and underbelly wiring must resist moisture, road debris, and extreme temperature fluctuations. Standard household THHN wire or cheap PVC-jacketed automotive wire will become brittle and crack within a single season of travel.
Wire Gauge and Insulation Standards
For standard analog tank sensors, the current draw is minimal (typically under 100mA per circuit). Therefore, 18 AWG stranded copper wire is the industry standard. However, the insulation type is critical. You must use TXL (Thin-wall Cross-linked) or GXL wire. TXL insulation is rated for continuous exposure to temperatures up to 125°C (257°F) and resists the harsh chemical off-gassing present near black tank vents and exhaust systems. According to Del City Wire, TXL wire costs approximately $0.35 to $0.60 per foot, making a full 40-foot harness replacement cost less than $25 in raw wire.
Weather-Sealed Connectors
Spade terminals directly on the tank sensor pads are a primary failure point due to sulfur and moisture exposure. When repairing the wiring diagram's termination points, upgrade to Delphi Weather-Pack or Deutsch DT series connectors. These feature silicone ribbed seals that prevent capillary action from wicking water into the copper strands. A 4-cavity Weather-Pack connector kit (housing, seals, and crimp pins) costs roughly $4.50 per connection.
OEM Pinout Reference and Wire Color Codes
While specific wire colors vary by manufacturer (Winnebago, Forest River, Thor), the standard 4-wire analog sensor pinout generally follows the RVIA color convention for holding tank monitors. Below is the standard reference chart for a typical Micro-Pulse or Centex analog monitor panel.
| Pin / Function | Standard Wire Color | AWG Size | Voltage / State | Terminal Type |
|---|---|---|---|---|
| 12V+ Panel Power | Red | 14 AWG | 12V - 14V DC | Ring Terminal |
| Chassis Ground | White / Black | 14 AWG | 0V (Continuity) | Ring Terminal |
| Common Tank Ground | Black | 18 AWG | 0V (Return Path) | Weather-Pack |
| Empty Signal (E) | Yellow | 18 AWG | 5V Pull-up (Switched) | Weather-Pack |
| Half Signal (1/2) | Green | 18 AWG | 5V Pull-up (Switched) | Weather-Pack |
| Full Signal (F) | Blue | 18 AWG | 5V Pull-up (Switched) | Weather-Pack |
Cost Analysis: Analog Repair vs. Capacitive Multiplex Upgrade
Many RV owners facing recurring wiring diagram faults choose to abandon the analog system entirely. Companies like JTech Communications (SeeLevel Systems) offer capacitive sensor pads that read fluid levels through the tank wall without any internal probes or external metal contact pads. This eliminates the "false full" readings caused by toilet paper or debris bridging analog contacts.
Upgrade Economics
- Analog Harness Repair: $45 (Tools, wire, connectors, dielectric grease). Labor: 2-3 hours.
- Capacitive Multiplex Upgrade: $250 - $400 (New monitor panel, 3x capacitive sensor pads, RV-C bus terminator). Labor: 4 hours. Note: The 2-wire RV-C bus can often be pulled through the same conduit as the old 4-wire harness, saving massive labor costs on underbelly removal.
Step-by-Step Diagnostic Workflow
Follow this structured workflow to isolate faults in your RV tank sensor wiring diagram without unnecessarily cutting into the underbelly.
- Verify Panel Power and Ground: Remove the monitor panel bezel. Using your DMM, verify 12V+ at the main power pin and continuity to ground on the chassis pin. If the panel is dead, the issue is in the 14 AWG supply circuit, not the sensor harness.
- Simulate Sensor Inputs at the Panel: Disconnect the main harness plug from the back of the monitor. Use a jumper wire to bridge the Chassis Ground pin to the Empty, Half, and Full signal pins sequentially. If the panel illuminates the corresponding LEDs, the panel is functional, and the fault lies in the wiring harness or tank pads.
- Locate the Tank Penetration Junction: Follow the wiring diagram to the main junction block where the interior harness meets the exterior tank harness. This is usually located just above the tank, behind a removable access panel or near the dump valve bay.
- Test the Exterior Harness and Pads: Disconnect the exterior harness. Set your DMM to measure resistance (Ohms). Place the black probe on the Common Ground wire and the red probe on the signal wires. Have an assistant pour water into the tank. You should see the resistance drop to near zero (continuity) as the fluid level reaches each corresponding pad.
- Address Corrosion and Re-terminate: If resistance is infinite or fluctuating wildly, the spade terminals on the tank wall are likely corroded. Remove the old terminals, clean the tank surface with isopropyl alcohol, install new brass spade terminals, and coat generously with marine-grade dielectric grease to prevent future sulfur corrosion from black tank gases.
Real-World Failure Modes and Prevention
The most common failure mode in RV tank sensor wiring is capillary wicking. If a wire is nicked or a crimp is performed without the proper weather-seal, moisture enters the wire strand. Through capillary action, water travels inches or even feet up the copper strands, eventually corroding the monitor panel's PCB from the inside out. Always use adhesive-lined heat shrink (dual-wall polyolefin) over all underbelly splices, and ensure drip loops are formed before wires enter any sealed compartments or junction boxes. By understanding the schematic and investing in the correct TXL wire and Weather-Pack tooling, you can permanently resolve tank monitoring issues for a fraction of the cost of professional RV service.