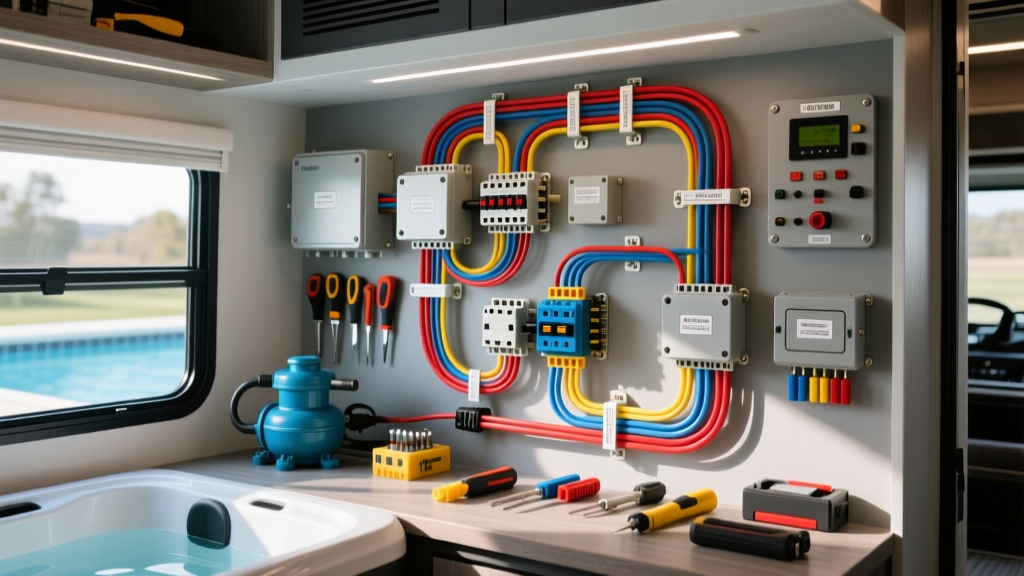
The Challenge of Integrating a Pool into a Motorhome or Toy Hauler
The rise of luxury custom motorhomes, high-end toy haulers, and bespoke overland campers has introduced a unique electrical challenge: integrating aquatic features into a rolling automotive platform. Whether you are wiring a custom truck-bed plunge pool, a 120V hot tub in a fifth-wheel, or a 12V portable spa system, bridging marine-grade pool electrical standards with automotive DC systems requires meticulous planning. A standard wiring diagram for pool installations assumes a static, earth-grounded environment. An RV, however, sits on rubber tires, operates on a dual-voltage (12V DC / 120V AC) architecture, and is subject to intense vibration and moisture.
To execute this safely, installers must adhere to both automotive wiring standards (such as SAE J1128 and J1127 for low-tension and battery cables) and the National Electrical Code (NEC) guidelines for aquatic environments. This guide provides a comprehensive, practical how-to installation framework for integrating pool pumps, heating elements, and underwater lighting into your RV's electrical system.
Understanding the Dual-Voltage Architecture
Pool circulation pumps and heating elements are notoriously power-hungry. A standard 1.5 HP pool pump operates on 120V AC and requires significant continuous amperage, alongside a massive startup surge known as Locked Rotor Amps (LRA). Because RVs store energy in 12V DC lithium or AGM battery banks, you must utilize a high-capacity Pure Sine Wave Inverter to step up the voltage. Conversely, modern LED pool lighting and water-level sensors operate on 12V DC and can be integrated directly into the RV's automotive multiplex CAN-bus system using heavy-duty solenoids or solid-state relays.
Wire Gauge, Color Codes, and Component Specifications
Before pulling any wire, review the specification chart below. Using the correct wire type is critical; standard automotive GXL wire is not rated for the wet, corrosive environments of a pool pump housing, while standard residential Romex (NM-B) will fracture under vehicular vibration.
| Circuit Application | AWG Size | Wire Type & Insulation | Standard Color Code | Overcurrent Protection |
|---|---|---|---|---|
| Inverter to Battery Bank (2/0 AWG) | 2/0 | SAE J1127 Tinned Copper | Red (Positive) / Black (Negative) | 250A Class T Fuse |
| 120V AC Pool Pump (1.5 HP) | 10 AWG | THWN-2 (Wet Location Rated) | Black (Hot) / White (Neutral) / Green (Ground) | 20A GFCI Breaker |
| 12V DC LED Pool Lighting | 14 AWG | Marine-Grade Tinned (UL 1426) | Yellow (Positive) / Black (Negative) | 10A ATC Automotive Fuse |
| Equipotential Bonding Grid | 8 AWG Solid | Bare Copper or Green THHN | Bare / Green | N/A (Bonding, not grounding) |
Step-by-Step Installation: Inverter to Pool Pump
Step 1: Sizing the Pure Sine Wave Inverter
Pool pumps utilize induction motors that require a massive surge of current to start spinning. A 1.5 HP pump draws roughly 12 to 15 amps continuously at 120V (approx. 1,800 watts). However, the LRA surge can exceed 45 amps (5,400 watts) for a fraction of a second. If your inverter cannot handle this surge, the pump will hum, fail to start, and trip the inverter's low-voltage cutoff.
- Requirement: Install a minimum 3,000W (preferably 4,000W) Pure Sine Wave Inverter/Charger, such as the Victron MultiPlus-II.
- DC Wiring: Run 2/0 AWG SAE J1127 tinned copper battery cables from the primary RV lithium busbar to the inverter. Torque the M10 lug bolts to 12 ft-lbs to prevent resistance heating.
- Protection: Install a 250A Class T fuse within 18 inches of the battery positive terminal to protect against catastrophic short circuits.
Step 2: Routing and Terminating 120V AC Lines
When running the 120V AC output from the inverter's sub-panel to the exterior pool pump enclosure, you must route the THWN-2 conductors through Liquid-Tight Flexible Metal Conduit (LFMC). This protects the wiring from UV degradation, physical damage, and water ingress.
- Mount a marine-grade, weatherproof sub-panel (e.g., Hubbell or Marinco) inside the RV's exterior utility bay.
- Install a 20A GFCI (Ground Fault Circuit Interrupter) breaker. Per NFPA 70 (NEC) Article 680, all pool pump motors and receptacles within 10 feet of the water must have Class A GFCI protection to prevent lethal shock hazards.
- Pull three strands of 10 AWG THWN-2 (Black, White, Green) through the LFMC to the pool pump's junction box.
- Terminate using waterproof wire nuts and silicone dielectric grease to prevent corrosion from pool chlorine off-gassing.
Step 3: 12V DC LED Lighting and CAN-Bus Multiplex Relays
Luxury RVs utilize multiplex wiring systems (like Firefly Integrations or Intellitec BDS) to manage 12V DC loads via a central CAN-bus node. To control 12V underwater pool LEDs without overloading the multiplex node's low-amperage outputs, you must use a Bosch-style 5-pin automotive relay.
Relay Pinout Configuration:
- Pin 86 (Coil +): Connect to the RV's multiplex switched 12V output (e.g., the 'Exterior Accent' circuit).
- Pin 85 (Coil -): Connect to a clean chassis ground point (sanded to bare metal, secured with a star washer and anti-corrosion spray).
- Pin 30 (Common): Connect to a dedicated 12V constant power source from the DC fuse block (fused at 10A).
- Pin 87 (Normally Open): Connect to the positive (+) lead of the 12V pool LED transformer.
- Pin 87a (Normally Closed): Not used; tape off or heat-shrink.
Expert Tip: Always install a reverse-biased flyback diode across pins 85 and 86 to absorb the inductive voltage spike when the relay coil de-energizes. Failing to do so can send a 100V+ spike back into the RV's sensitive CAN-bus multiplex controller, frying the node.
Equipotential Bonding on a Rolling Chassis
The most misunderstood aspect of RV pool wiring is equipotential bonding. In a residential home, the pool's metallic components (ladders, pump housings, rebar) are bonded to a grounding rod driven into the earth. An RV on rubber tires is electrically isolated from the earth. If a stray voltage fault occurs in the pool pump while the RV is boondocking (off-grid), the water becomes energized relative to the RV chassis, creating a lethal shock hazard for anyone touching the pool and the RV door handle simultaneously.
The Solution: You must create an isolated equipotential bonding grid. Run an 8 AWG solid bare copper wire connecting all metallic pool components (pump housing, ladder, light niches) directly to the RV's main DC chassis ground busbar. When the RV is plugged into shore power, the shore cord's ground pin bonds the chassis to the earth. When off-grid, the bonded chassis ensures that any fault immediately trips the GFCI breaker or blows the DC fuse, rather than electrifying the water.
Troubleshooting Common RV Pool Electrical Faults
| Symptom | Probable Cause | Diagnostic & Fix |
|---|---|---|
| Pump hums but won't spin; Inverter shuts down | Voltage drop due to undersized DC battery cables or loose busbar lugs. | Measure DC voltage at the inverter terminals during pump startup. If it drops below 10.5V, upgrade to 4/0 AWG cables and re-torque all lugs. |
| GFCI breaker trips immediately upon startup | Moisture ingress in the THWN-2 conduit or failing pump shaft seal. | Megohmmeter test the pump windings to ground. Inspect LFMC conduit fittings for proper sealing. Replace pump seal if water has entered the motor housing. |
| 12V Pool LEDs flicker when RV engine starts | EMI/RFI interference from the alternator or improper CAN-bus relay grounding. | Ensure 12V DC lighting wires are routed at least 4 inches away from 120V AC lines and alternator harnesses. Verify relay Pin 85 is grounded to the chassis, not the battery negative. |
Final Inspection and Safety Verification
Before filling the pool or hot tub, perform a comprehensive continuity and insulation resistance test. Use a multimeter to verify that the 8 AWG bonding wire has less than 0.5 ohms of resistance between the furthest metallic pool component and the RV chassis ground. Test the GFCI breaker using the integrated test button and a dedicated GFCI receptacle tester. By strictly adhering to this wiring diagram for pool and RV integration methodology, you ensure a safe, reliable, and luxurious aquatic experience, whether parked at a luxury resort or boondocking in the backcountry.