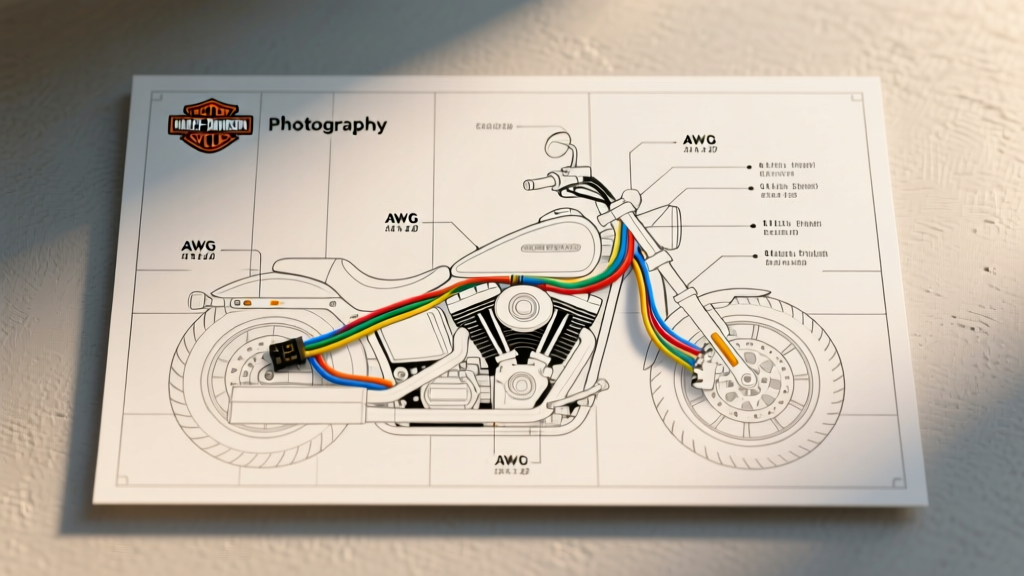
The OEM vs. Simplified Dilemma in Harley Customs
When building a custom bobber, chopper, or resto-mod, the factory wiring harness is often the first component to hit the scrap bin. Modern Harley-Davidson motorcycles utilize complex CAN-bus networks, multiplexed control modules, and bulky connectors that add unnecessary weight and restrict frame geometry. For builders seeking a clean, minimalist aesthetic, adopting a simple wiring diagram for Harley applications is essential. By stripping the electrical system down to its core circuits—ignition, lighting, and starting—you eliminate parasitic draw, reduce troubleshooting headaches, and shed pounds of dead copper.
However, not all simplified harnesses are created equal. Selecting the right kit requires matching wire gauges the physical layout of your build, but also the electrical demands of your specific engine generation, whether it is a carbureted Shovelhead, an Evo, or a modern Twin Cam running a simplified aftermarket ignition. This guide compares the top universal and model-specific simplified wiring kits on the market, breaking down their technical specifications, connector types, and ideal use cases to help you choose the perfect foundation for your motorcycle's electrical system.
Top Simplified Harness Kits Compared
1. GasBox Custom Chopper 5-Circuit Harness
The GasBox harness is the gold standard for ultra-minimalist, kick-start-only builds. Designed specifically for Panhead, Shovelhead, and early Evo engines running magneto or simple point ignitions, this harness ditches the starter relay circuit entirely. It utilizes high-temperature Teflon-jacketed wire, which is crucial for routing near the rear cylinder of a V-Twin where ambient heat easily melts standard PVC insulation. The wires are left un-terminated, allowing builders to solder and heat-shrink custom bullet or spade connections without the bulk of plastic connectors.
2. Custom Dynamics ProBEAM® Universal Harness
For builders integrating modern LED lighting into a simplified chassis, the Custom Dynamics ProBEAM universal kit offers a modular approach. Unlike raw wire kits, this system uses waterproof Deutsch DT series connectors. This is a massive advantage for baggers or cruisers that see daily rain, as the silicone seals prevent the green corrosion commonly found on exposed bullet connectors. Furthermore, it includes an integrated solid-state load equalizer, eliminating the need for external resistors when swapping to low-draw LED turn signals and brake lights.
3. Kustom Tech 7-Circuit Vintage Cloth-Braided Kit
Aesthetics matter on a vintage WLA or Knucklehead build. Kustom Tech offers a 7-circuit harness wrapped in authentic-looking cloth braiding. While it looks vintage, the core is modern SAE J1128 GXL cross-linked polyethylene wire, offering superior abrasion resistance and higher temperature tolerances than the original cotton-covered wires. It comes pre-terminated with vintage-style brass bullet connectors, making it a plug-and-play solution for 6-volt to 12-volt conversions on classic frames.
Technical Specifications & Wire Gauge Comparison Chart
Choosing the correct American Wire Gauge (AWG) is critical to prevent voltage drop, which can lead to dim lighting or weak spark at the ignition coil. The chart below compares the technical footprint of these three popular simplified harness approaches.
| Feature | GasBox 5-Circuit | Custom Dynamics ProBEAM | Kustom Tech 7-Circuit |
|---|---|---|---|
| Main Power AWG | 10 AWG | 12 AWG | 14 AWG |
| Lighting AWG | 14 AWG | 16 AWG (LED Optimized) | 16 AWG |
| Connector Type | Bare / Custom Solder | Deutsch DT (Waterproof) | Vintage Brass Bullets |
| Jacket Material | Teflon (High Heat) | PVC / Loom | Cloth Braid over GXL |
| Ideal Application | Kick-only Choppers | LED / Daily Riders | Vintage Resto-Mods |
Decoding the Simple Harley Wiring Diagram
When you unbox a simplified harness, you are typically greeted with a color-coded schematic that bypasses the factory BCM (Body Control Module). Understanding the standard color codes and pin configurations is vital for a clean installation.
Standard Simplified Color Codes
- Red (10 AWG): Unswitched Battery Positive. Routes directly from the starter solenoid battery stud to the main circuit breaker or ignition switch.
- Orange (14 AWG): Switched Ignition Power. Feeds the ignition coil, voltage regulator, and handlebar switches only when the key is in the 'ON' position.
- Black (10-14 AWG): Ground. In a simplified diagram, grounds should not rely on the engine cases or frame. Run dedicated black ground wires back to a centralized brass grounding bus bar bolted to bare metal on the frame.
- Blue / Yellow (16 AWG): High Beam / Low Beam feeds from the dimmer switch to the headlight bucket.
- Green / Brown (16 AWG): Right and Left turn signal feeds.
Starter Relay Pinout (For Electric Start Simplified Builds)
If your simplified diagram retains an electric start, you will use a standard Bosch-style 4-pin relay. Miswiring this is the most common cause of a clicking solenoid and no crank.
- Pin 30: Heavy 10 AWG Red from Battery Positive.
- Pin 87: Heavy 10 AWG to Starter Solenoid trigger stud.
- Pin 86: 14 AWG from Starter Button (Switched Ground or Power, depending on handlebar switch type).
- Pin 85: 14 AWG to Main Ground or Ignition Switch (completes the coil circuit inside the relay).
Selection Guide: Matching the Harness to Your Charging System
A common mistake when using a simple wiring diagram for Harley builds is ignoring the alternator output. If you are running a 32-amp stator (common on early Shovelheads), a harness with a 15-amp main breaker will trip constantly. Conversely, if you are running a modern 50-amp Chrome Sportster alternator on a custom frame, you must upgrade the main power wire from the standard 10 AWG to an 8 AWG wire to handle the increased amperage without melting the insulation. Always match your main circuit breaker rating to the stator's maximum output, and size the wire according to industry wire ampacity charts to account for the length of the run from the voltage regulator to the battery.
Common Installation Pitfalls & Troubleshooting
Even with the best simplified harness, improper installation techniques will lead to electrical gremlins. Here are the most frequent failure modes encountered in custom Harley builds and how to resolve them.
1. The Powder-Coated Ground Fallacy
Powder coat is an excellent electrical insulator. Many builders bolt their tail light grounds or ignition module grounds directly to a freshly powder-coated frame, resulting in floating grounds. This causes tail lights to glow dimly when the brakes are applied, or causes the ignition module to misfire under load. The Fix: Always use a sanding flap wheel to remove powder coat down to bare steel at every grounding point, and use star washers to bite into the metal. Apply dielectric grease over the bare metal after torquing the bolt to prevent rust.
2. Voltage Drop on Stretched Softails
If you are building a stretched Softail or a long-fork chopper, the physical distance from the battery to the tail light can exceed 8 feet. Using standard 18 AWG wire for the tail light over this distance will result in a severe voltage drop, leaving you with a dim LED or incandescent bulb. The Fix: Upgrade the tail light feed wire to 14 AWG for any run exceeding 6 feet to ensure a full 12.6V reaches the bulb socket.
3. Ignition Coil Starvation
On Evo and Twin Cam engines running aftermarket electronic ignitions, the coil requires a minimum of 11.5V to fire reliably. If you route the ignition feed wire through a rusty OEM kill switch or use undersized 16 AWG wire, the voltage will drop below the coil's threshold, causing backfiring and hard starting. Bypass the handlebar run switch on kick-only builds, or use a heavy-duty 12 AWG feed directly from the ignition switch to the coil's positive terminal.
By selecting the right harness kit and adhering to strict AWG and grounding standards, your simplified Harley wiring diagram will provide years of reliable, spark-free service. For further reading on OEM schematics and factory pinouts, consult the Harley-Davidson Factory Service Manuals before cutting your first wire.