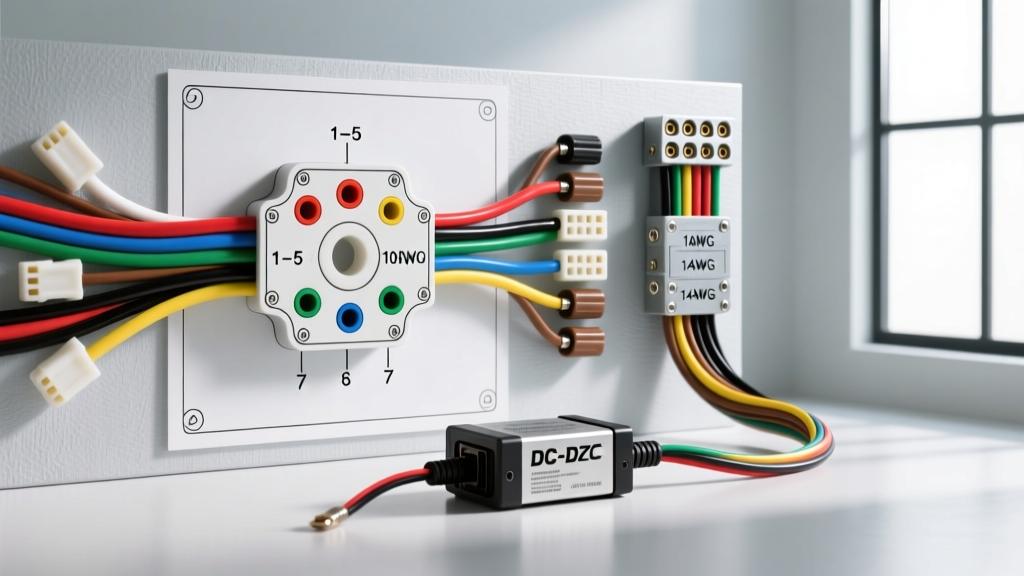
Introduction to Truck Camper Electrical Integration
Selecting the correct truck camper wiring diagram is one of the most critical phases of any slide-in or flatbed camper build. Unlike tow-behind trailers that rely solely on the truck’s 7-way connector for basic lighting and electric brakes, modern truck campers demand robust 12V DC and 120V AC power delivery to run induction cooktops, DC compressor refrigerators, and high-capacity LiFePO4 battery banks. Relying on a generic wiring schematic often leads to severe voltage drop, melted connectors, or smart-alternator failure modes.
This product comparison and selection guide breaks down the three primary truck camper wiring architectures: the OEM 7-Way RV Blade, the High-Amperage Custom Harness (Anderson Powerpole), and the Integrated DC-DC Charging Diagram. We will analyze wire gauge requirements, pin configurations, and real-world failure modes to help you choose the exact schematic for your rig.
Option 1: The Standard 7-Way RV Blade (OEM Tow Package)
The factory 7-way RV blade connector, governed by SAE J2862 and RVIA standards, is the baseline for truck-to-camper electrical integration. It is ideal for campers with minimal electrical loads (e.g., LED lighting, water pump, and propane fridge controls) drawing less than 30 amps continuously.
7-Way RV Blade Pinout & Wire Specifications
| Pin | Function | OEM Wire Color | Min AWG (Copper) | Max Continuous Amps |
|---|---|---|---|---|
| 1 | Chassis Ground | White | 8 AWG | 40A |
| 2 | Electric Brakes | Blue | 10 AWG | 20A |
| 3 | Tail / Running Lights | Brown | 12 AWG | 10A |
| 4 | 12V Aux / Charge Line | Red or Black | 10 AWG | 30A (Relay Limited) |
| 5 | Right Turn / Stop | Green | 12 AWG | 10A |
| 6 | Left Turn / Stop | Yellow | 12 AWG | 10A |
| 7 | Reverse / Aux | Purple | 12 AWG | 10A |
Pros and Cons of the OEM 7-Way Diagram
- Pros: Plug-and-play integration; utilizes existing truck underhood fuse panels; standardized color codes make troubleshooting straightforward using a standard circuit tester.
- Cons: Pin 4 (12V Aux) is typically limited by a 30A or 40A OEM relay. Attempting to pull 60A to charge a depleted lithium battery bank will trip the truck’s BCM (Body Control Module) or melt the 7-way plug housing. Furthermore, the ground path (Pin 1) relies on the hitch ball and safety chains, which introduces massive resistance and voltage drop over time due to corrosion.
Option 2: High-Amperage Custom Harness (Anderson Powerpole)
For campers running 12V compressor fridges, inverters exceeding 1000W, or rapid DC-DC charging, the standard 7-way diagram is insufficient. The custom high-amperage diagram bypasses the trailer plug entirely, utilizing Anderson Powerpole SB50 or SB120 connectors. This setup runs heavy-gauge wire directly from the truck’s starter post or high-amp alternator buss bar to the camper’s main DC distribution busbar.
Custom Harness Technical Specifications
- Positive Conductor: 4 AWG or 2 AWG GXL (Cross-linked, 125°C rated) pure copper wire. GXL is preferred over standard THHN because its thin-wall insulation resists automotive under-hood heat and fluid exposure.
- Ground Conductor: 4 AWG GXL routed parallel to the positive wire. Never rely on the truck chassis or hitch for high-amperage DC returns.
- Overcurrent Protection: 150A MEGA fuse or ANL fuse mounted within 7 inches of the truck’s battery positive terminal, plus a secondary fuse at the camper’s battery positive terminal.
- Connector: Anderson SB120 (120 Amp continuous rating) with dust covers to prevent bed-rack debris intrusion.
This diagram eliminates the 7-way bottleneck, allowing full alternator output (often 220A+ on modern heavy-duty trucks) to reach the camper. However, it requires drilling the truck bed or cab for a dedicated pass-through grommet, which introduces potential water leak points if not sealed with marine-grade butyl tape.
Option 3: Integrated DC-DC & Solar Charging Diagram
The most advanced truck camper wiring diagram integrates a DC-DC battery charger (such as the Victron Orion-Tr Smart or Redarc BCDC series). This is mandatory for modern trucks equipped with "smart alternators" (e.g., Ford’s BMS or GM’s RVC systems). Smart alternators drop charging voltage to 12.2V–12.4V once the starter battery reaches 80% State of Charge (SOC) to improve fuel economy. If your camper relies on a standard 7-way diagram, the DC-DC charger will read 12.2V, assume the engine is off, and halt charging to prevent draining the truck battery.
DC-DC Wiring Protocol & Ignition Sense
To force the truck’s smart alternator into high-output mode, the custom diagram requires an Ignition Sense (IGN) wire.
- Run an 18 AWG wire from a fuse-panel ignition-switched circuit (active only in RUN/START) to the DC-DC charger’s IGN terminal.
- When the charger detects 12V on the IGN wire, it actively pulls amperage from the truck battery.
- This voltage drop signals the truck’s PCM (Powertrain Control Module) that a high electrical load is present, forcing the smart alternator to output a steady 14.2V–14.4V.
- The DC-DC charger then steps this down/up to the precise absorption and float voltages required by the camper’s LiFePO4 BMS (typically 14.2V bulk/absorption, 13.5V float).
For comprehensive setup parameters, refer to the Victron Energy Orion-Tr Smart DC-DC manual regarding alternator load limits and engine start delay timers.
Selection Matrix: Which Diagram Fits Your Build?
| Wiring Diagram Type | Max Continuous Amps | Primary Wire Gauge | Best Application | Estimated Material Cost |
|---|---|---|---|---|
| OEM 7-Way RV Blade | 30A - 40A | 10 AWG (OEM Harness) | Basic lighting, water pumps, propane fridges, AGM trickle charging. | $25 - $60 |
| Anderson SB120 Custom | 100A - 120A | 2 AWG or 4 AWG GXL | High-draw DC fridges, microwaves via inverter, rapid lithium charging. | $150 - $250 |
| Integrated DC-DC + IGN | 30A - 60A (Regulated) | 6 AWG (Charger to Bus) | Smart-alternator trucks, sensitive LiFePO4 BMS, multi-source charging. | $300 - $600+ |
Critical Installation & Troubleshooting Protocols
Regardless of the diagram selected, adherence to automotive electrical best practices is non-negotiable. The harsh vibration environment of a truck bed demands superior termination techniques.
1. Crimping and Termination Standards
Never use solder on high-amperage automotive circuits. Solder is brittle and will fracture under the constant torsional flexing of a truck frame. Instead, use closed-barrel copper lugs and a hex-die hydraulic or manual crimper. After crimping, seal the connection using 3:1 shrink ratio, dual-wall adhesive heat shrink. The inner adhesive layer melts and seals out moisture, preventing galvanic corrosion inside the copper strands. For detailed connector and adapter guides, etrailer’s wiring FAQ offers excellent visual references for RV-specific terminations.
2. Calculating and Mitigating Voltage Drop
Voltage drop is the silent killer of camper appliances. A DC compressor fridge drawing 6A at 12V requires a minimum of 11.5V at the compressor terminals to operate. If your wire run from the truck battery to the camper fridge is 20 feet (40 feet round trip) using undersized 12 AWG wire, you will experience a voltage drop of nearly 1.5V, causing the fridge to fault out. Always use a voltage drop calculator and oversize your wire by at least one AWG step for runs exceeding 10 feet.
3. Troubleshooting Smart Alternator Dropouts
Symptom: Camper DC-DC charger turns on for the first 3 minutes of driving, then shuts off, leaving the camper battery uncharged.
Cause: The truck’s smart alternator has satisfied the starter battery and dropped system voltage to 12.3V. The DC-DC charger’s default "engine off" detection threshold is typically 13.0V.
Fix: Access the DC-DC charger’s Bluetooth configuration menu and lower the "Engine On Detection Voltage" to 12.0V, OR wire the dedicated IGN sense wire to an ignition-switched fuse to override the voltage-based detection logic entirely.
Conclusion
Choosing the right truck camper wiring diagram dictates the reliability of your entire off-grid system. While the OEM 7-way is sufficient for weekend warriors with basic setups, serious overlanders and boondockers must upgrade to a custom Anderson Powerpole harness paired with a smart DC-DC charger. By utilizing GXL automotive wire, hex-die crimping, and dedicated ignition-sense wiring, you ensure your camper’s electrical system can withstand the rigors of the trail while delivering maximum charging efficiency.