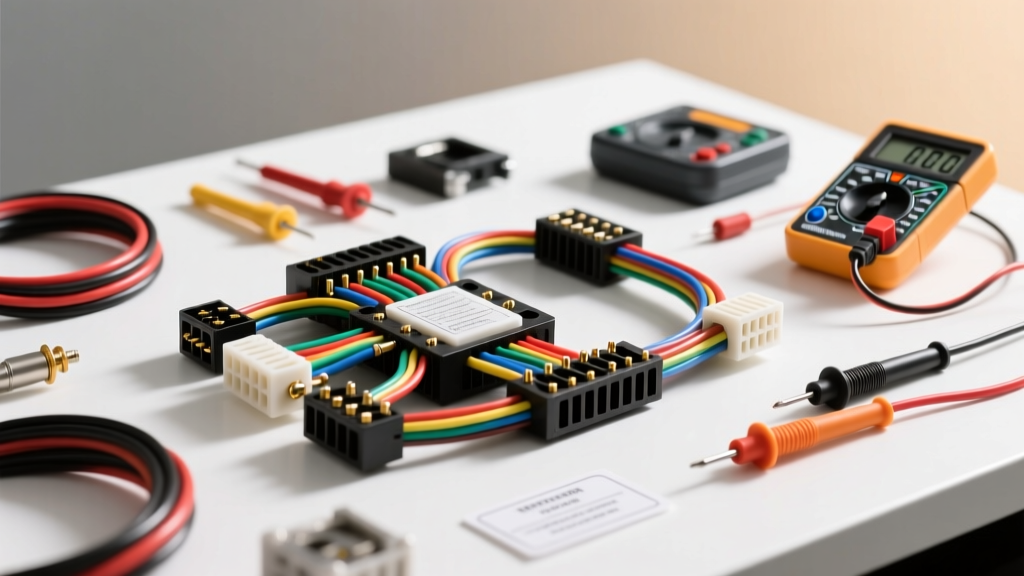
The Sticker Shock: Evaluating Replacing Wiring Harness Cost
When a dealership service advisor hands you an estimate for an engine bay or cabin wiring harness replacement, the numbers can be staggering. The average replacing wiring harness cost at a franchise dealer ranges from $1,800 to over $4,500. This massive bill is driven largely by 15 to 25 hours of flat-rate labor required to remove the dashboard or lift the engine, combined with the high price of OEM harness kits. However, before you authorize a complete tear-down of your vehicle, it is critical to determine if a full harness replacement is genuinely necessary. The vast majority of automotive electrical faults are localized to a specific branch, connector, or ground point. By following a systematic, step-by-step troubleshooting flow, you can isolate the fault, determine if a targeted pigtail repair is sufficient, and avoid the massive expense of a full replacement.
Step 1: Isolate the Circuit (Don't Replace the Whole Harness Yet)
The first rule of automotive electrical diagnostics is to isolate the fault to the smallest possible sub-harness or branch. If you are experiencing a random misfire on cylinder 3 and a U0100 lost communication code, the issues may share a common ground node or CAN bus trunk, but they rarely justify replacing the entire engine control harness.
Perform a Targeted Wiggle Test with an Oscilloscope
Do not rely on a simple test light or multimeter for intermittent faults. Connect a digital storage oscilloscope (DSO) to the suspect circuit. For example, if you are diagnosing a failing Crankshaft Position Sensor (CKP), back-probe the signal wire (often a 20 AWG shielded twisted pair in modern GM LS/LT engines) and the 12V reference wire (typically 18 AWG Pink). While monitoring the waveform, physically manipulate the harness branch near the connector and the main trunk. If the 5V square wave signal drops to 0V or spikes to 12V during manipulation, you have found an internal wire fracture or a chafed insulation point. This localized break can often be repaired by cutting out the damaged 6-inch section and soldering in a new length of SAE J1128 compliant primary cable, rather than replacing the $1,200 OEM harness kit.
Step 2: Voltage Drop Testing vs. Continuity Testing
One of the most common mistakes that leads to unnecessary harness replacements is relying on continuity (Ohms) testing. A single strand of 18 AWG copper wire inside a 14 AWG bundle can carry enough current to show 0.1 Ohms of resistance on a multimeter, but it will instantly voltage-drop and fail under the load of a fuel injector or cooling fan.
The 0.1V Drop Rule
According to ASE Certification Electrical Testing Standards, a healthy automotive connection should exhibit less than 0.1V of drop across a connector or splice under load. Set your multimeter to DC Volts. Place the red probe on the battery positive terminal and the black probe on the load side of the harness branch (e.g., the power pin at the O2 sensor heater circuit, typically a 12 AWG or 14 AWG Pink/Black wire). Turn the ignition on to activate the heater. If you read 0.5V or higher, you have high resistance. Trace the harness backward, moving the red probe closer to the fuse box until the voltage drop disappears. The exact point where the voltage drops is your failure point. This precise targeting eliminates the guesswork and prevents you from paying the full replacing wiring harness cost for a problem that was just a corroded splice joint.
Step 3: Connector and Pin Drag Testing
Fretting corrosion and terminal spread are responsible for up to 60% of perceived 'harness failures'. Modern vehicles rely heavily on sealed micro-connectors like the Aptiv Metri-Pack 150 and 280 series. Over time, vibration and thermal cycling cause the female terminal tangs to lose their spring tension.
How to Perform a Drag Test
Never use a standard male spade or paperclip to test connector tension. You must use the specific test probe for the terminal series (e.g., a 1.5mm pin for Metri-Pack 150, or a 2.8mm pin for Weather-Pack). Insert the test probe into the female cavity. You should feel a distinct, firm 'click' and significant drag upon removal. If the pin slides in and out with zero resistance, the terminal tangs are fatigued. The Fix: You do not need a new harness. Use a terminal pick to remove the pin, use a specialized crimping tool to re-tension the tangs, or cut off the terminal and crimp on a new pigtail using a closed-barrel, ratcheting crimper. Apply a dab of NYE 812A dielectric grease to prevent future micro-arcing.
Cost Breakdown: Full Harness Replacement vs. Targeted Repair
Understanding the financial difference between a full kit replacement and a surgical repair highlights why this diagnostic flow is so vital.
| Repair Strategy | Parts Cost (Avg) | Labor Time | Total Estimated Cost |
|---|---|---|---|
| Full OEM Engine Harness Kit | $800 - $1,600 | 12 - 22 Hours | $2,600 - $5,000+ |
| Full Aftermarket Harness Kit | $400 - $900 | 10 - 18 Hours | $1,900 - $3,600 |
| Targeted Pigtail / Splice Repair | $15 - $45 | 1 - 3 Hours | $165 - $495 |
| Connector Terminal Re-pinning | $5 - $20 | 0.5 - 2 Hours | $80 - $320 |
Step 4: When Full Replacement is the Only Option (Decision Tree)
While targeted repairs are preferred, there are specific scenarios where the replacing wiring harness cost is unavoidable. Use this decision tree to determine if the harness is truly beyond saving:
- Did the vehicle suffer a severe engine bay fire?
- Yes: The polypropylene and PVC loom materials, along with the wire insulation, have suffered thermal degradation. The copper may be annealed and brittle. Replace full harness.
- Is the main trunk suffering from widespread 'Green Death' (copper oxidation)?
- Yes: If capillary action has drawn moisture and battery acid up into the main loom, turning multiple wires green and brittle for more than 12 inches, splicing is impossible. Replace full harness.
- Are multiple ground nodes (e.g., GM G100, G101, G102) completely corroded inside the insulation?
- Yes: Ground node failures cause cascading, illogical electrical faults across multiple unrelated modules. If the main ground splice pack is destroyed, replacing the harness kit is often faster and more reliable than attempting to reconstruct the factory star-ground. Replace harness or fabricate custom ground bypasses.
- Is the fault isolated to a single sensor branch or injector pigtail?
- Yes: Cut, strip, solder, and seal with dual-wall heat shrink. Do NOT replace full harness.
Technical Reference: Common AWG Sizes and Harness Failure Modes
When sourcing wire for targeted repairs or evaluating a damaged harness, you must match the American Wire Gauge (AWG) to the circuit's current draw and environmental exposure. Refer to the SAE J1128 Standard for Primary Cable for exact insulation thickness and temperature ratings.
| AWG Size | Typical Application | Common Wire Colors | Primary Failure Mode |
|---|---|---|---|
| 8 - 10 AWG | Alternator B+, Starter, Main Grounds | Red, Black, Orange | Terminal crimp failure due to high vibration; insulation melting near exhaust manifolds. |
| 12 - 14 AWG | Fuel Injectors, O2 Heaters, Blower Motor | Pink, Dark Blue, Yellow | Chafing against aluminum intake manifolds; internal copper fatigue from engine rock. |
| 16 - 18 AWG | Sensors (MAP, MAF, TPS), 5V Ref, CAN Bus | Light Blue, Tan, Twisted Pair | Water intrusion in unsealed connectors; shield wire shorting to signal wire. |
| 20 - 22 AWG | Low-current serial data, shield drains | White, Bare Copper | Accidental piercing during back-probing; terminal spread in micro-connectors. |
Final Diagnostic Verdict
The decision to absorb the massive replacing wiring harness cost should never be made based on a generic OBD2 code or a visual inspection of a single cracked wire loom. Modern automotive electrical systems are modular. By utilizing voltage drop testing, oscilloscope waveform analysis, and precise terminal drag testing, you can almost always isolate the fault to a repairable sub-section. Reserve full harness kit replacements for catastrophic thermal damage, widespread capillary corrosion, or unrepairable main trunk splice-pack failures. Armed with this diagnostic flow, you can confidently challenge dealership estimates and execute surgical, lasting electrical repairs.