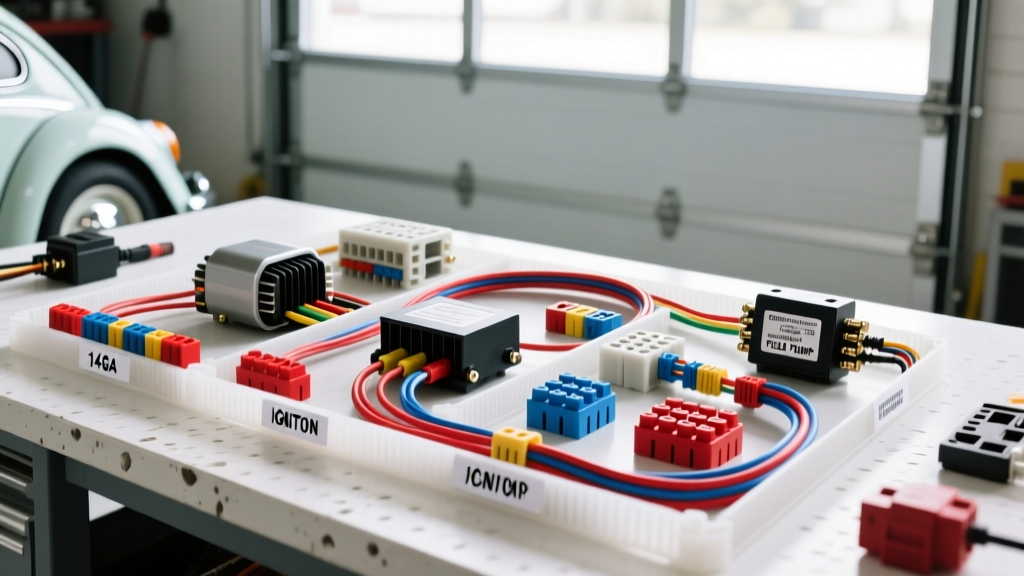
The Pitfalls of the Factory VW Bug Wiring Harness
The classic Volkswagen Beetle is one of the most heavily modified automotive platforms in history. Whether you are building a Baja bug, a street-legal daily driver, or dropping in a Subaru EZ30 for an engine swap, the electrical system is the backbone of your project. However, the original VW Bug wiring harness was designed for a simpler era. Early 6-volt systems and even the later 12-volt harnesses (introduced in the US market around 1967) utilized cloth-braided or early PVC insulation that becomes brittle, cracks, and shorts out after decades of heat cycling and vibration.
Upgrading your classic VW Bug wiring harness is not just about replacing old wires; it is about re-engineering the electrical architecture to support modern electronics, high-output alternators, electric fuel pumps, and advanced ignition systems. According to the Bentley Publishers VW Service Manual, the factory routing relies heavily on the central metal tunnel and a single main bulkhead connector to bridge the cabin and the engine bay. When modifying a Beetle, understanding these factory pathways and upgrading the wire gauges to meet modern SAE J1128 Low Tension Primary Cable standards is critical for preventing voltage drop and electrical fires.
Assessing the Factory Harness Anatomy
Before cutting a single wire, you must map the existing harness. A standard 1968-1979 12V VW Beetle harness is generally divided into three sections:
- The Dash Harness: Routes from the steering column to the speedometer, headlight switch, and wiper motor. This section is notorious for brittle bakelight connectors that shatter upon removal.
- The Main Tunnel Harness: Runs through the central spine of the chassis. It carries the heavy 10 AWG and 12 AWG wires for the starter, ignition coil, and rear lighting.
- The Engine Bay Harness: A short, flexible loom that connects the main harness to the generator/alternator, ignition coil, and carburetor idle cut-off solenoid.
When performing an upgrade, most fabricators choose to retain the dash harness (replacing only the terminal ends) while completely fabricating a new main tunnel and engine bay harness using modern cross-linked polyethylene (XLPE) insulated wire, which offers superior heat and abrasion resistance compared to the original PVC.
The Alternator Conversion Modification
One of the most common upgrades on a VW Bug is swapping the factory 35-amp generator for a modern Bosch-style internally regulated alternator (such as the AL-U1 or a 55A/75A aftermarket equivalent). The factory generator harness uses a three-wire external voltage regulator setup, while a modern alternator requires only two wires. Modifying the harness for this swap requires specific pin reassignments.
Alternator Pinout and Wire Gauge Specs
- B+ Terminal (Main Power): The factory generator B+ wire is often too thin for a modern 55A+ alternator. You must run a new 10 AWG Red wire from the alternator B+ post directly to the starter solenoid or the main battery positive junction. Use a 5/16-inch ring terminal, crimped with a heavy-duty hex crimper, and sealed with adhesive-lined heat shrink.
- D+ Terminal (Exciter/Dash Light): This terminal provides the initial excitation voltage to start the alternator charging and grounds the dash alternator warning light. Run a 16 AWG Blue wire from the D+ spade terminal to the factory 61-terminal on the dash harness. Use a 1/4-inch insulated female spade connector.
- D- Terminal (Ground): Modern internally regulated alternators ground through the aluminum casing. The factory D- wire (Brown) should be safely capped off and tucked away to prevent accidental shorting.
Headlight Relay Bypass Modification
The factory VW Bug headlight switch is a known failure point. It routes the full amperage of both the high and low beams (often exceeding 15 amps combined) directly through the delicate internal contacts of the switch on the dashboard. Over time, the resistance increases, generating enough heat to melt the switch housing and the surrounding dash wiring.
To upgrade the harness, you must integrate a dual-relay headlight modification. This moves the heavy electrical load from the dash switch to the engine bay or front trunk (frunk) area.
Relay Wiring Integration (Bosch-Style 30A SPDT Relays)
You will need two standard Bosch-style 5-pin relays (one for low beam, one for high beam). Wire the relays into your new front harness as follows:
- Pin 30 (Power In): Run a 12 AWG Red wire directly from the battery positive or the main fuse block to Pin 30 on both relays. Protect this feed with a 20A ATC blade fuse.
- Pin 87 (Normally Open Output): Run 12 AWG White (Low) and 12 AWG Yellow (High) wires from Pin 87 to the respective headlight bucket terminals.
- Pin 85 (Switch Trigger): Splice into the factory headlight switch output wires using 16 AWG Blue/White tracer wire. The factory switch now only triggers the low-amp relay coil.
- Pin 86 (Ground): Ground both relays to the chassis using a 16 AWG Brown wire and a self-tapping sheet metal screw with a star washer to bite through the VW's paint and primer.
Upgrading to a Modern Blade Fuse Block
Original VW Beetles utilize ceramic glass-tube fuses held in place by spring-tensioned metal clips. These clips corrode rapidly, leading to phantom electrical gremlins, dim headlights, and intermittent wiper operation. Upgrading to a modern ATC/ATO blade fuse block is a mandatory modification for any serious build.
When selecting a fuse block, refer to Littelfuse ATO/ATC Automotive Fuse specifications to ensure the block utilizes tin-plated copper busbars rather than cheap stamped steel. Mount the new fuse block in the frunk or under the rear seat, replacing the factory cardboard fuse cover. Use a centralized power distribution block to feed the fuse block with a heavy 8 AWG main power wire, and run individual 14 AWG to 16 AWG circuits to the vehicle's accessories.
Engine Swap Harness Considerations
If your VW Bug modification involves an engine swap—such as dropping in a GM LS V8 or a Subaru EZ30 flat-six—the factory engine bay harness is useless. You will need to integrate a standalone aftermarket engine harness (like those from Holley or Speedway) with the VW's chassis harness.
The critical junction point is the firewall pass-through. Do not simply drill a hole and shove wires through the sharp VW sheet metal. Instead, utilize a Deutsch DT series 12-way or 18-way connector. Mount the bulkhead receptacle on a fabricated aluminum plate on the firewall. This allows the entire engine harness to be unplugged and removed with the engine during service, while keeping the chassis harness sealed and protected. Use Deutsch solid contacts and wedge locks to ensure the connections never vibrate loose, a common issue in the high-vibration environment of an air-cooled or swapped Bug chassis.
Wire Gauge & Color Code Specifications
When fabricating your custom VW Bug harness, maintaining a strict color code and gauge standard will save you hours of troubleshooting later. While aftermarket harnesses vary, adhering to a modified version of the factory DIN/VW color code is highly recommended for resale value and ease of maintenance.
| Circuit Function | Wire Color | AWG Size | Terminal Type | Fuse Rating |
|---|---|---|---|---|
| Main Battery to Starter | Red | 4 AWG | 3/8" Ring | Inline Mega Fuse (100A) |
| Alternator B+ Output | Red | 10 AWG | 5/16" Ring | 30A ATC |
| Headlight Power Feed (Relay) | Red | 12 AWG | 1/4" Spade | 20A ATC |
| Ignition Coil / EFI ECU Power | Black (Switched) | 14 AWG | Weatherpack | 15A ATC |
| Tail Lights / Dash Illumination | Grey | 16 AWG | Bosch Spade | 8A ATC |
| Chassis Grounds | Brown | 10-14 AWG | Ring / Star Washer | N/A |
Routing, Looming, and Protection
The final step in your VW Bug wiring harness upgrade is proper routing and protection. The VW Beetle chassis is notorious for sharp, unfinished sheet metal edges inside the central tunnel and around the firewall. Never run bare wires through these areas.
Wrap your newly fabricated harness in Tesa-style PVC fleece tape rather than standard corrugated plastic split-loom. Fleece tape conforms to tight bends, eliminates the plastic rattling noise associated with split-loom, and provides excellent abrasion resistance. Where the harness must pass through the metal bulkhead or the dash cross-member, use rubber grommets sealed with silicone RTV to prevent moisture ingress from the cabin into the engine bay. By combining modern wire materials, relay-integrated load management, and secure Deutsch bulkhead connections, your upgraded VW Bug will possess an electrical system capable of handling any modern modification you throw at it.