Understanding the Ford Premium Audio Ecosystem
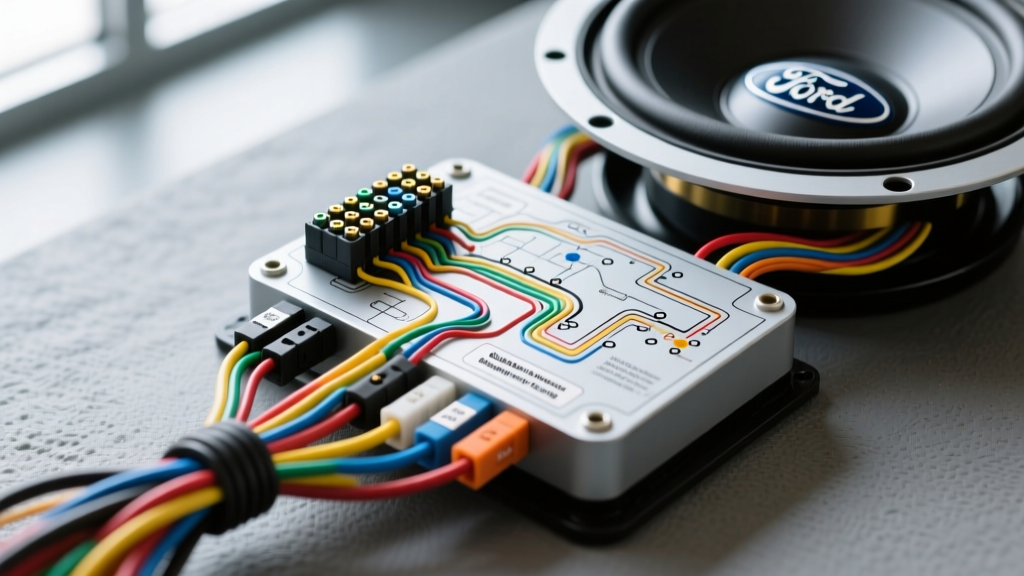
Upgrading the bass in a modern Ford vehicle equipped with a premium audio system—such as the Sony, Shaker, or Bang & Olufsen (B&O) packages—requires more than just splicing a few wires. Unlike older vehicles where the head unit amplified the signal directly to the speakers, modern Ford vehicles utilize an Audio Control Module (ACM) paired with a dedicated factory amplifier. To successfully integrate an aftermarket subwoofer, you must first understand how to read and apply a subwoofer Ford factory amplifier wiring diagram. This beginner-friendly guide will walk you through the fundamentals of tapping the factory signal, overcoming Ford-specific audio processing hurdles, and sizing your aftermarket power wires correctly.
Why You Need a Factory Wiring Diagram
Ford's premium amplifiers are typically hidden behind the rear seat backrest (in SuperCrew F-150s) or under the passenger seat (in Explorers and Mustangs). The factory head unit sends a low-level, pre-amplified, and heavily equalized signal to this factory amp via a multi-pin harness. If you attempt to tap the speaker wires at the head unit, you will bypass the factory amplifier entirely, resulting in zero signal for your rear channels or subwoofer. Therefore, locating the factory amplifier and utilizing its specific wiring diagram is the only reliable way to extract a full-range or subwoofer-specific audio signal for your aftermarket Line Output Converter (LOC).
Decoding the Ford Factory Amplifier Pinout
Most Ford premium audio systems utilize a 22-pin or 38-pin connector at the factory amplifier. Below is a reference table for a typical 22-pin Ford premium amplifier harness, commonly found in F-150 and Explorer models equipped with the Sony audio package. Always verify these pinouts with a Digital Multimeter (DMM) before cutting or splicing any wires.
| Pin Number | Wire Color (Typical) | Function / Signal |
|---|---|---|
| 1 | White / Red Stripe | Left Front Speaker (+) |
| 2 | White / Black Stripe | Left Front Speaker (-) |
| 3 | Gray / Red Stripe | Right Front Speaker (+) |
| 4 | Gray / Black Stripe | Right Front Speaker (-) |
| 11 | Green / Violet | Subwoofer Signal (+) |
| 13 | Green / Yellow | Subwoofer Signal (-) |
| 16 | Yellow / Violet | Left Rear Speaker (+) |
| 17 | Brown / Yellow | Left Rear Speaker (-) |
| 22 | Black / White | Chassis Ground |
Note: Ford frequently updates wire color codes between model years. According to the Crutchfield Learning Center, relying solely on wire color without verifying continuity and AC voltage with a multimeter is the number one cause of failed car audio installations.
Step-by-Step: Tapping the Signal with a Line Output Converter
Because the factory amplifier outputs a high-voltage speaker-level signal, you cannot plug it directly into the RCA inputs of an aftermarket amplifier. You must use a Line Output Converter (LOC) to step the voltage down to a clean, low-level RCA signal.
Step 1: Locate and Access the Factory Amplifier
Remove the rear seat bottom cushion and fold down the rear seat backrest. The factory amplifier is usually mounted to the rear cabin wall inside a metal bracket. Disconnect the negative terminal of your vehicle battery before unplugging the factory harness to prevent shorting the CAN bus network.
Step 2: Identify and Tap the Subwoofer Wires
Using the wiring diagram table above, locate Pins 11 and 13. Instead of using cheap T-taps which can cause intermittent connections and corrosion, strip back a quarter-inch of the factory 18 AWG wire, wrap your LOC tap wire around it, solder the connection, and seal it with heat shrink tubing.
Step 3: Managing the Remote Turn-On Signal
Modern Ford SYNC 3 and SYNC 4 systems use a CAN bus network to wake the factory amplifier; there is no traditional 12V remote turn-on wire at the amp. To turn on your aftermarket amplifier, use an LOC with built-in signal-sensing auto-turn-on capabilities, or install a dedicated CAN bus interface module that generates a 12V remote trigger when the radio is powered on.
Wire Gauge (AWG) and Power Specifications
Once you have your audio signal routed via RCA cables to your trunk or under-seat location, you must provide adequate power to your new aftermarket amplifier. The SAE International J1113 Standards for automotive electrical systems dictate that voltage drop must be minimized to prevent amplifier clipping and thermal failure. Use the following chart to select the correct Oxygen-Free Copper (OFC) power wire for your setup.
| Amplifier RMS Wattage | Recommended Power Wire (OFC) | Recommended Ground Wire | Inline Fuse Size |
|---|---|---|---|
| Up to 400W | 8 AWG | 8 AWG | 40 Amp |
| 401W - 800W | 4 AWG | 4 AWG | 80 Amp |
| 801W - 1500W | 1/0 AWG | 1/0 AWG | 150 Amp |
Crucial Grounding Rule: Your ground wire must be terminated to bare, unpainted chassis metal. Sand away any factory paint or primer, use a ring terminal secured with a self-tapping metal screw or factory bolt, and apply dielectric grease over the connection to prevent rust.
Overcoming Ford Factory Bass Roll-Off
One of the most frustrating aspects of upgrading a Ford factory audio system is the built-in bass roll-off. To protect the cheap, lightweight paper cones of the factory 8-inch subwoofers, Ford engineers program the ACM to drastically reduce low-frequency bass output as you increase the volume knob past 20. If you tap the factory subwoofer signal with a standard LOC, your aftermarket sub will get quieter and lack punch at higher volumes.
To solve this, beginners should invest in an active LOC equipped with bass restoration technology, such as those manufactured by PAC Automotive or the AudioControl LC2i with AccuBASS. These devices detect when the factory signal drops the low frequencies and automatically inject the missing bass back into the RCA output, ensuring your aftermarket subwoofer hits hard regardless of the volume level.
Troubleshooting Common Beginner Mistakes
- Alternator Whine in the Audio Signal: If you hear a high-pitched whining noise that pitches up and down with your engine RPM, you have a ground loop. This occurs when the factory amp and your aftermarket amp are grounded to different metal panels with varying resistance. Ensure both amplifiers share a common ground point or use a ground loop isolator on your RCA cables.
- Subwoofer Plays When the Truck is Off: If your aftermarket amp stays on and drains your battery, your LOC is failing to detect the signal drop, or your CAN bus interface is stuck in the 'awake' position. Disconnect the remote turn-on wire and verify that the LOC is properly adjusting its signal-sensing threshold dial to ignore low-level CAN bus background noise.
- Muddy or Distorted Bass: You may have tapped the Left or Right Rear door speaker wires instead of the dedicated subwoofer pins. Rear door speakers in Ford premium systems are crossed over at roughly 80Hz and lack the deep sub-bass frequencies required to trigger an aftermarket subwoofer properly. Always tap the dedicated subwoofer pins or use a DSP (Digital Signal Processor) to sum all rear channels.
Final Thoughts for First-Time Installers
Integrating an aftermarket subwoofer into a Ford factory system does not require you to rip out the dashboard or replace the touch screen. By carefully studying the subwoofer Ford factory amplifier wiring diagram, utilizing a high-quality bass-restoring LOC, and adhering to strict AWG power wire standards, you can achieve massive, clean bass while retaining the factory steering wheel controls and SYNC interface. Take your time, verify every connection with a multimeter, and always prioritize clean soldered connections over quick crimps.