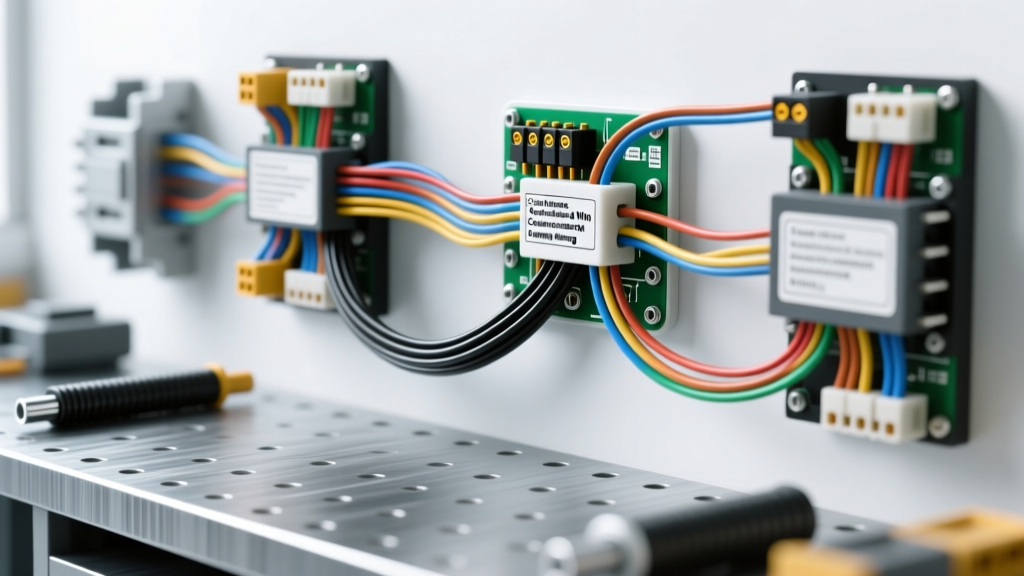
The Hidden Dangers of Improper Component Integration
When upgrading, repairing, or troubleshooting car electrical components, enthusiasts and novice technicians often rely on household electrical logic. This is a critical error. Automotive environments subject wiring to extreme thermal cycling, constant vibration, and corrosive elements. A wiring method that works perfectly in a static, climate-controlled home can quickly lead to a parasitic draw, a melted harness, or a catastrophic electrical fire under the hood of a vehicle.
At Autoflowwire, we analyze thousands of wiring failures every year. The vast majority of electrical gremlins—from flickering headlights to complete ECU failure—stem from a handful of preventable mistakes. Below, we detail the most common errors made when working with car electrical components and provide the exact specifications required to do the job safely and correctly.
Mistake #1: Ignoring SAE Wire Gauge and Ampacity Limits
One of the most pervasive mistakes is using standard AWG (American Wire Gauge) ampacity charts—designed for copper building wire (THHN)—to size automotive wiring. Automotive wire, such as GXL or TXL, is manufactured to SAE J1128 standards. While the copper cross-section might be similar, automotive wire features much thinner cross-linked polyethylene insulation to save weight and increase flexibility. Furthermore, automotive harnesses are often bundled tightly together, which severely restricts heat dissipation.
Using a household ampacity chart might tell you that 10 AWG wire can handle 30 amps indefinitely. However, according to Mad Electrical's automotive ampacity guidelines, a 10 AWG wire in a tightly bundled engine bay harness should be derated significantly to prevent insulation meltdown.
Automotive Wire Sizing Reference (SAE J1128 Derated)
| Wire Gauge (AWG) | Max Continuous Amps (Bundled) | Typical Car Electrical Components Application | Recommended Fuse Size |
|---|---|---|---|
| 4 AWG | 120A - 150A | High-output alternator main charge wire, starter motor feed | 150A Mega Fuse |
| 8 AWG | 50A - 60A | Electric cooling fan relays, aftermarket fuel pumps, winch feeds | 60A Maxi Fuse |
| 12 AWG | 20A - 25A | Headlight high/low beam feeds, power window motors, horn circuits | 20A ATO/ATC Blade |
| 16 AWG | 10A - 12A | Dashboard illumination, ECU sensor 5V references, tail lights | 10A Mini Blade |
Mistake #2: The 'Ground Anywhere' Fallacy
A poor ground is the root cause of at least 70% of all automotive electrical diagnostics. Many DIYers assume that because the engine block or chassis is made of metal, any bolt will provide a perfect ground. This ignores the reality of modern manufacturing: chassis components are often coated in E-coat (electro-deposition paint), powder coat, or thread-locking compounds, all of which are highly resistive.
When you ground a high-draw component like an electric fuel pump or a starter solenoid to a painted surface, the resistance creates a voltage drop. According to Ohm's Law (V = I x R), a high current draw across a high-resistance ground will generate immense heat, melting the plastic connector housing. Furthermore, sharing a single ground point between a high-current device (like a cooling fan) and a low-voltage sensor (like an O2 sensor) creates a 'ground loop.' The voltage spike from the fan turning off will backfeed into the sensor ground, skewing the 5V reference signal and throwing the ECU into limp mode.
The Fix: Always use a dedicated 'star ground' configuration. Scrape away all paint and primer down to bare, shiny metal. Use a star washer between the ring terminal and the chassis to bite into the metal, and coat the finished connection with dielectric grease to prevent galvanic corrosion. For ECU sensors, always use 18 AWG or 20 AWG wire (typically Black or Black/White tracer) routed directly to the ECU's dedicated sensor ground pin, bypassing the chassis entirely.
Mistake #3: Miswiring ISO Standard Relays and Ignoring Flyback Voltage
The standard ISO mini relay (often referred to as a Bosch-style relay) is the backbone of modern car electrical components. It features five pins: 30, 87, 85, 86, and sometimes 87a. A common and destructive mistake is wiring the high-current load circuit (30 and 87) backward, or failing to account for inductive flyback voltage.
Standard ISO Mini Relay Pinout & Wiring Colors
| Pin Number | Function | Standard Wire Color | Wire Gauge |
|---|---|---|---|
| 30 | Common / 12V+ Power IN (from battery/fuse) | Red | 10 AWG or 12 AWG |
| 87 | Normally Open / 12V+ Power OUT (to load) | Red or Orange | 12 AWG or 14 AWG |
| 85 | Coil Ground (to chassis or ECU driver) | Black | 16 AWG or 18 AWG |
| 86 | Coil 12V+ Trigger (from switch/ignition) | Yellow or White | 16 AWG or 18 AWG |
The Flyback Danger: When the low-current coil circuit (pins 85 and 86) is deactivated, the collapsing magnetic field generates a massive reverse-voltage spike (often exceeding 100V). If your relay does not have an internal suppression diode or resistor, this spike will travel back through the trigger wire and instantly fry the solid-state driver inside your ECU or body control module (BCM). Always use relays with internal diodes (marked with a small triangle symbol on the casing) when the trigger circuit is controlled by an ECU, and ensure the diode polarity matches your coil wiring.
Mistake #4: Bypassing Fusible Links and Using Oversized Fuses
When a fuse blows, the amateur response is often to install a larger fuse to 'stop it from popping.' This is a guaranteed way to burn your vehicle to the ground. Fuses are not sized to protect the component; they are sized to protect the wire. If a 15A circuit protected by 14 AWG wire keeps blowing a 15A fuse, there is a short to ground or a failing component drawing excess current. Upgrading to a 20A or 25A fuse means the wire will now act as the fuse, melting its insulation and igniting surrounding materials before the fuse ever blows.
Additionally, many modern car electrical components require time-delay (slow-blow) fuses. Components with high inrush currents—such as power window motors, ABS pump motors, and electric power steering racks—will instantly blow a standard fast-acting blade fuse upon startup. Always consult the Littelfuse Automotive Application Guide to determine if a specific circuit requires a JCase, Mini, or slow-blow Maxi fuse.
Mistake #5: Using 'Scotch-Loks' and T-Taps on CAN Bus Networks
Piercing connectors (commonly known as Scotch-Loks or T-taps) have no place in modern automotive wiring. They rely on a small metal blade to cut through the wire insulation and make contact with the copper strands. In a high-vibration environment, these connections quickly loosen, allowing moisture to enter the wire strand, leading to 'green death' (copper oxidation) that migrates under the insulation and destroys the harness.
This mistake becomes catastrophic when applied to modern Controller Area Network (CAN bus) wiring. CAN High (typically White/Green) and CAN Low (typically White/Brown) operate on high-frequency, low-voltage differential signals. Tapping into these wires with a T-tap alters the characteristic 120-ohm impedance of the network and introduces capacitance. This signal reflection will cause the CAN bus to crash, resulting in the dashboard lighting up like a Christmas tree and the vehicle stalling. To tap into a CAN network, you must use a proper high-impedance gateway module or splice using military-spec solder sleeves with heat-shrink lining, maintaining the exact twisted-pair geometry.
Critical Safety Warnings: SRS and High-Voltage Systems
Before turning a single wrench on any car electrical components, specific safety protocols must be followed to prevent severe injury or death.
- SRS (Airbag) Systems: Never use a standard multimeter to probe SRS circuits or yellow-colored connectors. The small voltage output from the multimeter's continuity tester is enough to trigger the pyrotechnic squib in an airbag or seatbelt pretensioner. Always disconnect the negative battery terminal and wait a minimum of 15 minutes for the SRS backup capacitors to discharge before working near yellow harnesses.
- Hybrid and EV High Voltage: Orange conduit and cabling universally denote high-voltage DC circuits (often ranging from 300V to 800V). Lethal electrocution can occur if these cables are compromised. Never cut, probe, or attempt to repair orange cabling without factory-specific high-voltage insulated gloves (Class 0 or higher), a CAT III/IV rated multimeter, and proper lockout/tagout (LOTO) procedures applied to the manual service disconnect (MSD).
- Crimping Standards: When terminating wires to car electrical components, never use pliers. You must use a ratcheting crimping tool designed for the specific terminal type (e.g., open-barrel F-crimps for Delphi Weather-Pack or Aptiv Metri-Pack 150/280 series). A proper crimp creates a cold-weld between the copper and the terminal barrel, ensuring a gas-tight seal that prevents oxidation.
By respecting SAE standards, understanding the physics of voltage drop, and utilizing the correct termination tools, you ensure that your vehicle's electrical system remains reliable, safe, and capable of handling the demanding environment of the modern roadway.