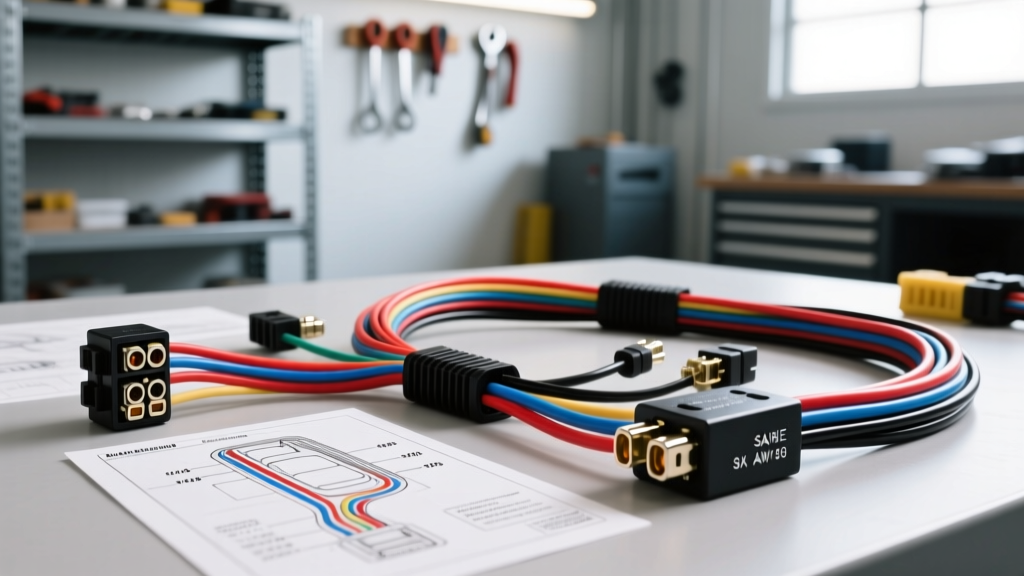
Introduction: The Diamond Bar Standard for Auto Electrics
When enthusiasts and professionals in Southern California need complex electrical diagnostics, they often look to the meticulous standards upheld by a premier Diamond Bar auto electric specialist. What separates a master technician from a parts-swapper is a deep, unshakeable understanding of automotive electrical fundamentals. Whether you are restoring a classic muscle car, adding auxiliary lighting to an overland rig, or simply trying to diagnose a parasitic draw on your daily driver, the laws of physics and electrical engineering remain the same. In this beginner-friendly guide, we will break down the core architecture of vehicle wiring, translating top-tier shop wisdom into actionable, DIY-friendly knowledge. You will learn how to read SAE color codes, select the correct AWG wire, understand sealed connector ecosystems, and perform the ultimate diagnostic test: the voltage drop.
1. The Core Architecture: High-Current vs. Low-Current Circuits
Every vehicle's electrical system is divided into two primary domains: high-current (power) circuits and low-current (control/signal) circuits. A common mistake beginners make is using undersized wire for high-draw components, leading to melted insulation and voltage starvation.
The Charging and Starting Systems
The battery, alternator, and starter form the high-current backbone of your vehicle. The main battery cables are typically 4 AWG or 2 AWG stranded copper, capable of carrying 150 to 250 amps during engine cranking. However, the most misunderstood circuit among beginners is the alternator sense wire. Many DIYers route the alternator's voltage sense wire to the nearest metal bracket or a distant fuse box. A top-tier Diamond Bar auto electric technician will always route a dedicated 10 AWG or 12 AWG sense wire directly to the battery positive terminal or the main starter junction block. This ensures the alternator's internal voltage regulator reads the true state of the battery, preventing undercharging caused by voltage drop across the main harness.
The Starter Solenoid Trigger
While the main starter cable is massive, the trigger wire (often labeled 'S' or '50' on the solenoid) is a low-current control circuit. This wire, usually 14 AWG or 16 AWG, only needs to carry 2 to 5 amps to energize the starter solenoid's pull-in coil. Upgrading this wire to a thicker gauge provides zero performance benefit and can actually cause fitment issues inside the starter boot.
2. SAE J1128 Wire Color Codes and AWG Sizing
Standardization is critical for safety and troubleshooting. The Society of Automotive Engineers (SAE) outlines standard wire insulation colors and ampacity ratings in the SAE J1128 specification. While manufacturers often use proprietary color codes for specific sensor networks, the fundamental power and ground colors remain relatively consistent across the aftermarket and OEM repair sectors.
| AWG Size | Max Ampacity (Free Air) | Common Insulation Color | Typical Automotive Application |
|---|---|---|---|
| 18 AWG | 10A - 15A | White / Light Blue | ECU Sensors, CAN-Bus Data, LED Lighting |
| 16 AWG | 13A - 18A | Green / Yellow | Horn Circuits, Turn Signals, Interior Dash Lights |
| 14 AWG | 15A - 20A | Blue / Red | Cigarette Lighter, Radio Memory, Wipers |
| 12 AWG | 20A - 25A | Red / Purple | Headlights (Halogen), Power Seats, Fuel Pumps |
| 10 AWG | 30A - 40A | Red (Heavy) | Power Windows, Main Accessory Feeds, Alternator Sense |
| 8 AWG | 50A - 60A | Red (Heavy) | High-Power Audio Amplifiers, Electric Fan Relays |
| 4 AWG | 100A - 120A | Black / Red | Main Battery Cables, High-Output Alternator Feeds |
Note: Ampacity ratings assume single-conductor, cross-linked polyethylene (XLPE) insulation in free air at ambient temperatures. Bundling wires in a loom reduces heat dissipation and requires derating the ampacity by 15-20%.
3. The 4-Pin Bosch Relay: The Workhorse of Auto Electrics
If there is one component every beginner must master, it is the standard ISO mini relay, often referred to generically as a 'Bosch relay.' These electromechanical switches allow a low-current circuit (like a dashboard switch or ECU signal) to control a high-current load (like fuel pumps or off-road light bars) without routing heavy-gauge wire through the passenger cabin.
Decoding the Pinout
Look at the bottom of a standard 4-pin relay, and you will see four numbered terminals. Understanding these numbers is non-negotiable for proper wiring:
- Pin 30 (Common / Power In): This is the high-current input. It connects directly to the battery positive via an appropriately sized inline fuse.
- Pin 87 (Normally Open / Power Out): This is the high-current output. When the relay is activated, an internal bridge connects Pin 30 to Pin 87, sending power to your accessory.
- Pin 86 (Coil Power): This is the low-current trigger input. It receives 12V from your dashboard switch or ECU.
- Pin 85 (Coil Ground): This completes the low-current control circuit by providing a path to chassis ground.
Expert Tip: When wiring inductive loads like fuel pumps or electric fans, always use a relay with an internal suppression diode or wire an external flyback diode across pins 85 and 86 (stripe facing 86). This prevents voltage spikes from frying your ECU or dashboard switches when the relay coil de-energizes.
4. Sealed Connectors: Weather-Pack vs. Metri-Pack
Electrical failures in vehicles are rarely caused by the wire itself; they are almost always caused by poor terminations and moisture ingress. A reputable Diamond Bar auto electric shop will never use uninsulated crimp connectors or electrical tape in an engine bay. Instead, they rely on sealed connector ecosystems.
Delphi Weather-Pack
The Weather-Pack series is the gold standard for aftermarket and heavy-duty applications. Available in 1 to 6 cavities, these connectors feature a silicone rubber seal that compresses around the wire insulation, making them completely waterproof and dustproof. They are rated for up to 20 amps per cavity and are ideal for external lighting, winch controls, and trailer wiring.
Delphi Metri-Pack 280
If you are repairing OEM harnesses on modern GM, Chrysler, or Ford vehicles, you will encounter Metri-Pack 280 connectors. These are more compact than Weather-Packs and use a specific tang-locking mechanism. To extract a pinned terminal from a Metri-Pack 280 housing, you cannot simply pull; you must use a specialized extraction tool to depress the internal locking tangs. Forcing a pin out will destroy the housing and compromise the moisture seal.
5. Beginner Diagnostic: The Voltage Drop Test
According to diagnostic guidelines outlined in Haynes automotive repair manuals, the most common mistake beginners make is testing for continuity on a disconnected circuit. A wire with only one strand of copper intact will show 'continuity' on a multimeter but will fail catastrophically under a 20-amp load. The correct method is the Voltage Drop Test, performed while the circuit is under load.
- Set your multimeter to DC Volts (20V scale).
- Activate the circuit (e.g., turn on the headlights or crank the engine).
- Place the red probe on the battery positive terminal and the black probe on the component's power input pin. You are measuring the loss of voltage across the positive cable.
- Read the display. A healthy high-current circuit should show a voltage drop of less than 0.2V to 0.5V total. If you read 2.5V, you have found high resistance (corrosion, loose crimp, or undersized wire) that is starving your component of power.
- Repeat for the ground side by placing the red probe on the component's ground housing and the black probe on the battery negative terminal.
Summary: Building a Professional Foundation
Mastering automotive electrical systems does not require an engineering degree, but it does require discipline. By adhering to SAE J1128 wire sizing standards, utilizing sealed Weather-Pack and Metri-Pack connectors, understanding the internal logic of ISO relays, and relying on voltage drop testing rather than simple continuity checks, you elevate your skills from amateur to professional. Whether you are wiring a simple relay harness in your driveway or performing complex ECU diagnostics, applying the rigorous standards expected of a top-level Diamond Bar auto electric specialist will ensure your vehicle's electrical system is safe, reliable, and built to last.