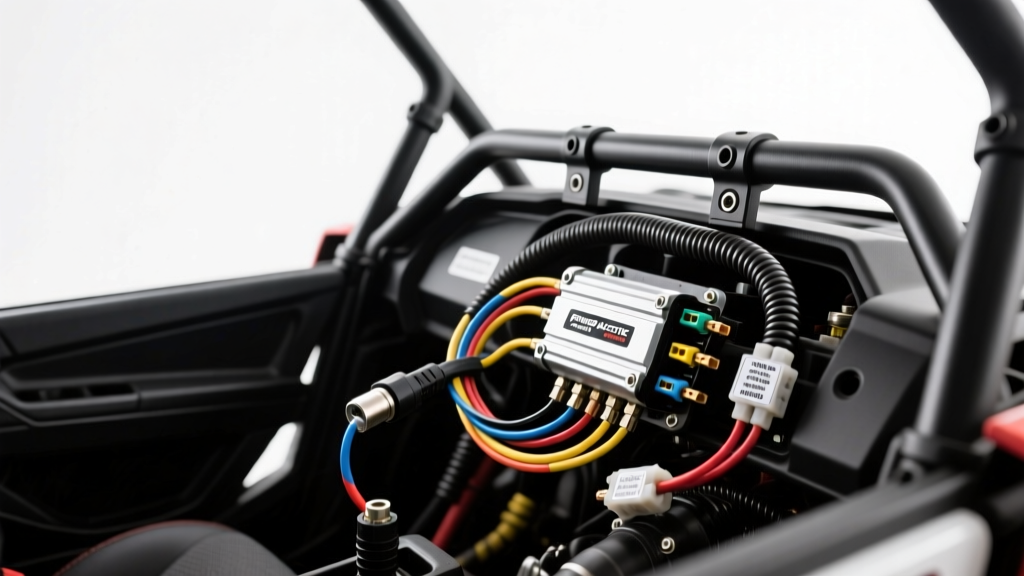
The Reality of UTV Audio Upgrades: Powering the RZR1-2500D
Upgrading a Polaris RZR, Can-Am Maverick, or Honda Talon with the Power Acoustik Razor RZR1-2500D monoblock amplifier is a massive leap in off-road audio performance. Capable of pushing 1500W RMS at 1 ohm, this Class D amplifier can drive high-excursion marine subwoofers to chest-thumping levels. However, integrating a high-current amplifier into a UTV requires a fundamental understanding of off-road electrical systems. Unlike a passenger vehicle with a 150-amp alternator, a UTV relies on a stator that typically generates between 500W and 900W (roughly 40 to 65 amps) at peak RPM. Attempting to wire the RZR1-2500D directly to a stock UTV battery without a comprehensive electrical upgrade will result in severe voltage drops, melted harnesses, and immediate amplifier thermal shutdown.
This guide provides the definitive Power Acoustik Razor RZR1 2500D wiring diagram, hardware specifications, and the mandatory electrical modifications required to safely run this amplifier in a marine and high-vibration off-road environment.
Power Acoustik Razor RZR1 2500D Wiring Diagram Overview
Because UTVs lack the enclosed, climate-controlled routing of a standard automobile, every connection must be treated as a marine-grade installation. The wiring diagram below maps the amplifier's terminal block to the appropriate sources, utilizing SAE J1128 and UL 1426 marine wire standards to prevent copper oxidation from mud, water, and dust intrusion.
| Terminal | Function | Wire Color | AWG Size | Source / Destination |
|---|---|---|---|---|
| B+ (Power) | Main 12V+ Input | Red (Tinned Copper) | 4 AWG | Secondary Battery Bus Bar (via 150A ANL Fuse) |
| GND (Ground) | Chassis Ground | Black (Tinned Copper) | 4 AWG | Chassis Roll Cage Node (Sanded to bare metal) |
| REM (Remote) | Turn-On Signal | Blue/White | 18 AWG | 12V Accessory Relay (Triggered by ignition) |
| RCA IN | Low-Level Audio | Shielded Coaxial | N/A | Marine Head Unit Pre-Outs (Routed away from power) |
| SPK OUT | Subwoofer Output | Grey / Purple | 12 AWG | Marine Subwoofer Voice Coils (1-ohm stable load) |
Wire Gauge, Fusing, and Hardware Specifications
The RZR1-2500D features high-mass set-screw terminals. In a UTV environment, constant vibration from corrugated trails and whoops will loosen standard crimped connections if not properly torqued and secured. Always use Oxygen-Free Copper (OFC) tinned marine wire. Copper-Clad Aluminum (CCA) wire is strictly prohibited for UTV applications due to its lower conductivity and high susceptibility to galvanic corrosion when exposed to moisture.
| Component | Specification | Installation Notes & Torque Specs |
|---|---|---|
| Main Power Wire | 1/0 AWG OFC Tinned (Battery to Bus Bar) | Use adhesive-lined heat shrink. Route through firewall grommets. |
| Amp Power Wire | 4 AWG OFC Tinned (Bus Bar to Amp) | Keep run under 3 feet to minimize voltage drop. |
| Main Battery Fuse | 200A Class T Fuse | Mount within 7 inches of the primary battery positive terminal. |
| Amp Inline Fuse | 150A ANL Fuse | Mount on the positive bus bar distribution block. |
| Terminal Lugs | Tinned Copper Ring Terminals | Hex-crimp only. Torque amp set-screws to 3.5 Nm (31 in-lbs). |
| Ground Point | Stainless Steel Bolts & Star Washers | Remove all paint/powder coat. Coat with dielectric grease post-tightening. |
Mandatory UTV Electrical Upgrades
You cannot run a 1500W RMS amplifier on a stock Polaris or Can-Am electrical system. At 14.4V, the RZR1-2500D will pull approximately 130 Amps at maximum output. A stock UTV stator produces roughly 65 Amps at high RPM, meaning you are operating at a massive 65-Amp deficit. To prevent the amplifier's internal protection circuit from triggering and to avoid draining your cranking battery, the following upgrades are mandatory:
1. Dual Battery Setup with Smart Isolator
Install a secondary deep-cycle AGM battery (such as those found in Odyssey Powersports Battery specifications) dedicated solely to the audio system. Use a smart Automatic Charging Relay (ACR) or a digital battery isolator. This ensures the audio system draws from the secondary battery when the engine is off, guaranteeing you always have enough cranking amps to start the UTV after a day at the dunes.
2. High-Output Stator Upgrade
For extreme audio builds, replace the stock stator with a high-output aftermarket unit (e.g., a 1000W+ stator from Trail Tech or Electrex). This narrows the gap between the UTV's power generation and the amplifier's current draw, reducing the depth of discharge on your secondary battery during long trail rides.
3. Marine Bus Bar Distribution
Do not daisy-chain power wires. Mount a pair of 150A rated, tin-plated copper bus bars (like Blue Sea Systems) in a dry, elevated location under the dash or in a sealed center console. Run 1/0 AWG from the batteries to the bus bars, and use 4 AWG from the bus bars to the RZR1-2500D. This centralizes fusing and makes troubleshooting significantly easier.
Step-by-Step Routing and Termination Protocol
The environment underneath a UTV hood and inside the center console is hostile. Mud, water, and extreme heat from the exhaust and engine block will destroy poorly routed wiring.
- Measure and Cut: Measure all wire runs with 10% extra length to account for suspension articulation and engine movement. Never pull wires taut.
- Hex Crimping: Strip the 4 AWG marine wire, insert it into a tinned ring terminal, and use a hydraulic hex-crimper. A hex crimp provides a gas-tight seal that prevents moisture from wicking up into the copper strands.
- Adhesive Heat Shrink: Apply 3M dual-wall adhesive heat shrink over every crimp. When heated, the inner wall melts and seals the connection against water and corrosion.
- Split Loom and Grommets: Encase all wiring passing through the firewall or near the engine bay in nylon split loom. Use rubber grommets wherever wire passes through sheet metal or the plastic firewall to prevent chafing and short circuits.
- Remote Turn-On Relay: UTV ignition switches often carry high resistance and voltage drops. Do not wire the REM terminal directly to a fuse tap. Instead, use a standard 12V 30A automotive relay. Trigger the relay coil with the UTV's 12V accessory port, and feed the relay's switched 12V output directly to the amp's REM terminal using 18 AWG wire.
Real-World Troubleshooting: Voltage Drop & Thermal Shutdown
Even with perfect wiring, UTV audio systems present unique troubleshooting scenarios. Refer to Power Acoustik Amplifier documentation for specific LED fault codes, but keep these off-road specific issues in mind:
Symptom: Amplifier Protect Light Flashes During Bass Hits
Cause: Voltage drop below 10V. The UTV stator cannot keep up with the current demand, and the secondary battery is depleted or undersized. Fix: Test voltage at the amp's B+ and GND terminals using a digital multimeter while playing heavy bass. If voltage drops below 11V, upgrade to a larger AGM battery, add a lithium-iron-phosphate (LiFePO4) audio buffer battery, or upgrade the stator.
Symptom: High-Pitched Alternator/Stator Whine in Subwoofer
Cause: Ground loop induced by the UTV's stator rectifier or routing RCA cables parallel to power wires. Fix: Ensure the amplifier ground and the head unit ground share the exact same chassis node or bus bar. Reroute RCA cables on the opposite side of the UTV's center console from the 4 AWG power wires. If the whine persists, install a ground loop isolator on the RCA lines, though this should be a last resort as it can degrade audio signal quality.
Symptom: Terminals Overheating and Melting Plastic Housing
Cause: Loose set-screws or stranded wire splaying outside the terminal block, causing high resistance and arcing. Fix: Cut back the damaged wire. Re-strip, re-crimp with a fresh tinned lug, and torque the set-screws precisely to 31 in-lbs. Apply a small amount of di-electric grease over the exposed screw threads to prevent rust seizing the connection.
Conclusion
Installing the Power Acoustik Razor RZR1-2500D in a UTV is not a simple plug-and-play weekend project; it is a comprehensive electrical system modification. By adhering to marine-grade wiring standards, utilizing proper bus bar distribution, and upgrading your UTV's stator and battery capacity, you can achieve massive, reliable off-road bass without stranding yourself on the trail with a dead battery.