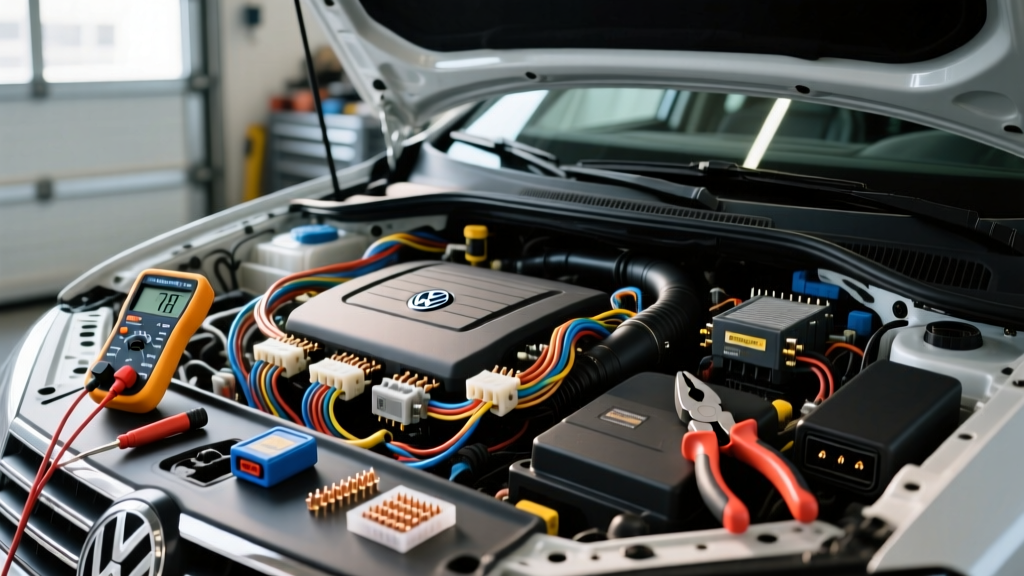
The Unique Nature of Volkswagen Jetta Electrical Problems
Diagnosing Volkswagen Jetta electrical problems requires more than a generic code reader and a roll of electrical tape. From the MK4 generation's infamous window regulator micro-switch failures to the MK5/MK6 Comfort Electronics Control Module (CECM) water intrusion, and the MK7's complex CAN-Bus architecture, VW wiring demands specialized diagnostic tools and OEM-specification repair kits. Standard automotive wiring practices often fail on Volkswagen vehicles due to their reliance on Pulse Width Modulation (PWM), LIN-Bus communication, and specific open-barrel crimp terminals. This guide compares and selects the exact diagnostic scanners, circuit testers, and VAG terminal repair kits required to permanently resolve these issues.
Selecting the Right Diagnostic Scanner for VAG CAN-Bus
Generic OBD2 scanners only read the Powertrain Control Module (PCM) and emissions-related data. However, the majority of Volkswagen Jetta electrical problems reside in the Comfort, Instrument Cluster, or Gateway modules. To properly troubleshoot, you must select a VAG-specific diagnostic tool capable of reading Advanced Measuring Value Blocks (MVBs) and performing output tests.
| Tool | Protocol Coverage | Best Use Case | Limitations |
|---|---|---|---|
| Ross-Tech VCDS | Full CAN-Bus, K-Line, UDS | Deep module coding, MVB graphing, and gateway fault isolation. | Requires a Windows laptop; higher initial cost. |
| OBDeleven | Full CAN-Bus, UDS, SFD (with token) | Quick module scans, adaptations, and mobile-based output tests. | Subscription/credit model for advanced 'Pro' features. |
| Generic OBD2 (e.g., Foxwell) | EOBD/OBD2 Powertrain only | Basic engine misfires and emissions sensor checks. | Cannot access CECM, steering angle, or BCM faults. |
According to Ross-Tech VCDS Documentation, utilizing VCDS allows technicians to monitor the CAN-Bus communication status in real-time. If a Jetta MK6 exhibits battery drain, the CAN-Bus diagnostics will reveal which specific module (e.g., the Bluetooth or Sirius satellite module) is failing to enter sleep mode, keeping the Gateway awake.
Multimeters vs. Circuit Testers: Reading VW PWM and LIN-Bus
When tracing Volkswagen Jetta electrical problems related to the cooling fan module or alternator, you are rarely dealing with simple 12V DC circuits. VW uses PWM signals to control the radiator cooling fan and LIN-Bus (Local Interconnect Network) to communicate with the alternator's voltage regulator.
Fluke 87V Digital Multimeter
For diagnosing VW PWM signals, a high-impedance multimeter with a duty cycle function is mandatory. The Fluke 87V is the industry standard. When testing the cooling fan control wire (typically a thin Green/White or Brown/White wire depending on the Jetta year), you must measure the duty cycle percentage rather than raw voltage. A 10% duty cycle commands the fan to low speed, while 90% commands high speed. Standard test lights will pierce the wire and cause a short to ground, instantly frying the J293 Fan Control Module.
Power Probe IV Circuit Tester
While excellent for checking grounds and supplying power to window regulator motors, the Power Probe must be used with extreme caution on VW CAN-Bus lines. Injecting 12V into a CAN-High or CAN-Low wire will instantly destroy the module's transceiver chip. Reserve the Power Probe for high-current, non-network circuits like the MK4 Jetta's trunk latch solenoid or seat heater elements.
Wiring Repair Kits: VAG Terminals and Open-Barrel Crimps
The most critical mistake DIYers make when fixing Volkswagen Jetta electrical problems is using closed-barrel crimps, solder, or heat-shrink butt connectors on VW harnesses. Volkswagen utilizes TE Connectivity MQS (Micro Quadlok System) and JPT (Junior Power Timer) open-barrel terminals. Soldering CAN-Bus wires alters the impedance and capacitance of the twisted pair, leading to signal reflection and intermittent communication faults.
To properly repair a broken wire, you must use VAG Repair Wire Kits. These kits contain pre-crimped pigtail wires with the exact terminal ends required for VW connectors, adhering to SAE J1128 Low Tension Primary Cable Standards for automotive wiring.
Essential VAG Terminal Part Numbers
- 000 979 009 E: 0.5mm² (approx. 20 AWG) repair wire. Used for CAN-Bus lines, sensor signals, and module communication.
- 000 979 012 E: 1.0mm² (approx. 18 AWG) repair wire. Used for 5V reference lines, MAP sensors, and low-draw actuators.
- 000 979 025 E: 2.5mm² (approx. 14 AWG) repair wire. Used for fuel pump power, ignition coil feeds, and high-current grounds.
To crimp the opposite end of the repair wire to your vehicle's existing harness, you need an open-barrel crimping tool, such as the Titan 1148 or the OEM VAS 1978/11. These tools create the precise 'F' or 'B' crimp profile required to maintain wire pull-strength and electrical conductivity without damaging the terminal plating.
Case Study: MK5/MK6 Jetta CECM Water Intrusion Repair
One of the most pervasive Volkswagen Jetta electrical problems in the MK5 (2005-2010) and MK6 (2011-2014) generations is water intrusion into the Comfort Electronics Control Module (CECM), located under the driver's side dash near the cabin air filter housing. When the sunroof drains or cowl drains clog, water backs up, pools in the footwell, and wicks up into the CECM connectors via capillary action, causing severe green corrosion on the terminals.
CECM Connector Pinout and Wire Color Identification
When selecting a repair kit for a corroded CECM, you must identify the correct connector block and wire gauge. The CECM typically utilizes T10 (10-pin) and T17 (17-pin) connectors. Below is a reference for the critical CAN-Bus and power pins on the T10a and T10b connectors.
| Connector | Pin | Wire Color | Circuit / Function | Wire Gauge / Repair Kit |
|---|---|---|---|---|
| T10a (Black) | 2 | Orange / Black | CAN-High (Comfort) | 0.5mm² (000 979 009 E) |
| T10a (Black) | 3 | Orange / Brown | CAN-Low (Comfort) | 0.5mm² (000 979 009 E) |
| T10b (Brown) | 1 | Red / White | Terminal 30 (Constant 12V Battery) | 2.5mm² (000 979 025 E) |
| T10b (Brown) | 4 | Brown | Terminal 31 (Chassis Ground) | 2.5mm² (000 979 025 E) |
The Correct Repair Procedure
According to Bentley Publishers VW Jetta Service Manuals, simply cleaning the corrosion with electrical contact cleaner is a temporary fix. The copper wire beneath the insulation has often oxidized and turned black, increasing resistance. The proper repair involves:
- Cutting the harness back at least 3 inches from the connector to reach clean, unoxidized copper.
- Stripping the wires and using an open-barrel crimp tool to splice in the VAG repair pigtails.
- Sealing the splice with dual-wall heat shrink tubing containing an inner layer of polyamide adhesive to prevent future moisture wicking.
- Applying VW G 052 171 A2 (or equivalent dielectric silicone grease) directly into the new connector cavity before seating the terminal. This displaces oxygen and moisture, preventing future galvanic corrosion.
Conclusion
Solving Volkswagen Jetta electrical problems requires moving beyond generic automotive troubleshooting. By investing in VAG-specific diagnostic software like VCDS, utilizing high-impedance multimeters for PWM circuits, and strictly adhering to OEM open-barrel crimping standards with VAG repair wire kits, you can permanently resolve complex CAN-Bus faults and CECM water damage. Proper tool selection is the difference between a recurring electrical gremlin and a reliable, factory-specification repair.