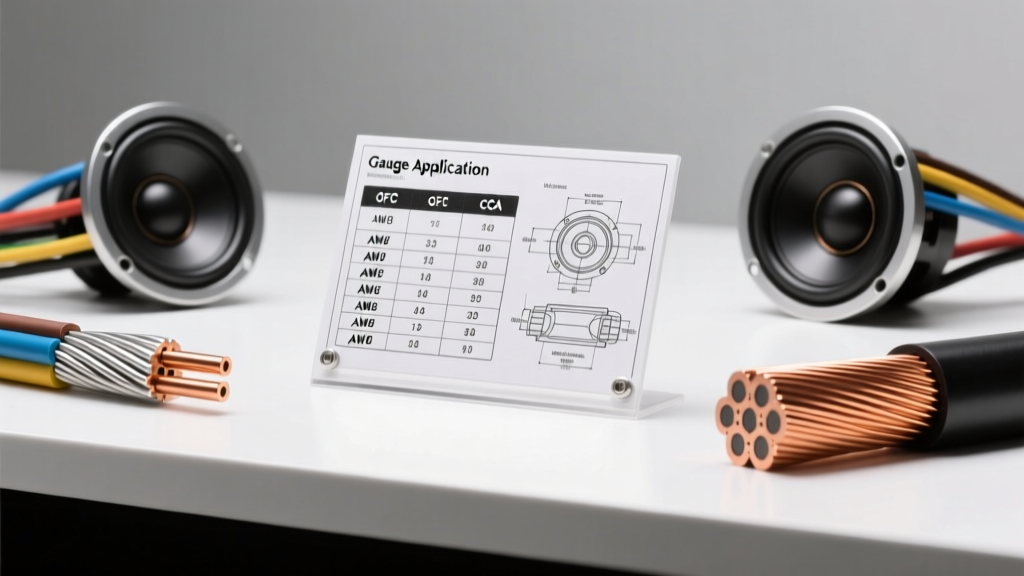
The Foundation of 12V Car Audio Wiring
Upgrading your vehicle's sound system is one of the most rewarding modifications you can make, but the success of your build hinges on the unseen foundation: your wiring. When beginners transition from home audio to car audio, they often underestimate the electrical demands of a 12-volt DC environment. In a standard home system operating at 120V AC, current draw is relatively low. In your car, the lower voltage means the system must pull significantly more amperage to deliver the same wattage to your speakers. This makes consulting a reliable speaker wire gauge table an absolute necessity before you start pulling panels.
Using wire that is too thin results in voltage drop, thermal compression, and a noticeable degradation in sound quality—specifically in the bass response and dynamic range. This guide breaks down the fundamentals of American Wire Gauge (AWG) sizing, material composition, and automotive-specific routing techniques to ensure your audio signal reaches your speakers with zero bottleneck.
Understanding AWG and the 12V DC Factor
The American Wire Gauge (AWG) system is counterintuitive for beginners: the smaller the numerical value, the thicker the wire. For example, 10 AWG wire is substantially thicker than 18 AWG wire. In automotive applications, we are dealing with 12V to 14.4V DC power. According to Ohm's Law (Current = Power / Voltage), a 100-watt home audio speaker at 120V draws less than 1 amp of current. That same 100-watt RMS car audio subwoofer operating at 2 ohms on a 12V system pulls over 8 amps continuously, with peak transient draws spiking much higher.
Because of this high current density, automotive speaker wire must be sized not just for the continuous RMS wattage, but for the peak dynamic transients and the physical length of the wire run from the amplifier to the speaker. According to Crutchfield's comprehensive car audio wiring guidelines, factoring in the total length of both the positive and negative conductors is critical for calculating true resistance.
The Master Speaker Wire Gauge Table
The following speaker wire gauge table is engineered for standard automotive 12V-14.4V DC systems using high-quality Oxygen-Free Copper (OFC) wire. Locate your amplifier's RMS wattage per channel and the approximate distance from the amp to the speaker to find your minimum required AWG.
| RMS Wattage (Per Channel) | Run Distance (Feet) | 4-Ohm Load (AWG) | 2-Ohm Load (AWG) | 1-Ohm Load (AWG) |
|---|---|---|---|---|
| 15W - 50W (Head Unit) | 1 - 10 ft | 18 AWG | 16 AWG | N/A |
| 50W - 100W | 1 - 15 ft | 16 AWG | 14 AWG | 12 AWG |
| 100W - 250W | 1 - 20 ft | 14 AWG | 12 AWG | 10 AWG |
| 250W - 500W | 1 - 20 ft | 12 AWG | 10 AWG | 8 AWG |
| 500W - 1000W+ | 1 - 25 ft | 10 AWG | 8 AWG | 4 AWG |
Note: Run distance refers to the one-way physical length of the wire from the amplifier to the speaker. If you are wiring a subwoofer in a rear trunk hatch, measure the path along the vehicle's frame, not a straight line through the cabin.
The OFC vs. CCA Trap: Why Your Wire Might Be Lying
When shopping for speaker wire, beginners frequently encounter Copper Clad Aluminum (CCA). CCA wire features an aluminum core with a thin copper coating. While it is cheaper and lighter than pure copper, aluminum is only about 61% as conductive as copper. This means a 12 AWG CCA wire will perform electrically closer to a 14 AWG or even 16 AWG OFC wire.
For high-fidelity car audio, Oxygen-Free Copper (OFC) is the only acceptable standard. OFC has been refined to remove oxygen and impurities, resulting in higher conductivity and superior resistance to corrosion. If you are forced to use CCA due to budget constraints, you must step up one to two full AWG sizes on the speaker wire gauge table above to compensate for the increased resistance and prevent thermal compression.
Automotive Routing: Door Jambs, Firewalls, and Grommets
Routing speaker wire in a vehicle presents unique mechanical challenges that do not exist in home audio. The most critical failure point in any car audio installation is the door jamb boot. Every time you open and close your door, the wire harness bends and flexes. Over time, rigid or overly thick wire will snap internally, causing intermittent audio cutouts.
Best Practices for Door Routing
- Flexibility over Size: For door speakers, limit your maximum wire size to 14 AWG or 16 AWG. Use high-strand-count OFC wire (e.g., 250+ strands for 16 AWG) which offers superior flexibility compared to solid core or low-strand alternatives.
- Protect the Grommet: Never pierce the factory rubber door boot with a screwdriver. Use a specialized wiring pull tool or a straightened coat hanger with a taped, smooth loop to pull the wire through the existing factory loom.
- Drip Loops: Before the wire enters the door panel, create a small 'drip loop' at the bottom of the door frame. This prevents condensation and rainwater from traveling down the wire and pooling inside your amplifier or head unit.
Termination and Connectors: Surviving Vehicular Vibration
A vehicle is a high-vibration environment. The traditional home-audio method of simply twisting bare wire and taping it is a recipe for disaster in a car. Vibration will loosen twisted connections, leading to arcing, short circuits, and blown amplifier channels.
Proper Termination Methods
- Adhesive-Lined Heat Shrink: When splicing or terminating, use marine-grade, adhesive-lined heat shrink tubing. When heated, the inner adhesive melts and seals the connection against moisture and oxidation, while the outer shell provides strain relief.
- Crimp vs. Solder: While soldering provides a great electrical bond, soldered joints can become brittle and crack under constant automotive vibration. The industry standard—supported by SAE J1128 guidelines for automotive low-tension cable—is to use a high-quality ratcheting crimp tool with open-barrel or nylon-insulated butt connectors, followed by heat shrink. If you solder, always pair it with a mechanical crimp for strain relief.
- Spade and Quick Disconnects: For aftermarket speakers with push-tab terminals, use fully insulated female quick-disconnect terminals. Match the terminal color to your wire gauge: Red for 22-18 AWG, Blue for 16-14 AWG, and Yellow for 12-10 AWG.
Troubleshooting Common Wire-Related Audio Issues
Even with the correct speaker wire gauge table at your disposal, installation errors can cause symptoms that mimic blown speakers or failing amplifiers. Here is how to diagnose wire-related faults:
Symptom: Bass Sounds Weak or 'Anemic' at High Volumes
Cause: Thermal Compression and Voltage Drop. If your wire is too thin, it acts as a resistor. As the amplifier pushes high current during heavy bass notes, the thin wire heats up, increasing its resistance further. This robs the speaker of power exactly when it needs it most. Fix: Verify your wire is true OFC and matches the AWG requirements for your specific RMS load. Upgrade to a lower AWG (thicker wire).
Symptom: Intermittent Audio Cutout in One Door
Cause: Fatigued copper strands inside the door jamb boot, or a loose quick-disconnect terminal vibrating off the speaker magnet. Fix: Perform a continuity test with a digital multimeter from the amplifier terminal to the speaker terminal while physically moving the door harness. Re-terminate the connections using adhesive-lined crimps and ensure the quick-disconnects are squeezed tightly with pliers for a friction-fit.
Symptom: Alternator Whine Pitching with Engine RPM
Cause: While usually a grounding or RCA issue, speaker wires routed too closely to the vehicle's main power harness or ignition coils can pick up electromagnetic interference (EMI), especially if the speaker wire lacks a tight twisted-pair geometry. Fix: Ensure speaker wires are routed on the opposite side of the vehicle's center console from the high-current 12V power cables. If they must cross, ensure they cross at a strict 90-degree angle to minimize inductive coupling.
Final Thoughts for Beginners
Building a reliable car audio system requires respecting the physics of 12V DC electricity. By utilizing this speaker wire gauge table, investing in high-strand OFC materials, and adhering to automotive-grade termination standards, you ensure that your amplifier's power is delivered cleanly and efficiently. For further reading on advanced impedance matching and dual-voice-coil wiring configurations, consult the KnuKonceptz Car Audio Wire Guide to expand your electrical fundamentals.