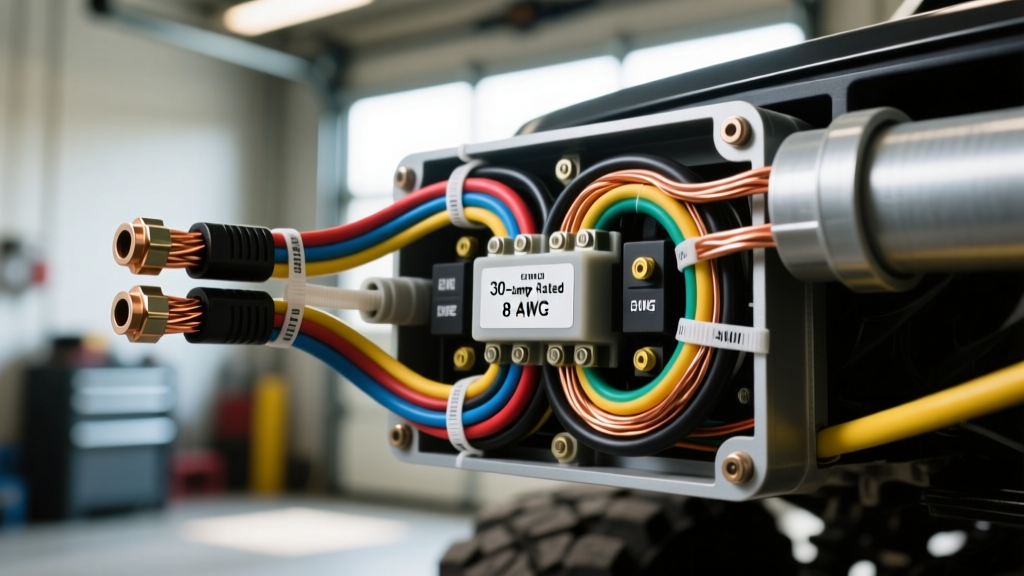
The 30-Amp Sweet Spot for Vehicle Modifications
When upgrading your 4x4 or overland rig with high-draw accessories, the electrical system takes on a massive new load. Whether you are installing a heavy-duty onboard air compressor like the ARB Twin, a 50-inch curved LED light bar, or a dual-battery isolator solenoid, these components frequently demand a dedicated 30-amp circuit. But what wire gauge for 30 amps is actually required to keep your rig running safely and efficiently? Choosing the wrong wire size doesn't just result in dim lights or slow compressor spool-up; it can lead to melted insulation, voltage starvation, and catastrophic electrical fires under the hood or inside the cabin.
Automotive electrical environments are uniquely hostile. Unlike household wiring hidden behind drywall, vehicle wiring must withstand extreme under-hood temperatures (often exceeding 120°C near the exhaust manifold), constant high-frequency vibration, and exposure to water, salt, and road grime. This guide breaks down the exact engineering specifications, voltage drop calculations, and termination methods required to build a bulletproof 30-amp modification circuit for your vehicle.
The Direct Answer: Sizing Wire for a 30A Draw
If you are asking what wire gauge for 30 amps is the industry standard, the short answer is 10 AWG (American Wire Gauge). However, in automotive applications, we do not use standard building wire. We must adhere to the SAE J1128 standard, which dictates the physical and electrical properties of automotive primary cable.
A standard 10 AWG SAE J1128 wire features a cross-sectional area of roughly 5.0 square millimeters and is constructed from bare, stranded copper. While the National Electrical Code (NEC) might rate 10 AWG building wire for 30 amps in a static environment, automotive wire must account for higher ambient temperatures and bundled harness restrictions. For a standard 30-amp continuous draw, 10 AWG SXL or GXL automotive wire is perfectly rated, provided the total circuit length (positive and negative combined) remains within acceptable voltage drop limits.
Strand Count and Flexibility
Not all 10 AWG wire is created equal. Standard automotive 10 AWG wire typically contains 19 strands of 0.57mm copper. For off-road modifications subject to severe vibration—such as a compressor mounted to the chassis rail or a winch solenoid wired near the bumper—you should opt for high-flex 10 AWG wire. High-flex variants use 49 to 105+ ultra-fine copper strands. This increased strand count dramatically improves fatigue resistance, preventing the internal copper from fracturing over thousands of miles of washboard dirt roads.
Voltage Drop: The Hidden Killer of 30A Accessories
Determining what wire gauge for 30 amps you need is only half the battle; the other half is calculating voltage drop. DC circuits are highly sensitive to resistance over distance. A 12V motor (like an air compressor or fuel pump) requires at least 11.5V at the terminal to operate at its rated efficiency. If voltage drops below this threshold, the motor draws excess amperage to compensate, leading to overheating and premature failure.
The formula for voltage drop is: VD = (2 x Length x Current x Resistance per 1000ft) / 1000. Because 10 AWG copper has a resistance of approximately 1.018 ohms per 1,000 feet at 20°C, longer runs to the rear of a long-bed truck or a Wrangler Unlimited will require upsizing to 8 AWG.
| Wire Gauge (SAE) | One-Way Run Distance | Total Circuit Length | Voltage Drop at 30A | Voltage at Accessory |
|---|---|---|---|---|
| 10 AWG | 5 Feet | 10 Feet | 0.30V | 12.30V (Excellent) |
| 10 AWG | 10 Feet | 20 Feet | 0.61V | 12.00V (Good) |
| 10 AWG | 15 Feet | 30 Feet | 0.91V | 11.70V (Marginal) |
| 10 AWG | 20 Feet | 40 Feet | 1.22V | 11.38V (Poor - Upsize) |
| 8 AWG | 20 Feet | 40 Feet | 0.76V | 11.84V (Excellent) |
As shown in the chart, if you are routing a 30-amp circuit from the engine bay battery to a rear-mounted air chuck or auxiliary lighting relay, 10 AWG will result in unacceptable voltage loss. In these scenarios, you must upgrade to 8 AWG SXL to maintain optimal performance.
Choosing the Right Insulation for Under-Hook Mods
When sourcing your 10 AWG or 8 AWG wire, pay strict attention to the insulation jacket. Standard PVC wire (like THHN used in homes) will melt if routed near an exhaust header or turbocharger. You must use Cross-Linked Polyethylene (XLPE) insulated automotive wire. According to the MAD Enterprises Wiring Guide, there are three primary grades of XLPE wire:
- SXL (Standard Wall): Thickest insulation, highly resistant to abrasion and heat. Best for chassis routing where the wire might rub against metal brackets.
- GXL (General/Thin Wall): The most common choice for modern OEM harnesses and aftermarket mods. It offers a great balance of heat resistance (up to 125°C) and flexibility while saving space in tight looms.
- TXL (Extra Thin Wall): Used when weight and space are at an absolute premium, though slightly more susceptible to physical abrasion during installation.
Relay Wiring: The Bosch ISO 5-Pin Standard
Never run a 30-amp load directly through a dashboard toggle switch. The switch will melt, and the cabin wiring will catch fire. Instead, use a heavy-duty relay. The industry standard for automotive modifications is the Bosch ISO 5-pin relay (often referred to as a standard 5-pin cube relay). Here is the exact pinout and wire color coding for a professional 30A installation:
- Pin 30 (Common Input): 10 AWG Red wire from the battery positive terminal, protected by a 30A fuse.
- Pin 87 (Normally Open Output): 10 AWG Red wire running from the relay to the accessory's positive terminal.
- Pin 86 (Coil Positive / Trigger): 18 AWG wire from a low-current dashboard switch (switched 12V ignition or manual trigger).
- Pin 85 (Coil Negative / Ground): 18 AWG Black wire to a clean, bare-metal chassis ground.
- Pin 87a (Normally Closed): Unused in standard accessory wiring; tape off or cut flush.
Termination and Overcurrent Protection
A 30-amp circuit is only as strong as its weakest termination point. Crimping 10 AWG wire requires a dedicated ratcheting crimping tool designed for non-insulated or nylon-insulated terminals. Do not use pliers; an improper crimp will introduce high resistance, generating massive heat under a 30A load.
The Adhesive Heat Shrink Mandate
Standard vinyl electrical tape or thin-wall heat shrink will eventually fail in an automotive environment, allowing capillary action to draw moisture into the copper strands, leading to green corrosion and strand failure. You must use dual-wall, adhesive-lined heat shrink. When heated, the inner lining melts and seals the crimp barrel completely, making the termination 100% waterproof.
Fuse Placement and Sizing
For overcurrent protection, Blue Sea Systems Circuit Protection guidelines dictate that the main overcurrent device (fuse or breaker) must be placed as close to the power source as possible—ideally within 7 to 18 inches of the battery positive terminal. For a 30A continuous draw, a 35A or 40A Maxi fuse or ANL fuse is appropriate if the wire is 8 AWG. If you are strictly using 10 AWG wire, a 30A ATO/ATC blade fuse or a 30A MIDI/AME fuse is required to protect the wire from exceeding its thermal limits in the event of a dead short.
Troubleshooting 30A Circuit Failures
If your newly installed 30-amp modification keeps tripping the breaker or blowing fuses, do not simply install a larger fuse. This is a guaranteed way to start an electrical fire. Instead, follow this diagnostic decision tree:
- Symptom: Fuse blows instantly upon activation.
Cause: Dead short to ground. Check Pin 87 output wire for pinched insulation against the firewall, chassis, or sharp metal brackets. Verify the accessory internal motor hasn't seized. - Symptom: Fuse blows after 3–5 minutes of operation.
Cause: Thermal overload due to voltage drop or poor grounding. Check the ground connection. A poor ground forces the motor to draw excess amperage. Scrape away paint and clear-coat at the ground ring terminal, apply dielectric grease, and torque the M8 ground bolt to 10-12 Nm. - Symptom: Accessory operates slowly or compressor thermal-cutoff trips.
Cause: Severe voltage drop. Use a multimeter to measure voltage directly at the accessory terminals while under load. If it reads below 11.5V, your wire run is too long for 10 AWG, or your crimp connections have high resistance. Re-terminate and consider upsizing to 8 AWG.
By adhering to SAE standards, calculating voltage drop accurately, and utilizing professional-grade terminations, your 30-amp off-road modifications will provide years of reliable, fire-free service in the harshest environments.