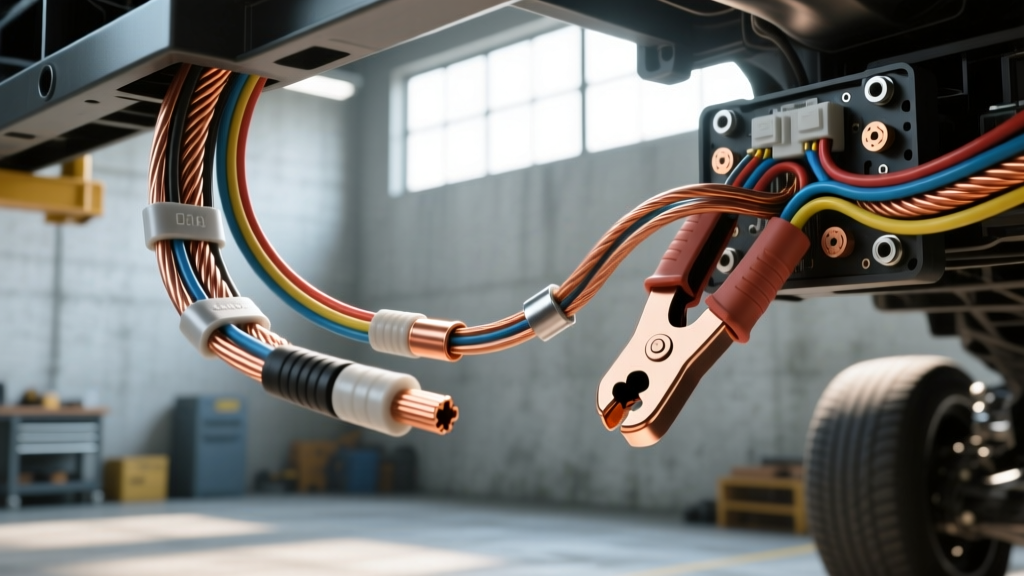
The '02 Gauge' Naming Confusion: 2 AWG vs. 2/0 AWG
When sourcing heavy-duty automotive cable for high-current applications, the search term 02 gauge wire frequently leads to a critical naming confusion between 2 AWG and 2/0 AWG (double-aught). In the automotive aftermarket, laymen often type '02 gauge' when they actually need 2/0 AWG for extreme amperage loads like heavy-duty winches, EV battery banks, or high-output alternator upgrades. True 2 AWG wire has a cross-sectional area of 33.6 mm² and is rated for roughly 150-190 amps depending on insulation type and chassis routing. Conversely, 2/0 AWG measures 67.4 mm² and safely handles 225-300 amps. Understanding this distinction is the first step in accurately budgeting your high-current electrical project, as the cost, tooling, and hardware requirements scale exponentially between the two sizes.
Material Cost Analysis: Pure Copper (OFC) vs. Copper-Clad Aluminum (CCA)
The most significant variable in your 02 gauge wire budget is the conductor metallurgy. The market is flooded with Copper-Clad Aluminum (CCA) wire, which is significantly cheaper but introduces severe long-term reliability risks in high-vibration automotive environments. Oxygen-Free Copper (OFC) remains the gold standard for SAE J1128 compliance and long-term conductivity.
| Material Type | Cost Per Foot (Est.) | Weight (lbs/100ft) | Ampacity (Chassis) | Voltage Drop (12V @ 150A / 10ft) |
|---|---|---|---|---|
| Pure Copper (OFC) 2 AWG | $1.80 - $2.60 | 20.5 lbs | 190A | 0.24V (2.0%) |
| CCA 2 AWG | $0.55 - $0.85 | 8.2 lbs | 120A (Derated) | 0.39V (3.25%) |
| Pure Copper (OFC) 2/0 AWG | $3.50 - $4.80 | 41.0 lbs | 275A | 0.12V (1.0%) |
Note: Ampacity ratings vary based on insulation temperature ratings (e.g., 105°C vs 125°C) and bundling. Always consult the Blue Sea Systems Circuit Sizing Guide for marine and automotive DC derating charts.
The Hidden Cost of CCA Failure
While CCA saves roughly $1.50 per foot upfront, it is highly susceptible to galvanic corrosion and work-hardening. When CCA wire is subjected to engine bay vibration, the aluminum core becomes brittle and frequently snaps inside the crimp collar. This creates a high-resistance joint that generates immense heat, potentially melting the terminal block or causing an electrical fire. For critical circuits like starter motors, alternator charging lines, or inverter feeds, the cost of replacing a failed CCA cable (including tow fees and stranded time) far outweighs the initial savings. Always demand OFC or tinned marine-grade copper for permanent vehicle installations.
Hidden Hardware Costs: Lugs, Terminals, and Adhesives
Working with 02 gauge wire requires heavy-duty termination hardware. Standard stamped-metal battery clamps will not physically fit over the bare strands of a 2 AWG or 2/0 AWG cable. You must budget for heavy-wall, pure copper lugs and specialized sealing materials.
- Heavy-Wall Copper Lugs (2 AWG to 3/8' Ring): Typically $1.20 to $2.50 per piece. You will need a minimum of four for a basic dual-battery or winch setup (two for the positive, two for the chassis ground).
- Adhesive-Lined Heat Shrink (3:1 Ratio): Standard 2:1 heat shrink will not seal properly over the thick insulation of 2 AWG wire. You must use 3:1 ratio, polyamide-lined heat shrink (typically 3/4' or 19mm diameter) to ensure a waterproof seal that prevents capillary action from wicking moisture under the insulation. Budget $0.80 to $1.50 per piece.
- ANL Fuses and Holders: Any 2 AWG positive feed originating directly from a battery must be protected within 18 inches of the terminal. A 200A-300A ANL fuse and a high-amperage holder will add $35.00 to $60.00 to your total project cost.
Mandatory Tool Requirements for 2 AWG and 2/0 AWG
You cannot safely terminate 02 gauge wire with standard automotive hand tools. The sheer cross-sectional area of the copper requires immense mechanical force to achieve a proper 'cold weld' deformation inside the lug barrel. Attempting to crush these lugs with pliers or a hammer results in a loose connection that will arc under high inductive loads.
The Heavy-Duty Termination Toolkit
| Tool Category | Specification Required | Est. Cost | Why It Is Mandatory |
|---|---|---|---|
| Hydraulic Crimper | 6-Ton to 12-Ton with Hex Dies | $60.00 - $150.00 | Hex dies compress the copper lug evenly around the wire strands without cutting or deforming the outer edges, ensuring maximum surface contact and structural integrity. |
| Cable Cutters | Ratcheting Heavy-Duty (up to 70mm²) | $45.00 - $85.00 | Standard diagonal cutters will crush the 2 AWG strands, ruining the geometry needed to slide the wire into the lug barrel. |
| Wire Strippers | Rotary or Score-and-Pull Method | $30.00 - $60.00 | Scoring the thick PVC/XLPE insulation and pulling it off prevents nicking the outer copper strands, which reduces overall ampacity. |
| Heat Gun | Industrial Variable Temp (up to 800°F) | $35.00 - $70.00 | Required to properly melt the polyamide adhesive inside the 3:1 heat shrink. Lighters or hair dryers will burn the shrink before the adhesive activates. |
For authoritative specifications on wire gauge dimensions and resistance metrics, reference the Engineering Toolbox AWG Specifications to verify your die sizes against the exact millimeter diameter of your specific wire brand.
Real-World Application: High-Output Alternator & Winch Wiring
When upgrading to a high-output alternator (e.g., Mechman or Power Bastards 250A+ units) or installing a 12,000 lb winch, the factory 4 AWG or 6 AWG wiring will bottleneck the system, causing severe voltage drop and component burnout. Upgrading the main charge line and ground to 02 gauge wire (specifically 2 AWG for most 250A setups, or 2/0 AWG for 300A+ setups) is mandatory.
Routing and Torque Specifications
Routing thick 2 AWG wire through the firewall or along the chassis requires careful planning to avoid sharp edges. Always use split-loom tubing or braided sleeving where the wire passes through sheet metal. When terminating the ground lug to the chassis, you must sand away all paint, powder coat, and rust down to bare metal. Apply a layer of dielectric grease over the bare metal after torquing the bolt to prevent oxidation.
Standard Torque Specs for Battery and Lug Terminals:
- M8 (5/16') Hardware: 9 - 11 Nm (80 - 100 in-lbs)
- M10 (3/8') Hardware: 12 - 15 Nm (105 - 130 in-lbs)
- Top-Post Battery Lead Clamps: 7 - 9 Nm (60 - 80 in-lbs)
Expert Troubleshooting: Voltage Drop & Termination Failures
Even with the correct 02 gauge wire, poor termination practices will mimic the symptoms of an undersized wire. If your winch bogs down under load or your high-output alternator is failing to charge above 13.8V, perform a voltage drop test.
- Set your multimeter to DC Volts.
- Apply a heavy load (e.g., engage the winch or turn on all high-draw accessories).
- Place the red probe on the alternator output post and the black probe on the battery positive post. A reading above 0.2V indicates excessive resistance in the positive cable or a failing crimp.
- Repeat on the ground side: Place the red probe on the battery negative post and the black probe on the alternator casing. A reading above 0.1V indicates a poor chassis ground or corroded engine block ground strap.
If voltage drop is localized exactly at the crimp collar (measured by placing probes on either side of the lug barrel), the crimp was improperly executed. The hex die was likely the wrong size, or the wire strands were not fully seated in the lug barrel before crimping. Cut the terminal off, strip back to fresh copper, and re-terminate using the correct hydraulic die. Adhering to the SAE J1128 Battery Cable Standard ensures your high-amperage automotive circuits remain safe, efficient, and reliable for the life of the vehicle.