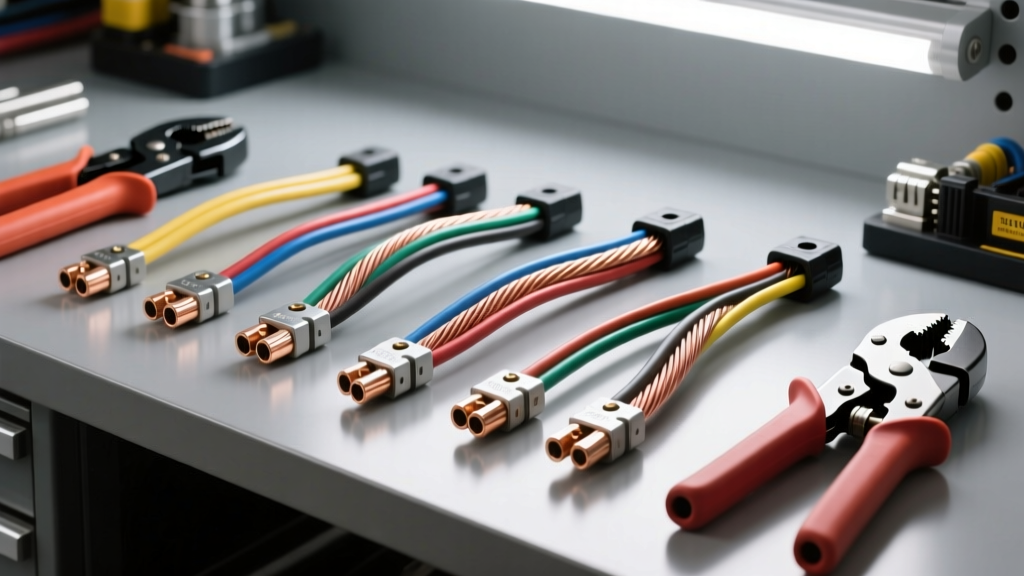
Introduction to 6 AWG in High-Current Automotive Systems
When automotive electrical demands exceed the capabilities of standard 10 or 8 AWG circuits, 6 gauge wire (6 AWG) becomes the critical threshold for safe, high-current power delivery. Capable of handling between 75 and 105 amps continuously—depending on insulation type, ambient temperature, and bundling—6 AWG is the standard for high-output alternator upgrades, heavy-duty winch solenoids, EV DC-DC converters, and marine battery interconnects. However, stepping up to 6 AWG introduces significant variables in material costs and tooling requirements. Standard hardware store crimpers and basic PVC wires will fail under the vibration and thermal cycling of an engine bay. This guide provides a comprehensive cost and tool requirements analysis for professionals and advanced DIYers working with 6 gauge automotive wire.
Material Cost Analysis: Conductor and Insulation Variables
The cost of 6 AWG wire fluctuates based on the base metal, stranding count, and insulation chemistry. A common mistake in high-current builds is substituting pure copper with Copper-Clad Aluminum (CCA) to save money. While CCA 6 AWG wire may cost 40-50% less than pure copper, it possesses roughly 40% higher electrical resistance and is highly susceptible to galvanic corrosion and mechanical fatigue under hood vibration. According to SAE J1128 standards, automotive wire must withstand extreme thermal and chemical exposure, a benchmark CCA consistently fails to meet in high-amperage applications.
Insulation type is the second major cost driver. Standard THHN or PVC wire is cheap but melts easily against exhaust manifolds. Automotive-grade cross-linked polyethylene (XLPE) insulations—specifically TXL, GXL, and SXL—are mandatory for engine bays. TXL (Thin-wall) offers the best flexibility and space-saving profile, while SXL (Special/Thick-wall) provides maximum abrasion resistance.
6 AWG Wire Material & Insulation Cost Breakdown
| Wire Type | Conductor Material | Insulation | Temp Rating | Approx. Cost (per ft) | Best Application |
|---|---|---|---|---|---|
| Standard Battery Cable | Pure Copper (259 strands) | PVC | 105°C | $1.80 - $2.20 | Trunk-mounted audio, marine battery banks |
| TXL Automotive Wire | Pure Copper (273 strands) | Cross-Linked (Thin) | 125°C | $2.50 - $3.10 | Alternator upgrades, tight firewall routing |
| GXL Automotive Wire | Pure Copper | Cross-Linked (General) | 125°C | $2.20 - $2.70 | General high-current engine bay wiring |
| CCA Welding Cable | Copper-Clad Aluminum | EPDM Rubber | 105°C | $0.90 - $1.30 | NOT RECOMMENDED for under-hood use |
| Tinned Marine Cable | Tinned Pure Copper | PVC / XLPE | 105°C - 125°C | $3.50 - $4.50 | Off-road, marine, high-corrosion environments |
The Hidden Costs of Inadequate Tooling
Terminating 6 gauge wire requires generating enough mechanical force to cold-weld the copper strands to the terminal barrel. A standard pair of channel-lock pliers or a budget $20 non-ratcheting crimper will leave voids inside the crimp barrel. These voids create high-resistance hot spots that will melt the terminal and cause a catastrophic electrical fire when pulling 80+ amps. To properly terminate 6 AWG, you must invest in specialized heavy-duty tooling. The initial tooling cost is a barrier for one-off projects, but it is non-negotiable for safe, reliable connections.
Mandatory Tooling Specification Chart for 6 AWG
| Tool Category | Recommended Type | Estimated Cost | Technical Justification |
|---|---|---|---|
| Wire Cutter | Heavy-Duty Ratcheting Cable Cutter | $45 - $85 | Standard diagonal cutters will chip and deform 6 AWG strands, making insertion into ring terminals impossible. |
| Wire Stripper | Adjustable Step-Blade or Large-Gauge Stripper | $30 - $60 | Prevents nicking the outer copper strands, which reduces the overall ampacity and creates a structural weak point. |
| Crimper (Manual) | Heavy Ratcheting Crimper (Hex or Indent) | $60 - $120 | Ratcheting mechanism ensures the crimp cycle is fully completed before releasing, providing consistent compression. |
| Crimper (Hydraulic) | 6-Ton Hydraulic Hand Crimper | $90 - $150 | Required for high-volume work or when using heavy-duty tubular ring terminals. Provides flawless cold-weld compression. |
| Heat Gun | Adjustable Temp Heat Gun (Dual-Wall Shrink) | $35 - $60 | Required to properly melt the internal adhesive of marine-grade heat shrink without scorching the XLPE insulation. |
Application Case Study: 200-Amp Alternator Upgrade
Upgrading from a factory 105-amp alternator to a 200-amp high-output unit (common in GM LS swaps, Ford Powerstroke towing builds, and off-road vehicles) requires replacing the factory charge wire with 6 AWG TXL. The factory 8 AWG or 10 AWG wire will experience severe voltage drop and thermal runaway at 150+ amps of continuous output.
Step-by-Step Termination & Routing Protocol
- Measurement and Cutting: Measure the route from the alternator B+ post to the main battery positive terminal or distribution busbar. Add 6 inches for service loops and error. Cut the 6 AWG TXL using a ratcheting cutter to ensure a perfectly square end.
- Stripping: Strip exactly 5/8-inch of insulation. If the strands flare out, gently twist them to maintain a tight bundle, but do not over-twist, as this can work-harden the copper and cause brittleness.
- Terminal Selection: Select a tinned copper, adhesive-lined ring terminal sized for 6 AWG with a 5/16-inch (M8) stud hole (standard for most GM and Ford alternator B+ posts). Reference TE Connectivity automotive terminal specifications for exact barrel dimensions.
- Crimping: Insert the wire until the strands are flush with the inspection window of the terminal. Use a hex-crimp die (typically the yellow die for 16mm² / 6 AWG) on your ratcheting or hydraulic crimper. The hex crimp provides superior pull-out strength and environmental sealing compared to an indent crimp.
- Weatherproofing: Slide a piece of 3/8-inch dual-wall (adhesive-lined) polyolefin heat shrink over the terminal barrel. Heat evenly from the middle outward until the internal adhesive purges slightly from the edges. This creates a watertight seal against battery acid and road salt.
- Torque Specification: Secure the ring terminal to the alternator B+ post using a stainless steel flange nut. Torque to 9-11 Nm (80-97 lb-in). Overtorquing can strip the alternator casing threads or snap the internal rectifier diode stud.
Voltage Drop and Bundling Considerations
Even with pure copper 6 AWG wire, distance dictates performance. At 20°C, 6 AWG copper has a resistance of approximately 0.3951 ohms per 1,000 feet. In a 12-volt automotive system, the industry standard is to limit voltage drop to 3% (0.36 volts) for critical charging circuits. If your 6 AWG charge wire run exceeds 8 feet (16 feet round-trip to ground), you must upgrade to 4 AWG to maintain the alternator's voltage regulator accuracy. Furthermore, Pacer Group technical resources note that bundling multiple high-current wires together reduces their ability to dissipate heat, effectively lowering their ampacity rating by up to 15%. Always route 6 AWG power wires independently from sensitive ECU data lines and CAN-bus wiring to prevent electromagnetic interference (EMI).
Summary of Best Practices
Working with 6 gauge wire bridges the gap between standard automotive electronics and heavy-duty power distribution. By budgeting for high-strand-count pure copper TXL wire and investing in a proper ratcheting or hydraulic crimping ecosystem, you ensure that high-current upgrades—whether for winches, audio, or high-output alternators—operate safely and efficiently. Never compromise on termination quality; a $4,000 winch or a $400 alternator is only as reliable as the $2 crimp connecting it to the battery.