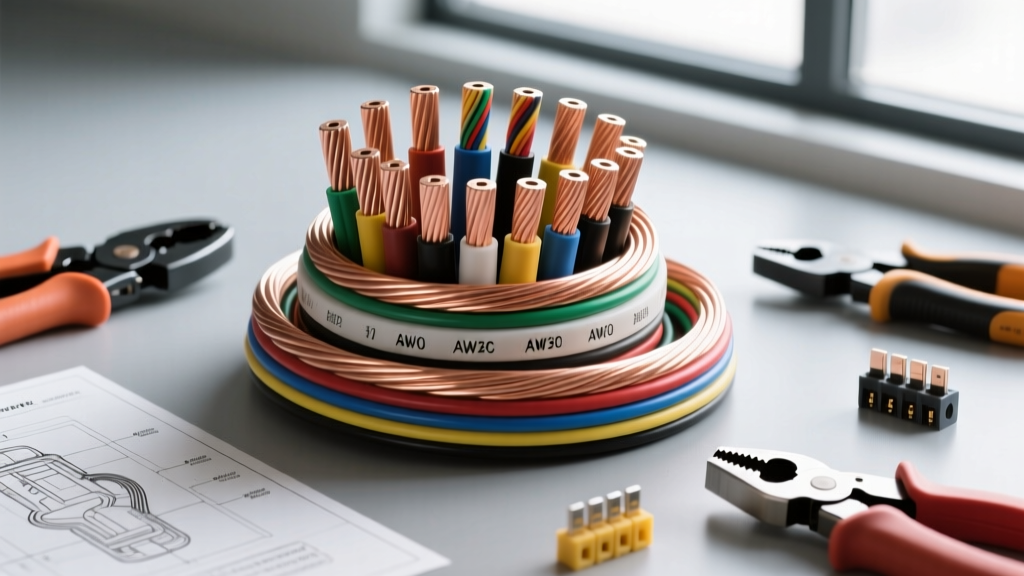
Strategic Planning with a Car Audio Wire Gauge Chart
When planning a high-output car audio build, referencing a precise car audio wire gauge chart is the first step in preventing voltage drop, thermal runaway, and severe budget overruns. Many enthusiasts focus entirely on amplifier RMS ratings and subwoofer excursion, only to realize midway through the installation that their power delivery infrastructure is inadequate. The right gauge dictates not only the electrical safety of your vehicle but also the specific tooling, termination hardware, and routing strategies required for the job. This guide breaks down the true cost of ownership and the specialized tool requirements associated with each tier of automotive audio wiring, ensuring your build is both electrically sound and financially predictable.
The Comprehensive Car Audio Wire Gauge Chart & Cost Matrix
The following matrix assumes the use of true Oxygen-Free Copper (OFC) wire. Beware of Copper-Clad Aluminum (CCA) wire, which is often deceptively marketed using the same AWG numbers but possesses up to 40% higher resistance. A 4 AWG CCA wire performs electrically like a 6 AWG OFC wire, which will cause a massive 0.8V drop over a 15-foot run at 80A, triggering your amplifier's under-voltage protection circuit during heavy bass transients.
| AWG Size | Max Current (OFC) | Typical Application | Est. Cost (20ft OFC) | Terminal Ring Size | Required Crimping Tool |
|---|---|---|---|---|---|
| 1/0 AWG | 150A - 200A | Main battery feed for 2000W+ systems | $90 - $120 | 5/16' or 3/8' | 6-Ton Hydraulic Crimper |
| 4 AWG | 80A - 120A | Main feed for 500W-1500W class D amps | $45 - $65 | 5/16' or #10 | Heavy-Duty Ratchet or Hydraulic |
| 8 AWG | 40A - 60A | Secondary amps, DSPs, or mid-range builds | $25 - $35 | #10 or #8 | Standard Ratchet Crimper |
| 12 AWG | 20A - 25A | Small 4-channel amps, powered subwoofers | $12 - $18 | #10 or #8 | Standard Ratchet Crimper |
| 16 AWG | 10A - 15A | Speaker wire for high-power components | $8 - $12 | N/A (Spade/Pin) | Wire Stripper/Crimper Combo |
| 18 AWG | 5A - 8A | Remote turn-on, signal wiring, LED lighting | $5 - $8 | N/A (Spade/Pin) | Wire Stripper/Crimper Combo |
Tool Requirements by Wire Gauge
Upgrading your wire gauge exponentially increases the mechanical force required to terminate the connections properly. A poor crimp introduces milliohms of resistance, which translates directly into heat. At 100A of continuous current draw, a loose 4 AWG ring terminal will melt the PVC insulation and potentially ignite the surrounding carpet or trunk lining.
1/0 AWG and 4 AWG: High-Current Tooling
For 1/0 AWG and 4 AWG power and ground runs, standard hand-crimping tools are entirely insufficient. You must achieve a cold-weld deformation that eliminates all air pockets between the copper strands and the terminal barrel.
- Crimping: Invest in a 6-ton hydraulic crimper with hexagonal dies. Hex crimping applies uniform radial pressure, ensuring a gas-tight seal that prevents internal oxidation.
- Stripping: Use a heavy-duty cable stripper or a specialized rotary stripping tool. Attempting to strip 1/0 AWG with a standard utility knife often scores the outer copper strands, reducing the effective cross-sectional area and creating a weak point.
- Heat Shrink: Always use 3:1 shrink ratio, adhesive-lined (marine-grade) heat shrink tubing. The internal adhesive melts and seals the terminal entry point, preventing moisture and road salt from wicking into the copper via capillary action.
8 AWG to 12 AWG: Mid-Range Tooling
For mid-range gauges, a high-quality ratcheting crimper is mandatory. Ratcheting crimpers feature a release mechanism that only opens once the full crimp cycle is completed, preventing under-crimping. Pair this with a precision wire stripper calibrated specifically for 8, 10, and 12 AWG to avoid nicking the strands. When terminating these wires into amplifier set-screw terminals, use a torque screwdriver or a small torque wrench set to 1.5 - 2.0 Nm. Over-tightening brass set-screws will strip the threads, while under-tightening will allow the wire to pull out under vibration.
14 AWG to 18 AWG: Signal & Remote Turn-On
For 18 AWG remote turn-on wires (typically blue with a white stripe) and 16 AWG speaker wires, a high-quality ferrule crimper is highly recommended. Ferrules prevent the fine strands of speaker wire from fraying when clamped under amplifier spring terminals or set screws, ensuring maximum contact area and preventing stray strands from shorting against adjacent channels.
Hidden Costs: Connectors, Fuses, and Distribution Blocks
Consulting a car audio wire gauge chart only accounts for the wire itself. The termination and protection hardware often represent 30% to 40% of the total wiring budget.
- ANL Fuses & Holders ($25 - $45): Mandatory for 1/0 AWG and 4 AWG main power lines within 18 inches of the vehicle's positive battery terminal. ANL fuses handle high inrush currents without nuisance blowing.
- AGU / Mini-ANL Fuses ($15 - $25): Used for 8 AWG secondary runs or distribution block outputs.
- Distribution Blocks ($30 - $80): Avoid blocks that use cheap zinc alloy set-screws. Spend the extra money on solid brass or copper bus-bar distribution blocks. Set-screws in cheap blocks often snap under the torque required to secure 4 AWG wire.
- Grounding Hardware ($10 - $20): You will need Grade 8 or stainless steel 3/8' bolts, split lock washers, and flat washers to secure your 4 AWG ground ring terminals to the vehicle chassis. You must also purchase a wire brush or sanding flap wheel to remove factory paint and primer down to bare, shiny metal to ensure a sub-5 milliohm ground connection.
Real-World Failure Modes & Troubleshooting
Even with the correct gauge, improper installation leads to predictable failure modes. Use this diagnostic framework when troubleshooting a newly installed system:
Symptom: Amplifier Protect Mode During Heavy Bass
Cause: Severe voltage drop due to undersized wire, CCA wire masquerading as OFC, or a high-resistance ground.
Diagnostic Step: Set your digital multimeter to DC Volts. Place the red probe directly on the amplifier's B+ terminal and the black probe on the amplifier's ground terminal (NOT the chassis). Play a 40Hz test tone at maximum unclipped output. If the voltage drops below 11.5V, your power wire is too thin, or your battery/alternator cannot sustain the current.
Fix: Upgrade to the next AWG size on your car audio wire gauge chart, or verify you are using true OFC wire.
Symptom: Alternator Whine in the Audio Signal
Cause: Electromagnetic interference (EMI) coupling from the high-current 1/0 AWG power wire into the RCA signal cables or the 18 AWG remote turn-on wire.
Diagnostic Step: Inspect the routing. If the power wire runs down the driver's side door sill and the RCAs run down the passenger side, EMI is unlikely. If they run down the same side or cross each other, EMI is the culprit.
Fix: Separate power and signal wiring by at least 18 inches. If they must cross, ensure they cross at a strict 90-degree angle. For the 18 AWG remote wire, twist it tightly around the RCA cables to reject common-mode noise.
Symptom: Melted Ring Terminal Insulation
Cause: Incomplete crimp or failure to use adhesive-lined heat shrink, leading to oxidation and increased resistance at the terminal joint.
Fix: Cut the terminal off. Strip the wire back to fresh, unoxidized copper. Re-crimp using a hydraulic hex crimper and seal with 3:1 marine heat shrink.
Authoritative References
For further technical validation regarding ampacity and automotive electrical safety, consult the following industry standards:
- Basic Car Audio Electronics (BCAE1) Wire Size Chart - The definitive community standard for car audio voltage drop calculations and AWG sizing.
- SAE J1171: Battery Cables for Automotive and Marine Applications - Society of Automotive Engineers standard detailing the physical and electrical requirements for heavy-gauge battery cables.
- NFPA 70 (National Electrical Code) Article 250 - While primarily for residential/commercial, Article 250 provides the foundational physics and safety requirements for grounding and bonding that apply to high-current DC mobile installations.