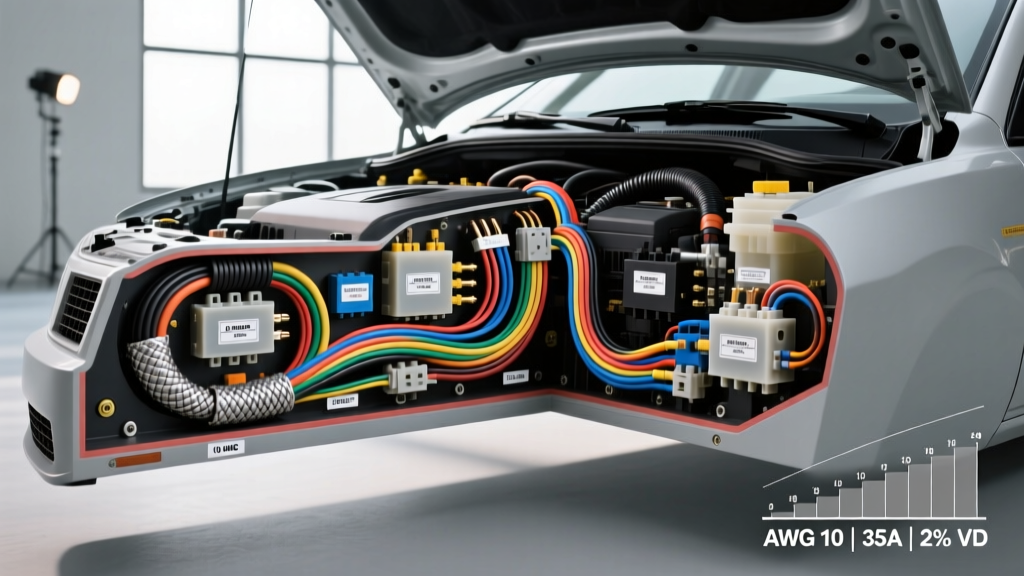
Decoding the AWG System for Automotive Modifications
When planning an electrical modification for your truck, Jeep, or off-road rig, understanding what wire gauge means is the critical difference between a reliable build and a catastrophic engine bay fire. In the automotive aftermarket, enthusiasts frequently upgrade their electrical systems to support high-draw accessories like 40-inch LED light bars, 12,000-lb winches, or high-output alternators. However, treating a 12V DC automotive system like a standard 120V AC household circuit is a common and dangerous mistake.
The American Wire Gauge (AWG) system is a standardized wire sizing system used in North America. The most fundamental rule to remember is that the AWG scale is inverse: a lower gauge number indicates a thicker wire with a larger cross-sectional area of copper. For example, a 4 AWG wire is significantly thicker and can carry vastly more current than a 10 AWG wire. But what wire gauge means in a practical sense goes far beyond just the physical diameter of the copper strands; it encompasses current-carrying capacity (ampacity), resistance per foot, and the resulting voltage drop over a specific distance.
The Physics of 12V DC Upgrades and Voltage Drop
Because automotive systems operate at a nominal 12V to 14.4V, they require substantially higher amperage to deliver the same wattage as household AC power. According to Ohm's Law and the power equation (Power = Voltage x Current), drawing 1,200 watts from a 12V battery requires 100 amps of current. Pushing 100 amps through an undersized wire generates immense resistive heat and severe voltage drop.
Voltage drop occurs when the electrical energy is lost as heat due to the resistance of the wire. In a 12V system, even a 1-volt drop represents an 8% loss of total system voltage, which can cause HID ballasts to fail to ignite, winch solenoids to chatter, or ECU modules to reset unexpectedly. Therefore, what wire gauge means for your project is directly tied to the total length of the wire run (both positive and ground) and the maximum continuous amperage of your accessory.
SAE J1128 vs. Standard PVC Insulation
Not all copper wire is created equal. When sourcing wire for under-hood modifications, you must look for cable that meets the SAE J1128 Low Tension Primary Cable Standard. Standard PVC-insulated wire found in hardware stores typically maxes out at 85°C (185°F). In contrast, SAE J1128 compliant automotive wire often uses Cross-Linked Polyethylene (XLPE) insulation, which can withstand continuous temperatures up to 125°C (257°F) and resists abrasion, oil, and battery acid. This superior insulation allows XLPE wire to safely handle higher ampacities than identically sized PVC wire.
High-Draw Automotive Wire Gauge Specification Chart
The following reference table outlines chassis wiring specifications for common upgrade sizes. 'Chassis wiring' assumes the wire is routed in the open air of an engine bay or frame rail, not bundled tightly in a loom where heat cannot dissipate.
| AWG Size | Strand Count (Approx) | Max Ampacity (XLPE) | Recommended Max Fuse | Voltage Drop per 10ft @ Max Amps |
|---|---|---|---|---|
| 10 AWG | 19 | 55A | 40A (ATC) | 0.41V |
| 8 AWG | 19 | 73A | 60A (ATC/MAXI) | 0.26V |
| 4 AWG | 133 | 125A | 100A (MEGA) | 0.10V |
| 2 AWG | 259 | 170A | 150A (ANL) | 0.06V |
| 1/0 AWG | 1064 | 245A | 225A (ANL) | 0.04V |
Project Scenario 1: 40-Inch LED Light Bar Relay Harness
A popular upgrade is mounting a 40-inch dual-row LED light bar on a truck roof rack. These bars typically draw between 20A and 30A. Running this load through a standard dashboard toggle switch using 16 AWG wire will melt the switch contacts and the dashboard wiring. Instead, you must build or install a heavy-duty relay harness.
Relay Pinout and Wire Sizing
For a 30A light bar, the main power feed from the battery to the relay, and from the relay to the light bar, must be 10 AWG stranded copper wire (Red). The ground circuit should also be 10 AWG (Black). The trigger circuit, which carries less than 1 amp, can safely use 16 AWG or 18 AWG wire (Blue or Yellow).
Using a standard Bosch-style ISO mini relay (40A rated), the pin configuration is as follows:
- Pin 30 (Power In): Connect to the battery positive via a 30A ATC blade fuse using 10 AWG red wire.
- Pin 87 (Power Out): Connect to the positive terminal of the LED light bar using 10 AWG red wire.
- Pin 86 (Switch Trigger): Connect to a switched 12V+ source (e.g., high-beam circuit or upfitter switch) using 16 AWG blue wire.
- Pin 85 (Ground): Connect to a clean, bare-metal chassis ground using 16 AWG black wire.
For connections, avoid soldering under-hood harnesses. Solder creates a rigid point that can snap under engine vibration. Instead, use a ratcheting crimper with open-barrel or hexagonal dies, and seal the connections with dual-wall, adhesive-lined heat shrink to prevent moisture intrusion and copper oxidation.
Project Scenario 2: High-Output Alternator and the 'Big Three' Upgrade
If you are running an aggressive audio system, a massive winch, or auxiliary lighting, you likely need to upgrade to a 200A+ high-output alternator. The factory wiring in most vehicles utilizes 4 AWG or 6 AWG wire for the main battery charge line, which will act as a bottleneck, causing the alternator to overheat and the battery to undercharge. This requires the 'Big Three' upgrade, which involves replacing the three main factory cables with 1/0 AWG (0-gauge) oxygen-free copper wire.
Execution and Over-Current Protection
According to Littelfuse ANL High-Current Fuse Specifications, when upgrading the main alternator-to-battery positive cable with 1/0 AWG wire, you must install an appropriately sized ANL or Class-T fuse within 7 inches of the battery positive terminal. For a 250A alternator, a 250A ANL fuse is required. Do not use cheap AGU glass fuses for high-amperage main feeds; they are prone to internal arcing and failure under heavy vibration and high-heat conditions.
When terminating 1/0 AWG wire, use heavy-duty copper compression lugs. A proper hexagonal crimp tool or hydraulic crimper is mandatory to ensure the copper strands are compressed tightly enough to eliminate air pockets, which cause resistance and subsequent heat buildup. Torque the battery terminal and alternator output nuts to the manufacturer's specifications (typically 10-15 Nm for standard automotive studs) using a calibrated torque wrench to prevent stripped threads or loose connections.
Troubleshooting Wire Gauge Failure Modes
If you misunderstood what wire gauge means during your initial build, the electrical system will exhibit specific failure modes. Use this diagnostic decision tree to identify undersized wiring issues:
- Symptom: Accessory works when cold, but shuts off after 10 minutes of use.
Cause: Voltage drop due to undersized wire generating heat, increasing resistance until the voltage at the accessory drops below its operational threshold. Fix: Upgrade to the next thickest AWG size (e.g., move from 8 AWG to 4 AWG). - Symptom: Headlights dim severely when the winch or cooling fan engages.
Cause: The main ground strap or alternator charge wire is too thin (or corroded) to handle the sudden amperage spike, causing system-wide voltage sag. Fix: Perform the Big Three upgrade using 1/0 AWG wire and clean all chassis grounding points with a wire brush. - Symptom: Wire insulation feels hot to the touch or emits a melting plastic odor.
Cause: Severe over-current condition. The wire gauge is drastically undersized for the continuous amperage draw, or the fuse is rated higher than the wire's ampacity. Fix: Immediately disconnect the battery. Recalculate the load, install the correct AWG wire per the SAE J1128 chart, and downgrade the fuse to match the wire's safe limit.
Final Thoughts on Automotive Wiring
Ultimately, what wire gauge means for your project is a matter of safety, efficiency, and longevity. By consulting Painless Performance Wiring Tech Guides and adhering to SAE standards, you ensure that your high-draw upgrades perform flawlessly in the harshest environments. Always calculate your total wire run length (positive plus negative), account for a 20% safety margin on amperage, and invest in high-strand-count, XLPE-insulated copper wire for every modification.