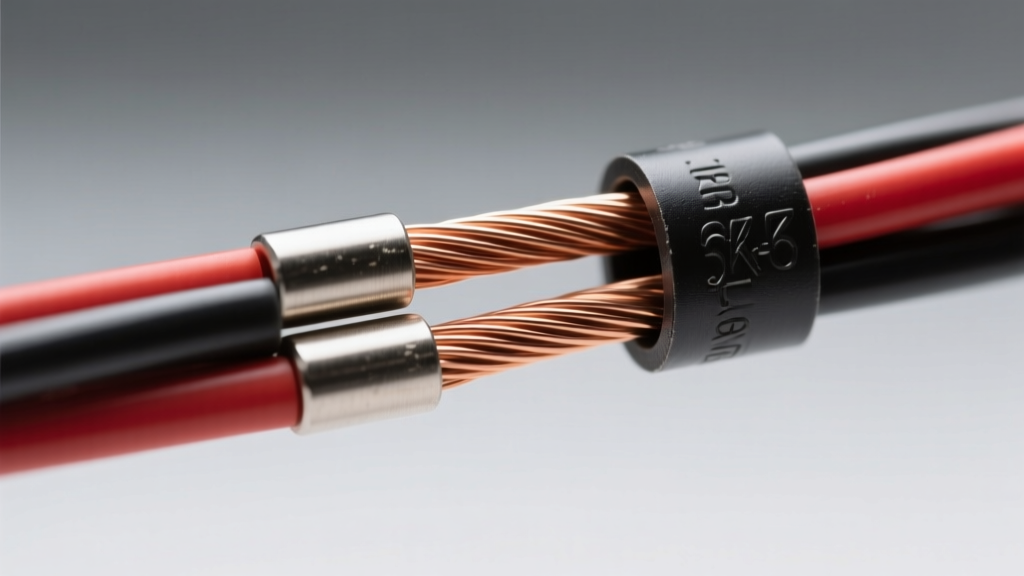
Technical Reference: How to Connect 6 Gauge Wire in High-Amp Automotive Systems
When you need to connect 6 gauge wire for high-amperage automotive applications—such as alternator upgrades, winch circuits, EV battery management, or high-output car audio systems—the margin for error is virtually zero. At this thickness, you are dealing with circuits capable of sustaining 100 to 150 amps continuously. A poor connection doesn't just cause a voltage drop; it generates severe resistive heat, potentially melting insulation, damaging sensitive control modules, or starting an electrical fire.
This technical specification reference outlines the exact mechanical, thermal, and electrical requirements for terminating and routing 6 AWG wire in harsh automotive environments, adhering to SAE and OEM engineering standards.
6 AWG Wire Technical Specifications
Before selecting terminals and crimp dies, it is critical to understand the physical dimensions and electrical limits of 6 AWG wire. Automotive wire is generally manufactured to SAE J1128 standards, specifically the SGT (Battery Cable) or SXL (Cross-linked) classifications.
| Specification | SGT Battery Cable (Fine Strand) | SXL (Cross-Linked) |
|---|---|---|
| Cross-Sectional Area | 13.30 mm² | 13.30 mm² |
| Strand Count (Typical) | 266 strands of 30 AWG | 133 strands of 26 AWG |
| Nominal Insulation OD | 7.26 mm (0.286") | 6.10 mm (0.240") |
| Resistance @ 20°C | 0.3951 Ω / 1000 ft | 0.3951 Ω / 1000 ft |
| Max Temp Rating | 105°C (221°F) | 125°C (257°F) |
| Max Ampacity (Chassis) | 120A - 150A | 120A - 150A |
Note: Ampacity ratings assume single conductors in free air or standard engine bay routing. Bundling multiple 6 AWG wires together requires thermal derating.
Terminal Selection and Material Science
To properly connect 6 gauge wire, you must match the terminal barrel diameter to the wire's specific insulation and strand profile. Using a standard stamped-and-formed terminal is unacceptable for 6 AWG; you must use heavy-duty, seamless or brazed-seam copper lugs.
Recommended Terminal Types
- Ring Terminals (Lugs): Used for alternator B+ posts, starter solenoids, and ground studs. Specify 100% ETP (Electrolytic Tough Pitch) copper with a bright tin plating to prevent galvanic corrosion when mating to aluminum housings or steel chassis grounds.
- Butt Splices: For inline repairs. Use heavy-wall, adhesive-lined heat shrink butt splices. The internal polyamide adhesive melts during shrinking, creating a waterproof environmental seal that blocks capillary action from drawing moisture into the copper strands.
- ANL/Mega Fuse Holders: When connecting 6 AWG to high-amperage fuse blocks, use specific flat-lug terminals designed to maximize surface area contact against the fuse element.
For extreme environments, reference TE Connectivity Heavy Duty Terminals for pre-insulated, high-vibration lug specifications that meet OEM automotive testing matrices.
The Soldering Fallacy in High-Amp Circuits
A pervasive myth in automotive wiring is that soldering is superior to crimping. When you connect 6 gauge wire carrying 100+ amps, you must never solder the connection.
Solder (a tin-lead or tin-silver alloy) has a significantly higher electrical resistance than copper. Furthermore, solder wicks into the fine strands of the SGT cable via capillary action, turning a flexible wire into a rigid, brittle rod. In the high-vibration environment of a vehicle chassis or engine block, this rigid section creates a stress concentration point. The strands will eventually fracture just outside the solder wick line, leading to a catastrophic high-resistance open circuit. OEMs and aerospace engineers exclusively use cold-weld mechanical crimps for this reason.
Professional Crimping Procedure for 6 AWG
Achieving a gas-tight, cold-weld crimp on 6 AWG wire requires specialized tooling. Standard ratcheting pliers lack the mechanical advantage to properly deform a heavy-wall 6 AWG copper barrel.
Required Tooling
Use a hydraulic crimper or a heavy-duty mechanical ratchet crimper equipped with interchangeable hexagonal or nested-indent dies. Hexagonal crimps are generally preferred for SGT battery cable as they compress the strands uniformly without cutting into the outer layers of the copper.
- Strip the Insulation: Use a precision wire stripper to remove exactly the length of insulation required by the terminal barrel (usually 5/8" to 3/4" for 6 AWG). Do not nick the outer copper strands, as this reduces the cross-sectional area and creates a hot spot.
- Inspect the Strands: Ensure no strands are flared or folded back. The wire must enter the barrel flush and straight.
- Position in Die: Insert the terminal into the correct hex die (color-coded or marked '6' or '16mm'). Ensure the barrel is centered and the wire is fully seated against the internal shoulder of the lug.
- Execute the Crimp: Cycle the hydraulic or ratcheting tool fully. The tool must complete its cycle; partial crimps will result in high resistance.
- Seal the Connection: Slide a 3:1 shrink ratio, dual-wall (adhesive-lined) heat shrink tube over the crimp. Apply heat evenly from the middle outward until the adhesive purges slightly from the ends. This prevents oxygen and moisture from oxidizing the copper.
Torque Specifications for 6 AWG Ring Terminals
A perfect crimp is useless if the terminal is not torqued correctly to the busbar or stud. Under-torquing allows micro-movements, leading to fretting corrosion and arcing. Over-torquing can snap the stud or warp the terminal, reducing the contact patch.
| Stud / Bolt Size | Typical Application | Recommended Torque (Dry) | Recommended Torque (Lubricated) |
|---|---|---|---|
| #10 (3/16") | Accessory relays, small busbars | 35 - 45 in-lbs | 25 - 35 in-lbs |
| 1/4" | Audio distribution blocks, fuse taps | 75 - 85 in-lbs | 60 - 70 in-lbs |
| 5/16" | Alternator B+ posts, ground studs | 13 - 15 ft-lbs | 10 - 12 ft-lbs |
| 3/8" | Starter solenoids, heavy-duty EV lugs | 23 - 26 ft-lbs | 18 - 20 ft-lbs |
Always use a calibrated inch-pound or foot-pound torque wrench. Never use an impact wrench on electrical terminal hardware.
Routing, Loom, and Environmental Protection
6 AWG wire is stiff and possesses significant mass. When routed across a firewall or along a chassis rail, it must be secured every 8 to 12 inches using UV-resistant, heat-stabilized nylon cable ties or stainless steel P-clamps with EPDM rubber cushions.
If routing near exhaust manifolds or turbochargers, the wire must be encased in fiberglass fire-sleeve or high-temp silicone loom. Standard corrugated split-loom tubing will melt and fail at temperatures exceeding 130°C, exposing the 6 AWG conductor to sharp metal edges and potential short circuits.
Diagnostic Troubleshooting: Voltage Drop Testing
If a system connected with 6 AWG wire is underperforming (e.g., a winch pulling slowly, or an alternator failing to reach target voltage), do not guess. Perform a voltage drop test across the crimped connections.
Testing Protocol
- Set your digital multimeter (DMM) to DC Volts.
- Place the red probe directly on the copper wire strand (pierce the heat shrink if necessary, or use a back-probe) and the black probe directly on the terminal lug metal.
- Activate the high-amp circuit (e.g., crank the engine or engage the winch).
- Pass Criteria: A good crimp on 6 AWG wire should show a voltage drop of less than 10 millivolts (0.010V) across the terminal interface under load.
- Fail Criteria: Any reading above 50mV indicates internal strand oxidation, an incomplete crimp, or undersized terminal selection. The terminal must be cut off and replaced.
For further reading on crimp validation and tooling calibration, review the engineering datasheets provided by Molex Crimp Tooling Specifications, which detail the exact pull-force requirements for heavy-gauge automotive terminations.
Summary
Learning how to connect 6 gauge wire properly requires abandoning consumer-grade electrical practices in favor of heavy-duty mechanical engineering principles. By selecting the correct SGT/SXL wire, utilizing heavy-wall copper lugs, executing a hex-crimp with calibrated tooling, and applying precise torque values, you ensure a high-amperage automotive circuit that will outlast the vehicle itself.