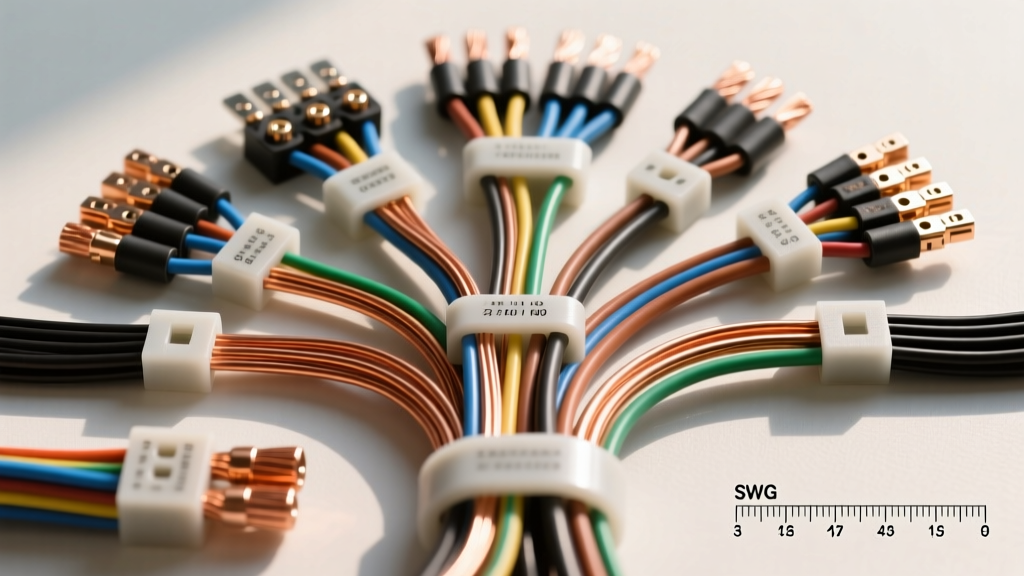
Introduction to Imperial Standard Wire Gauge in Automotive Restoration
When restoring classic British and European vehicles—such as the MGB, Triumph TR6, or Land Rover Series IIA—technicians quickly encounter a fundamental measurement discrepancy: the imperial standard wire gauge (often referred to as SWG or Standard Wire Gauge). Unlike the American Wire Gauge (AWG) system that dominates modern automotive manufacturing, the imperial system relies on different diameter increments. For purists and professional restorers, deciding whether to source authentic imperial standard wire gauge materials or adapt modern AWG equivalents requires a thorough cost and tooling analysis. This guide breaks down the financial implications, specialized tool requirements, and technical realities of working with SWG in automotive electrical systems.
The Cost Breakdown: SWG vs. AWG Sourcing and Materials
The most immediate hurdle in working with the imperial standard wire gauge is material cost. Modern automotive wire is predominantly manufactured to SAE J1128 specifications, utilizing cross-linked polyethylene (XLPE) insulation like GXL or TXL. These wires are sized in AWG and mass-produced, making them incredibly cheap. Authentic SWG wire, usually manufactured to older British Standard BS 6004 specifications with PVC insulation and classic Lucas color codes, is a niche product.
Material Cost Comparison (Per 100 Feet)
- 14 AWG GXL (Modern Standard): $25.00 - $30.00. Readily available in bulk, high heat resistance, thin-wall insulation.
- 14 SWG PVC (Lucas Specification): $85.00 - $110.00. Sourced from specialty classic car suppliers (e.g., Autosparks, Moss Motors). Features thick-wall PVC and period-correct color tracers.
- Connectors (Lucas 4.3mm Bullets): $0.45 per piece. Modern AWG bullet connectors are often 4.0mm or use completely different metric standards, meaning you must buy specific SWG-compatible brass bullets and nylon sleeves.
While the initial material cost for authentic imperial standard wire gauge is roughly three times higher than modern AWG, the value lies in concours-correct restorations where judging criteria demand period-accurate harnesses. For daily-driven restomods, adapting AWG wire with color-coded heat shrink is the more economical route.
Essential Tooling for Imperial Standard Wire Gauge
You cannot reliably use modern AWG ratcheting crimpers on imperial standard wire gauge terminals. The physical diameters of the wire and the corresponding barrel sizes of classic Lucas connectors do not align. Attempting to do so is the leading cause of high-resistance connections and subsequent electrical fires in classic British cars.
Wire Stripping and Crimping: The SWG Challenge
Standard AWG wire strippers will often nick the copper strands of SWG wire because the gauge notches are mismatched. For example, 16 SWG measures 1.63mm in diameter, while 16 AWG measures only 1.29mm. If you use the 16 AWG notch on a 16 SWG wire, you will crush and sever the outer copper strands, reducing the ampacity and creating a weak point.
Required Tool Investment
- SWG-Specific Wire Strippers ($35 - $50): You must source strippers calibrated to British Standard Wire Gauge increments to avoid strand damage.
- Lucas-Style Bullet Crimper ($85 - $140): Tools like the Knoweasy Lucas crimping tool or specialized dies for ratcheting presses are mandatory. These dies feature a deeper, narrower profile designed to fold the brass tabs of a 4.3mm Lucas bullet tightly around the thicker SWG wire without crushing the core.
- Soldering Station ($100+): Because finding perfectly calibrated SWG crimpers can be difficult, many master restorers opt to solder Lucas bullet and spade connectors. A temperature-controlled iron (set to 350°C/660°F) with 60/40 rosin-core solder ensures a solid mechanical and electrical bond without melting the vintage PVC insulation.
Technical Reference: SWG to AWG Conversion and Ampacity
Understanding the exact dimensional differences is critical when substituting wires or diagnosing voltage drop issues. The table below outlines the most common automotive sizes, comparing the imperial standard wire gauge to its closest AWG and metric equivalents, alongside standard automotive ampacity ratings for single wires in free air.
| SWG Size | Diameter (mm) | Closest AWG | AWG Diameter (mm) | Cross-Section (mm²) | Max Ampacity (Chassis Wiring) |
|---|---|---|---|---|---|
| 14 SWG | 2.032 | 11 AWG | 2.305 | 3.24 | 15 Amps |
| 16 SWG | 1.626 | 14 AWG | 1.628 | 2.08 | 10 Amps |
| 18 SWG | 1.219 | 16 AWG | 1.291 | 1.17 | 6 Amps |
| 20 SWG | 0.914 | 18 AWG | 1.024 | 0.66 | 4 Amps |
| 22 SWG | 0.711 | 20 AWG | 0.812 | 0.40 | 2.5 Amps |
Note: Ampacity ratings are conservative estimates based on standard engineering wire tables and SAE guidelines for under-hood automotive environments. Always use fused circuits rated 20% below the wire's maximum ampacity.
Classic British Automotive Wiring: Color Codes and Pinouts
If you are investing in imperial standard wire gauge materials, you must also adhere to the classic Lucas Electrical color-coding system. Deviating from these colors in a restoration will cause severe troubleshooting headaches for the next owner. Unlike modern DIN or ISO standards, Lucas used a base color with a tracer (stripe) to denote specific circuits.
- Brown (N): Unfused battery hot. Used from the battery to the starter solenoid, ammeter, and main power feeds. Always 14 SWG or thicker.
- White (W): Fused ignition-switched power. Hot only when the key is in the 'Run' or 'Start' positions.
- Green (G): Fused accessory circuits, switched by the ignition (e.g., fuel pump, wipers, turn signals).
- Blue (U): Side lights, tail lights, and instrument illumination. Often features a red tracer (UR) for the right side and a white tracer (UW) for the left side.
- Red/White (RW): Starter solenoid trigger wire from the ignition switch.
- Black (B): Ground/Earth connections to the chassis.
Real-World Troubleshooting: SWG to AWG Mating Failures
One of the most common failure modes we diagnose in classic car electrical systems is the improper mating of modern AWG wire into vintage SWG connectors. Here is a diagnostic decision tree for identifying these hidden hazards:
Symptom: Intermittent Headlight Failure or Dimming
- Cause: The previous owner used 16 AWG wire inside a 16 SWG Lucas 4.3mm bullet connector. Because 16 AWG is 0.3mm thinner, the crimp barrel is loose.
- Diagnostic Step: Perform a voltage drop test across the bullet connector with the headlights on. A reading above 0.1V indicates high resistance.
- Fix: Cut off the loose connector. If using AWG wire, fold the wire back on itself (doubling the copper mass in the barrel) before crimping, or solder the connection and seal with adhesive-lined heat shrink.
Symptom: Melted Nylon Bullet Sleeves
- Cause: Using standard AWG crimping dies on SWG brass bullets. The AWG die over-compresses the brass, causing the metal to work-harden and crack internally, or creating a 'bell-mouth' that shorts against the adjacent nylon sleeve.
- Fix: Replace the damaged harness section with correct imperial standard wire gauge and use a dedicated Lucas crimping tool. For reference on proper crimp geometry, consult SAE J1128 specifications regarding terminal retention and insulation support.
Conclusion: Is the Imperial Standard Wire Gauge Investment Worth It?
Working with the imperial standard wire gauge requires a deliberate financial and technical commitment. The cost of authentic PVC wire and specialized Lucas crimping tools can add $300 to $500 to a standard rewiring budget compared to using modern AWG equivalents. However, for concours judges, classic car purists, and those seeking absolute historical accuracy in vehicles like the Jaguar E-Type or Austin-Healey, this investment is non-negotiable. For daily drivers and restomods, understanding the SWG-to-AWG dimensional differences allows you to safely adapt modern, highly reliable XLPE wiring into vintage connectors without compromising electrical safety or system performance.