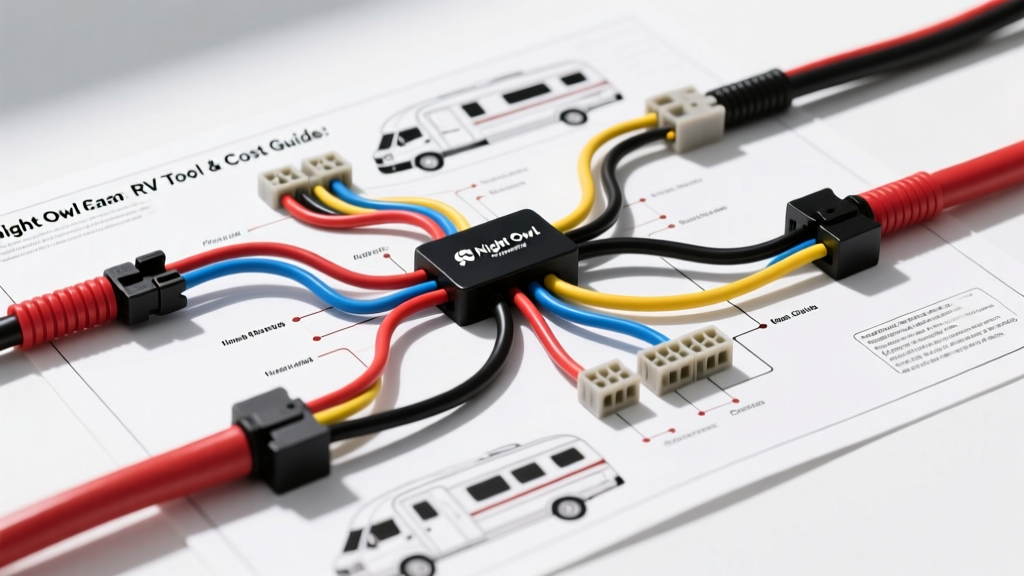
Night Owl Camera Wiring Diagram: Cost & Tool Analysis for RV and Fleet Trucks
Integrating a heavy-duty Night Owl commercial or RV backup camera system into a truck, trailer, or motorhome requires more than just routing a cable. Unlike standard passenger vehicle dash cams, fleet and RV cameras operate over long distances, exposing the wiring to severe voltage drop, chassis ground loops, and environmental degradation. This guide provides a comprehensive cost and tool requirements analysis for installing a Night Owl wired camera system, focusing on the industry-standard 4-pin aviation (M12) connector and 12V DC power integration.
The 4-Pin Aviation (M12) Connector Pinout
Most heavy-duty Night Owl and comparable fleet cameras utilize a 4-pin M12 aviation connector. This screw-on, IP67-rated connector prevents moisture ingress and vibration-induced disconnects common in standard RCA or BNC setups. Below is the standard pinout configuration for the camera-side pigtail.
| Pin Number | Wire Color | Function | AWG Requirement |
|---|---|---|---|
| Pin 1 | Red | 12V DC+ (Camera Power) | 16 AWG (Stranded) |
| Pin 2 | White | Chassis Ground (12V-) | 16 AWG (Stranded) |
| Pin 3 | Green / Yellow | Video Signal (+) | 18 AWG (Shielded) |
| Pin 4 | Black / Shield | Video Ground / Shield | 18 AWG (Shielded) |
Note: Always verify your specific Night Owl model's manual, as some older commercial units may swap Pin 3 and Pin 4. The M12 connector requires a specific torque of 0.5 Nm to ensure the O-ring seals properly without stripping the threads.
Comprehensive Tool & Consumables Checklist
To execute a professional-grade installation that survives highway vibrations and winter road salt, you must move beyond basic electrical tape. Below is the required tooling and material list for a 35-foot RV or box truck run.
- Wire Strippers & Crimpers: A ratcheting crimping tool (e.g., IWISS SN-48B) is mandatory for M12 aviation connector pins to ensure a gas-tight crimp.
- Drill & Step Bits: A 5/8-inch step bit for drilling the chassis bulkhead, paired with a deburring tool to prevent sharp metal edges from slicing the cable loom.
- Marine-Grade Heat Shrink: 3:1 shrink ratio with internal polyamide adhesive lining. This creates a waterproof seal over the solder joints and crimps.
- Fish Tape & Conduit: 25-foot fiberglass fish tape and 1/2-inch split corrugated loom to protect the harness from UV exposure and abrasion.
- Dielectric Grease: Applied to all chassis ground points and the 7-way RV blade connector to prevent galvanic corrosion.
- Digital Multimeter: Required for verifying voltage drop at the camera pigtail under load (with IR LEDs active).
Cost Breakdown: DIY Installation vs. Professional Upfitter
Understanding the financial scope of a Night Owl camera wiring diagram integration helps fleet managers and RV owners budget appropriately. Professional upfitters typically charge a flat rate plus materials, while DIYers can save significantly on labor if they possess the correct crimping tools.
| Cost Category | DIY Installation (Estimated) | Professional Upfitter (Estimated) |
|---|---|---|
| Camera & Monitor Kit | $250 - $450 | $300 - $500 (Markup applied) |
| Wiring Consumables (Loom, Heat Shrink, Terminals) | $35 - $60 | $85 - $120 |
| Specialty Tools (Crimpers, Step Bits) | $45 - $90 (One-time purchase) | N/A (Included in labor rate) |
| Labor (Routing, Drilling, Soldering) | $0 (8-12 Hours of your time) | $350 - $600 (3-4 Hours @ $125/hr) |
| Total Estimated Cost | $330 - $600 | $735 - $1,220 |
Voltage Drop Calculations: Why AWG Matters in Long Runs
The most common cause of Night Owl camera failure in RV applications is not a broken wire, but voltage starvation. When the camera's infrared (IR) night vision array engages, the current draw spikes from roughly 150mA to over 600mA. According to SAE J1128 Low Tension Primary Cable Standards, wire gauge must be selected based on the total circuit length, not just the one-way distance.
For a 35-foot run from the truck cab to the rear of a trailer, the total circuit length (Power + Ground) is 70 feet. Using standard 22 AWG wire (often included in budget kits) results in a resistance of approximately 1.13 ohms. At a 600mA draw, the voltage drop is 0.67V. While this seems negligible, if you are using cheap Copper-Clad Aluminum (CCA) wire, resistance increases by up to 40%. Combined with a truck alternator outputting only 13.2V at idle, the voltage reaching the camera can drop below the 11.5V threshold, causing the camera to reboot continuously or display a 'No Signal' error.
The Fix: Always upgrade the power and ground legs to 16 AWG pure copper stranded wire (TXL or GXL cross-linked polyethylene insulation). This reduces the voltage drop to under 0.2V, ensuring stable operation even when the vehicle is idling with high electrical loads.
Chassis Routing & 7-Way RV Blade Integration
When wiring the monitor in the truck cab, you need a switched 12V source that activates only when the vehicle is in reverse or when a specific upfitter switch is toggled. For trucks equipped with a factory tow package, the 7-way RV blade connector at the bumper is the most logical integration point. Referencing etrailer's comprehensive 7-Way RV Blade Wiring Guide, the Center Pin (Pin 7, typically Black or Purple wire) is designated for Auxiliary/Reverse power.
- Locate the Tow Package Harness: Find the 7-way plug harness under the rear bumper or near the spare tire.
- Tap the Center Pin Wire: Use a solder-seal butt connector to tap into the reverse/aux wire. Do not use T-taps or scotch locks, as they allow moisture into the copper strands, leading to green rot and eventual open circuits.
- Route Through the Frame: Feed the 16 AWG power wire and 18 AWG shielded video cable through the truck's frame rail using existing grommets. Secure the loom every 18 inches with UV-resistant zip ties.
- Bulkhead Penetration: Drill a 5/8-inch hole through the cab firewall or bed bulkhead. Install a rubber grommet and apply silicone sealant to prevent exhaust fumes and water from entering the cabin.
Troubleshooting Decision Tree: Ground Loops & Brownouts
Even with a perfect Night Owl camera wiring diagram execution, heavy-duty trucks and trailers are prone to electrical noise. Use this diagnostic tree to resolve common post-installation issues.
- Symptom: Rolling horizontal bars or 'alternator whine' in the audio feed.
- Cause: Ground loop. The camera is grounded to the trailer chassis, while the monitor is grounded to the truck chassis. The difference in ground potential between the two vehicles creates a loop that introduces alternator AC ripple into the video shield.
- Fix: Install a 12V DC-DC isolated power supply module near the monitor, or ensure the video shield (Pin 4) is grounded ONLY at the monitor side, leaving it floating at the camera side.
- Symptom: Camera works in daylight but shuts off when IR LEDs turn on at night.
- Cause: Voltage brownout due to high current draw on undersized wiring or corroded ground points.
- Fix: Measure voltage at the camera's M12 connector with the IR LEDs covered (forcing them on). If voltage drops below 11.5V, replace the 12V power run with 14 AWG or 16 AWG TXL wire and clean the chassis ground point down to bare metal before re-securing with a star washer.
- Symptom: Intermittent signal loss over bumps.
- Cause: Improperly crimped M12 aviation pins or lack of strain relief.
- Fix: Cut the connector back, strip the wires, and re-crimp using a proper ratcheting tool. Ensure the cable clamp inside the M12 housing is tightened securely over the outer jacket of the cable, not just the individual wires.
Final Inspection & Torque Specifications
Before sealing the bulkhead and buttoning up the interior trim, perform a final continuity and load test. Verify that the monitor triggers correctly when the truck is shifted into reverse. Once confirmed, mate the M12 aviation connector and tighten the locking collar to 0.5 Nm. Apply a small bead of marine-grade sealant around the camera mounting bracket to prevent water intrusion into the trailer wall. By adhering to these tool requirements, AWG specifications, and cost-analysis strategies, your Night Owl camera system will provide reliable, crystal-clear visibility for years of heavy-duty towing and commercial use.