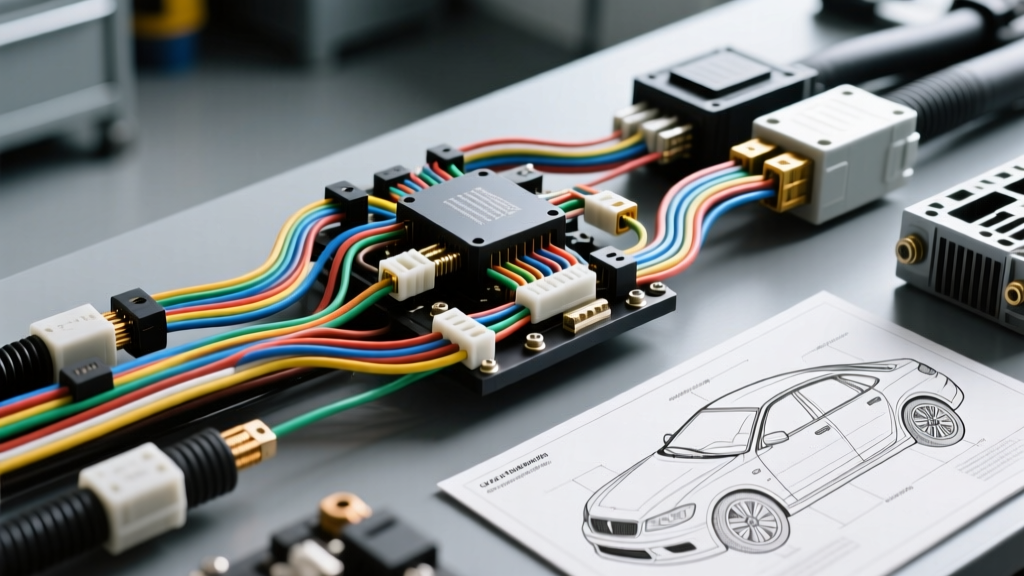
The True Cost of Reverse Camera Integration
When vehicle owners and fleet managers ask, how much to install reverse camera systems, they are often met with vague estimates ranging from $150 to over $800. As an automotive electrical specialist, I can tell you that this massive price discrepancy is not arbitrary. The cost is directly tied to the vehicle's underlying electrical architecture, the video transmission protocol, and the physical routing complexities of modern chassis designs. A basic 12V analog tap on a 2005 pickup truck is a fundamentally different electrical project than integrating an AHD (Analog High Definition) camera into a 2022 Volkswagen MQB platform with PWM-controlled lighting and CAN bus gating.
This advanced technical guide breaks down the true costs of reverse camera installation by analyzing the wiring diagrams, labor hours, and specialized hardware required for OEM-grade integrations.
Labor vs. Hardware: The Technical Cost Matrix
To accurately estimate your project, you must categorize the installation by its technical tier. The table below outlines the expected costs based on the electrical complexity of the host vehicle.
| Integration Tier | Hardware / Modules | Est. Labor Hours | Total Cost Range | Technical Requirements |
|---|---|---|---|---|
| Tier 1: Basic Analog | $40 - $80 | 1.5 - 2.5 hrs | $150 - $350 | 12V reverse tap, RG174 coaxial run, RCA head unit input. |
| Tier 2: PWM / Filtered | $90 - $150 | 2.5 - 4.0 hrs | $350 - $600 | 12V DC-DC filter or relay isolation, AHD over UTP/STP, trim removal. |
| Tier 3: CAN Bus / OEM | $150 - $300 | 4.0 - 6.0 hrs | $600 - $950+ | CAN bus trigger module, LVDS/AHD encoding, OBD2 gateway coding. |
PWM Taillights & CAN Bus: Why Modern Cars Cost More to Wire
The single biggest factor that drives up the cost of a reverse camera installation in post-2012 vehicles is the shift from simple switched 12V DC circuits to Pulse Width Modulated (PWM) lighting and multiplexed CAN bus networks. Understanding this shift is critical for budgeting and wiring correctly.
The PWM Problem and Ground Loops
In modern European and domestic vehicles (e.g., VW, Audi, BMW, Ram), the Body Control Module (BCM) monitors exterior bulbs for outages. It does this by sending a rapid PWM square wave (often 50Hz to 500Hz) down the reverse light circuit. If you tap an 18 AWG wire directly into this circuit to power a standard aftermarket camera, the camera will receive a pulsed voltage rather than a steady 12V DC. This results in severe video flickering, rolling bars, or the camera failing to initialize.
The Technical Fix: You cannot use a standard $5 automotive relay to fix this; the relay coil will chatter and eventually fail. You must install a 12V DC-DC isolated converter or a dedicated PWM filter module (like the PAC TR-4 or a custom RC low-pass filter circuit). This adds $40-$75 in parts and requires soldering and heat-shrinking connections in the trunk harness, adding roughly 45 minutes of skilled labor to the job. For a deeper dive into automotive multiplexing and PWM signals, refer to the AutoShop101 Automotive Electrical Guide.
The CAN Bus Trigger Solution
To bypass the PWM taillight issue entirely and achieve an OEM-style trigger, advanced installers tap the vehicle's CAN bus network. By connecting a CAN bus reverse trigger module to the OBD2 port's CAN-High (Pin 6) and CAN-Low (Pin 14) twisted pair, the module reads the BCM's digital 'Reverse Gear Engaged' message.
- Wire Specs: Use 22 AWG stranded copper for CAN bus pigtails to avoid altering the 120-ohm impedance of the network.
- Connectors: Never use Scotchlok T-taps on CAN bus wires. The capacitance added by a T-tap can cause network reflection and throw U-codes (e.g., U0100 Lost Communication with ECM). Use Posi-Taps or properly crimped TE Connectivity splices.
Signal Transmission: CVBS vs. AHD and EMI Mitigation
The cost of the video cable and the labor to route it properly heavily influences the final quote. Standard analog CVBS (NTSC/PAL) cameras use unshielded or poorly shielded RCA cables. In a vehicle environment, the alternator and ignition coils generate massive Electromagnetic Interference (EMI). According to SAE J1113 standards for Electromagnetic Compatibility, unshielded cables running parallel to high-current harnesses will induce alternator whine into the audio system and static into the video feed.
Advanced Wiring Protocol for AHD Cameras: Modern AHD (720p/1080p) cameras require high-frequency signal transmission. Running standard RG174 coaxial cable through a vehicle's tight firewall and trunk grommets is difficult due to the cable's bending radius and thick RCA connectors.
- Use STP Cat5e: Professional installers use Shielded Twisted Pair (STP) Cat5e cable. The foil shielding and drain wire must be grounded at the head unit chassis to prevent EMI ingress.
- Video Baluns: Passive UTP video baluns are used at both the camera and head unit ends to convert the unbalanced AHD signal to a balanced signal, rejecting common-mode noise.
- Ground Loop Isolators: If the camera is grounded to the chassis near the taillights and the head unit is grounded at the dash, a ground loop will occur. A $25 ground loop isolator is mandatory in 80% of hatchback and SUV installations, adding to the hardware cost but saving hours of frustrating troubleshooting.
Physical Routing: The Hidden Labor Sink
When calculating how much to install a reverse camera, labor is the most variable metric. Running a wire from a license plate to a dashboard is not a simple 'plug and play' endeavor on modern unibody vehicles.
- The Liftgate Grommet: On SUVs and hatchbacks, the wire must pass through the flexible rubber loom connecting the body to the liftgate. This requires using a specialized fish tape, applying silicone dielectric grease to reduce friction, and carefully feeding the cable without tearing the OEM weather seal. If the seal tears, water will enter the cabin, leading to catastrophic BCM corrosion.
- Trim Removal: Proper installations require removing the liftgate interior panel, C-pillar trim, and the headliner edge to tuck the STP cable behind the factory headliner. This prevents the cable from resting against the rear window glass (which acts as an antenna for the rear defroster grid, causing severe video noise when the defroster is activated).
- Drilling and Sealing: Mounting the camera often requires drilling a 1/2-inch hole in the license plate bezel or tailgate handle. This must be sealed with marine-grade butyl tape or RTV silicone to prevent rust and water intrusion into the tailgate cavity.
OBD2 Coding & Head Unit Configuration
Finally, on vehicles equipped with OEM infotainment systems (like Ford SYNC, VW Discover Pro, or Chrysler Uconnect), simply plugging in the camera will not yield an image. The head unit must be coded to expect a video signal on the reverse trigger pin.
For VAG (Volkswagen/Audi Group) vehicles, this requires an OBD2 diagnostic tool like VCDS or OBDeleven to access the Information Electronics module (Address 5F) and alter the long-coding bytes to enable 'Optical Parking System with Camera'. According to the Ross-Tech VCDS Wiki, failing to code the module will result in a blank screen even if the wiring is 100% correct. This software configuration step requires specialized licensing and software, adding $50 to $120 to the final installation invoice.
Summary: Estimating Your Specific Build
To accurately determine how much it will cost to install a reverse camera on your specific vehicle, assess your platform. If you are driving a pre-2010 truck with a simple 12V reverse circuit and an aftermarket double-DIN radio, expect to pay around $200-$300 for a clean, shielded Tier 1 installation. However, if you are integrating an AHD camera into a modern CAN bus vehicle with PWM lighting, require STP cabling, and need OBD2 gateway coding, a professional, OEM-grade Tier 3 installation will realistically cost between $600 and $900. Paying for this technical expertise ensures you avoid ground loops, CAN bus faults, and water intrusion, resulting in a reliable, factory-style reverse camera system.